33
Main Rotor Blade Tracking Adjustment
Caution: Be sure to maintain a safe distance from the helicopter (10–15 feet) when tracking the main
rotor blades.
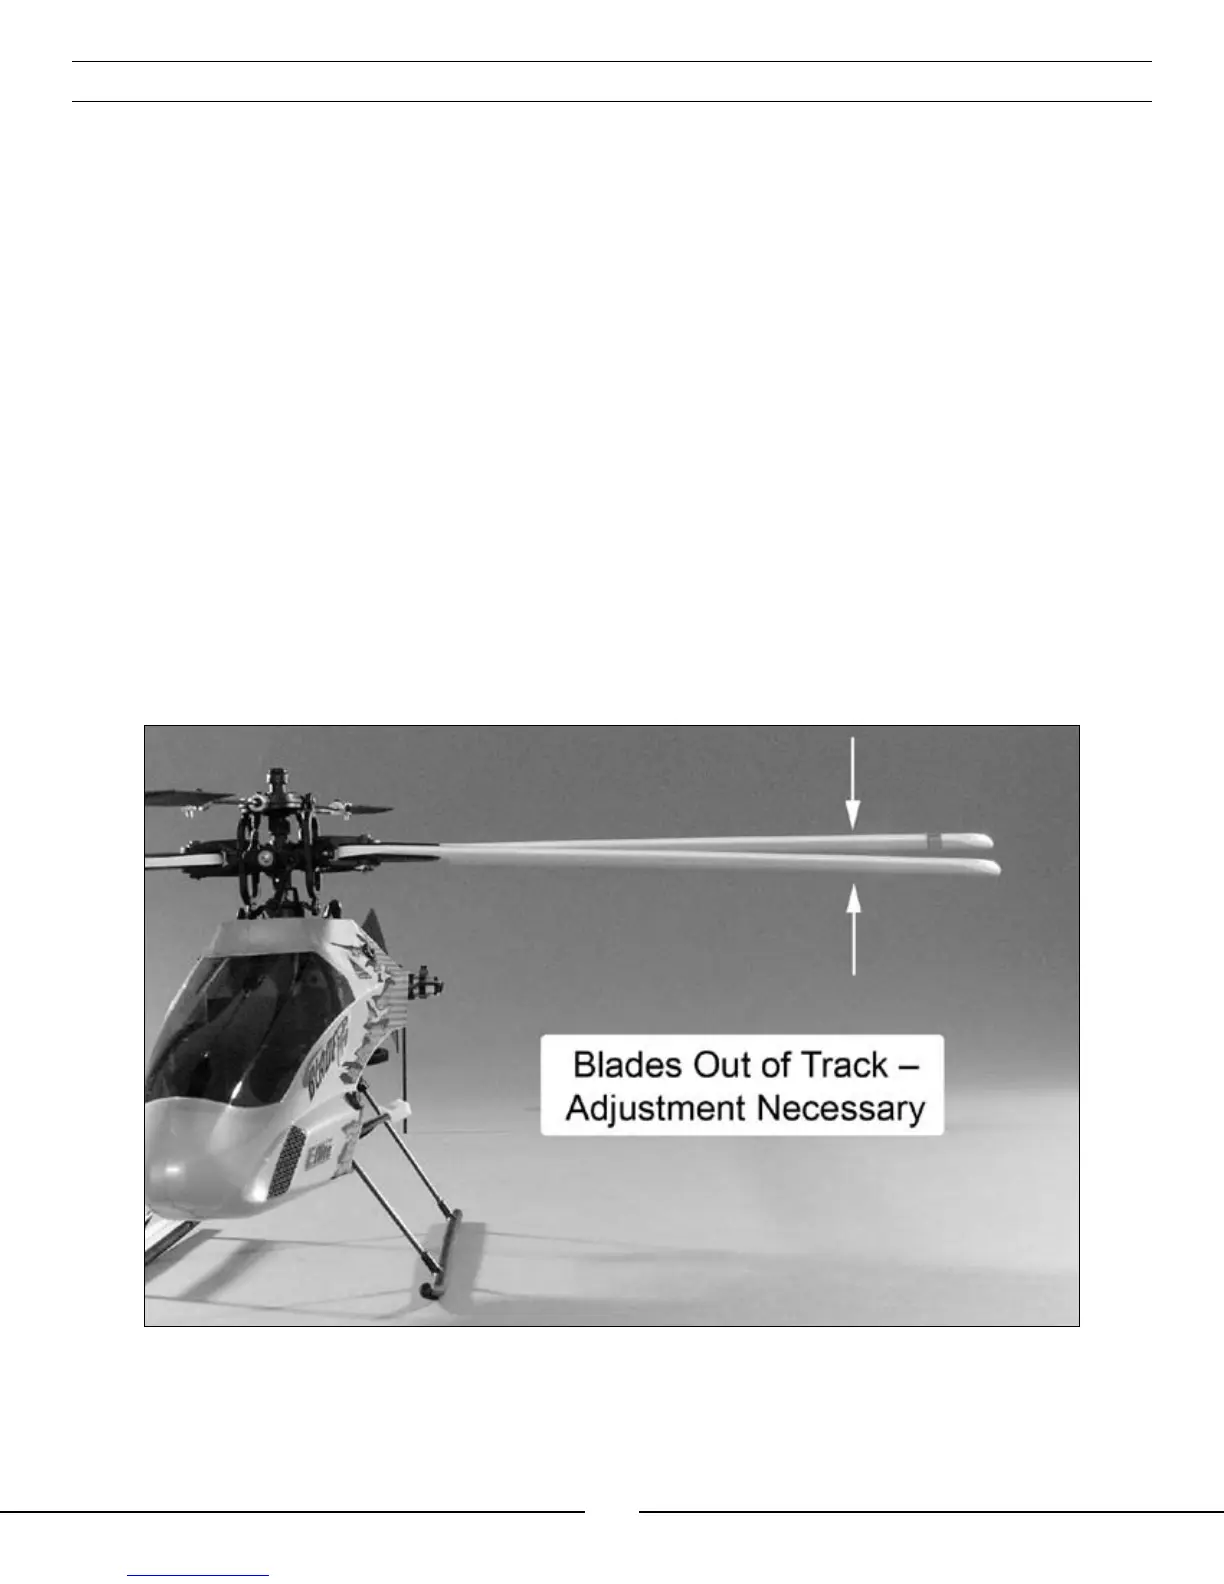
Blade tracking is a critical element to the flight performance of just about any helicopter, including the Blade™ CP
Pro. Main rotor blades that are out of track may cause vibration, instability, and loss of power due to increased
drag. Although each Blade CP Pro model is test flown with blades tracked at the factory, minor adjustments to
blade tracking may be required after blade changes, repairs, or pitch curve adjustments.
For checking main rotor blade tracking and making adjustments, please read the following tips:
• Before proceeding with the test flight of a new model, or any model to which changes or repairs
have been made, be certain that the main rotor blades have been properly installed and secured.
The main blades should be tightened so they can pivot in the blade grip when moderate pressure is
applied. Never allow the main blades to swing freely in their grips.
• Following the proper initialization and arming procedure previously outlined in the “3-in-1 Control Unit Description,
Arming and Adjustment” section, bring the main rotor blades of your Blade CP Pro up to speed. You can check
the blade tracking either on the ground or in the air at eye level. It might be a good idea to have an assistant
on hand to help sight the blades. Again, be certain to maintain a safe distance of 10–15 feet from the
helicopter when checking the tracking of the main rotor blades.
• Once the main rotor blades have been brought up to speed, note which blade is running low and which blade is
running high (by the colored tracking tape).
• You can then power the helicopter down and increase the pitch of the low blade by turning its Pitch Control Link
end out one half to one-full turn at a time. Or, you can decrease the pitch of the high blade by turning its Pitch
Control Link end in one-half to one full turn at a time.