40
Optional Heading Lock Gyro Installation and Setup
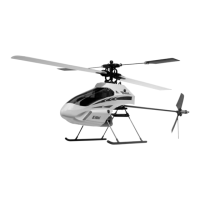
A unique feature of the Blade™ CP Pro is that it allows you to install an optional “Heading Lock” type gyro to
further enhance the holding performance and response of the tail, without the need for difficult modifications or an
alternative radio system. While the stock “Standard Rate” type gyro contained in the 3-in-1 control unit performs
well for many types of flying, a heading lock gyro offers superior tail holding power that helps to maintain heading
throughout even the most aggressive aerobatic maneuvers.
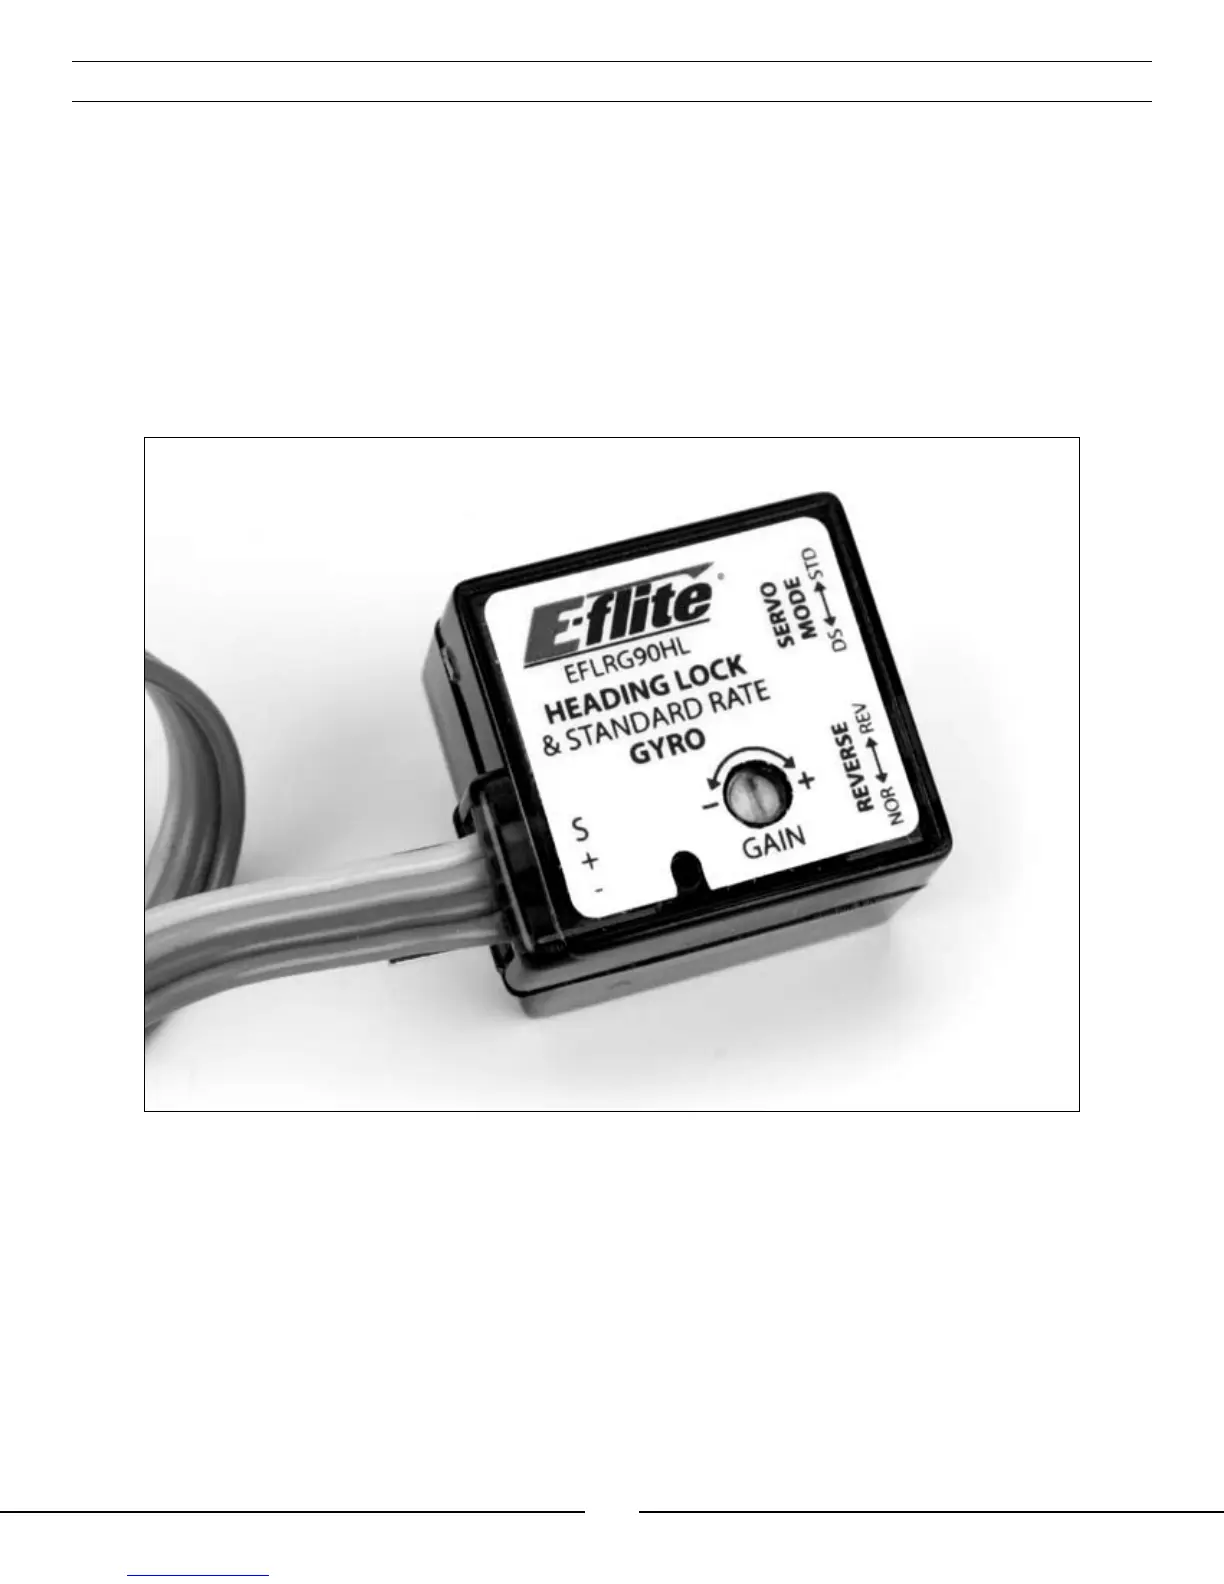
When installing a heading lock type gyro, we recommend the E-flite
®
G90 Sub-Micro Heading Lock gyro
(EFLRG90HL). The G90 gyro weighs only 9.0 grams (.32 oz), and features a very small footprint that makes
mounting it on the gyro mounting plate quick and easy. It also offers the ability to control the gain setting (in either
Standard Rate or Heading Lock modes) remotely from the Blade CP Pro’s included transmitter by using the 5th
channel, and is an excellent choice when looking for the best in tail and heading lock performance.
Note: The following steps outline the installation and setup of the G90 gyro, but can also be used as
reference for many other heading lock type gyros. However, we do recommend that you review the
manual included with your chosen gyro first before proceeding with installation and setup of the gyro
in your Blade CP Pro.
• Install the gyro using its included foam mounting tape (or the foam mounting tape found in the Blade CP Pro’s
included “Mounting Accessories & Wrench” package) on the gyro mounting plate found just behind the rear
servos. Be sure to orient the gyro so that you can easily access the gain setting adjustment pot (if not using the
remote gain setting control option) and any necessary reversing or other setting switches.