50
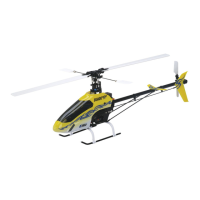
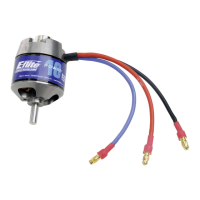
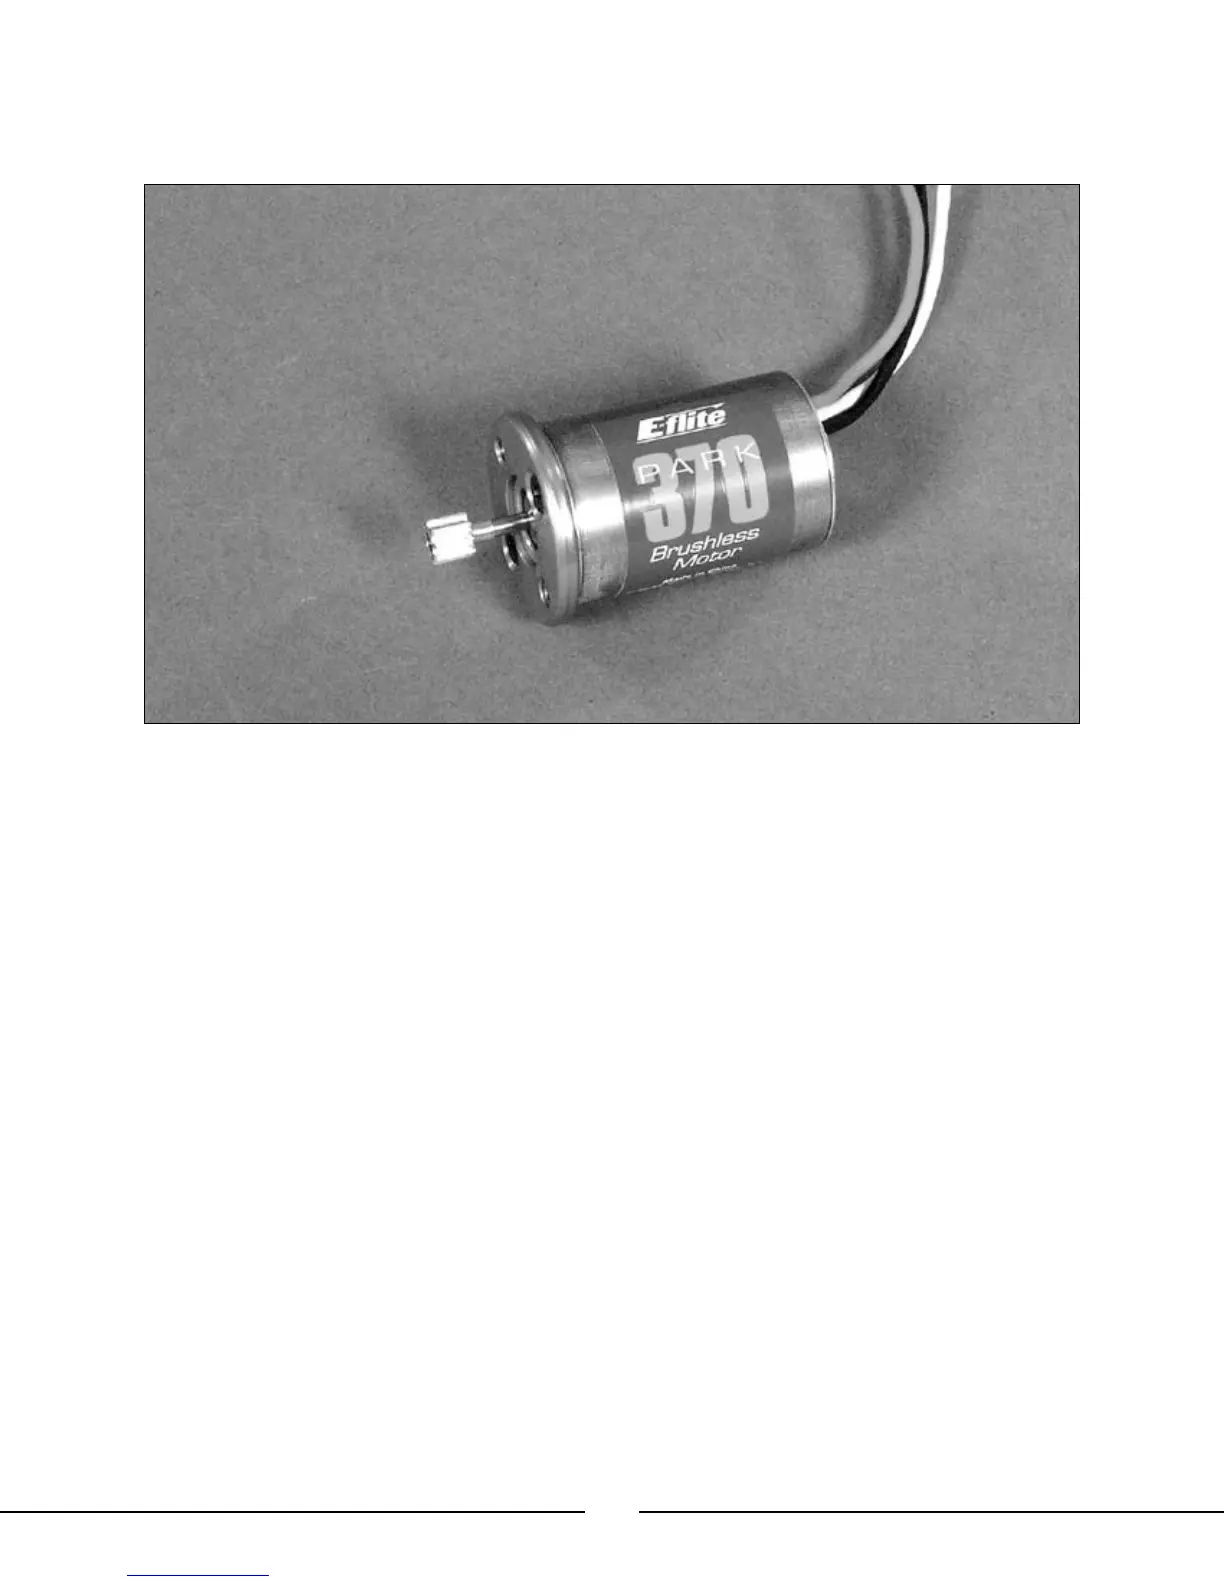
• After confirming the point to which the pinion gear should be press fit onto the motor shaft, remove the motor
from the frame. Then, following the instructions included with the motor, install the pinion on the motor shaft.
The motor is now ready to install in the helicopter.
• Next, install the motor in the main frame using the mounting screws and washers removed from the stock
brushed main motor. It is a good idea to apply a small amount of threadlock compound (like “blue” Loctite) to
the threads before installing the screws. If possible, be sure to mount the motor so that the leads exiting the
rear of the case are positioned as close to the main shaft as possible in order to help provide better clearance
for the canopy. Do not tighten the mounting screws entirely until after the next step.
Note: Do not use the screws included with the brushless motor for mounting as they do not offer
adequate thread length for secure installation.
• Take your time to set the gear mesh between the pinion and main gear properly. Then, tighten the mounting
screws securely.
Note: It is very important to set the gear mesh so that it is smooth with no binding. Be certain to
check the mesh as multiple points on the main gear in order to find the position in which to secure
the motor for the best gear mesh overall. Remember, if the gear mesh is set too loose or too tight, at
any point on the main gear, it may strip the gear and/or could cause a significant loss in power.
• After completing installation of the brushless motor, we also suggest that you install the 20x20mm Heat Sink
(EFLM1912). Be sure to follow the instructions included with the heat sink for proper installation.