23
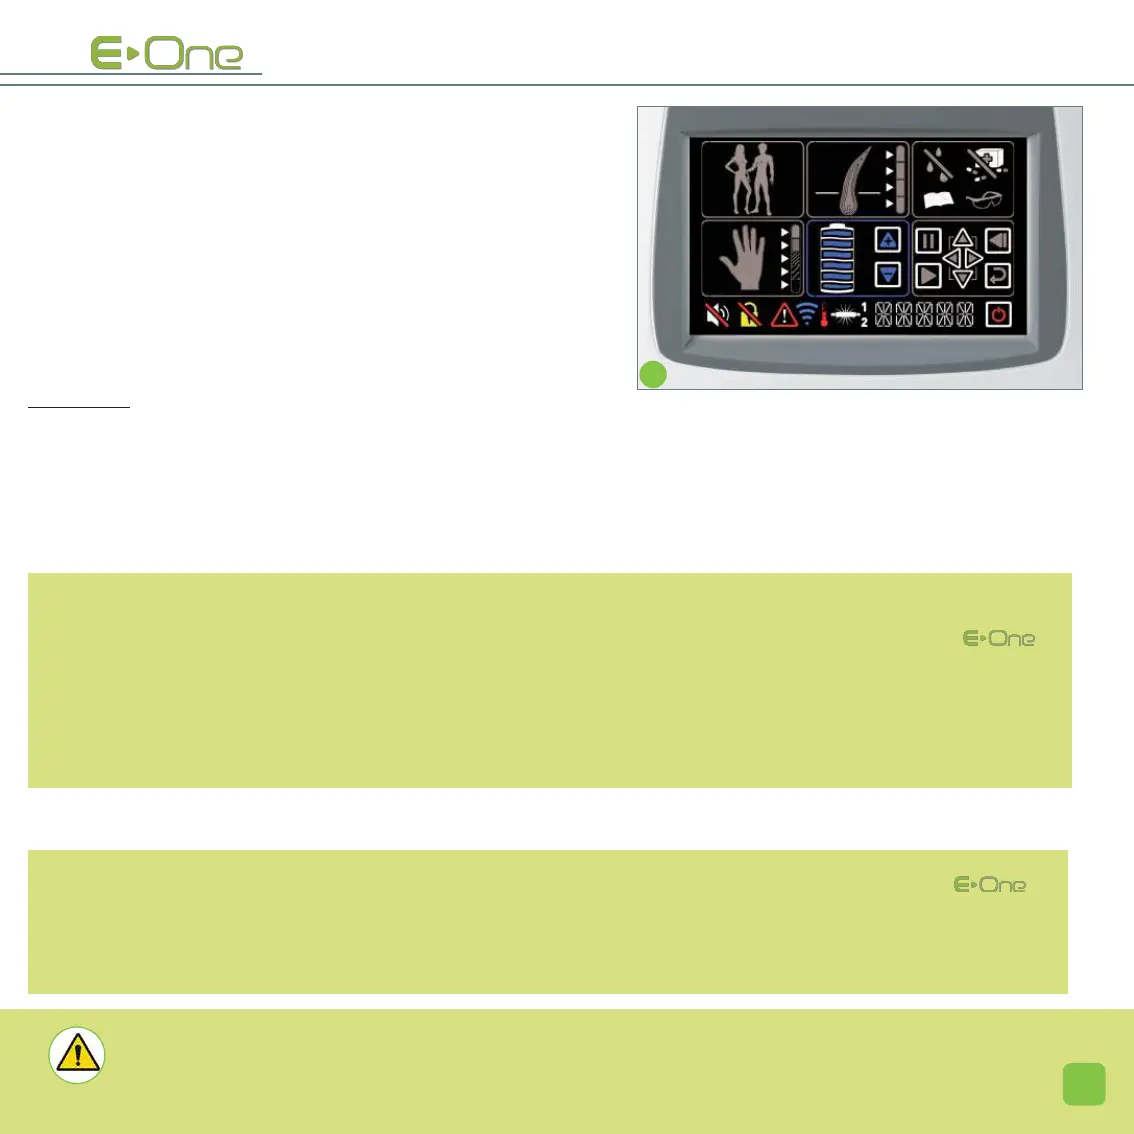
- ADJUST THE DESIRED INTENSITY LEVEL: (screen G)
The arrows located next to the intensity level icon (9),
enable you to increase or to decrease the intensity of the
issued flash.
Click on one of the two blue arrows, until it gradually
reaches the desired intensity level.
When the last setting has been validated, the pause icon
(10) located in the browsing area becomes visible.
The icon representing the lamp (20) blinks; the device is
ready to flash.
At any time, you can change any of these settings; you just
need click on the corresponding icon and modify the set-
tings.
IN PRACTICE: Always start with a test using the basic setting (the default adjustment proposed by
) then gradually move the intensity up 1 notch until you reach the desired intensity. Issue a flash, then wait 5
minutes after this flash to appreciate the skin reaction. In the absence of skin reaction, you can continue to
flash the entire desired area or move the intensity up again by 1 notch and observe the reaction once again
(and so on).
IMPORTANT: The darker the skin (whether by photo type or tanning ), the more
important it is to stay close to the minimum default power setting.
NOTE: By default, the proposed intensity level is adjusted to the minimum. This level enables most users to
obtain good quality results, with optimum safety in 100% of cases. Increasing the intensity level of the
will have the following consequences:
- an increase in the results obtained.
- a reduction of the number of sessions needed to obtain lasting result.
- an increased sensation on the skin when the flash is issued.
- an increased risk of rashes and even burns on highly pigmented skin (olive) after a session.
G
HE ______