STEP 4
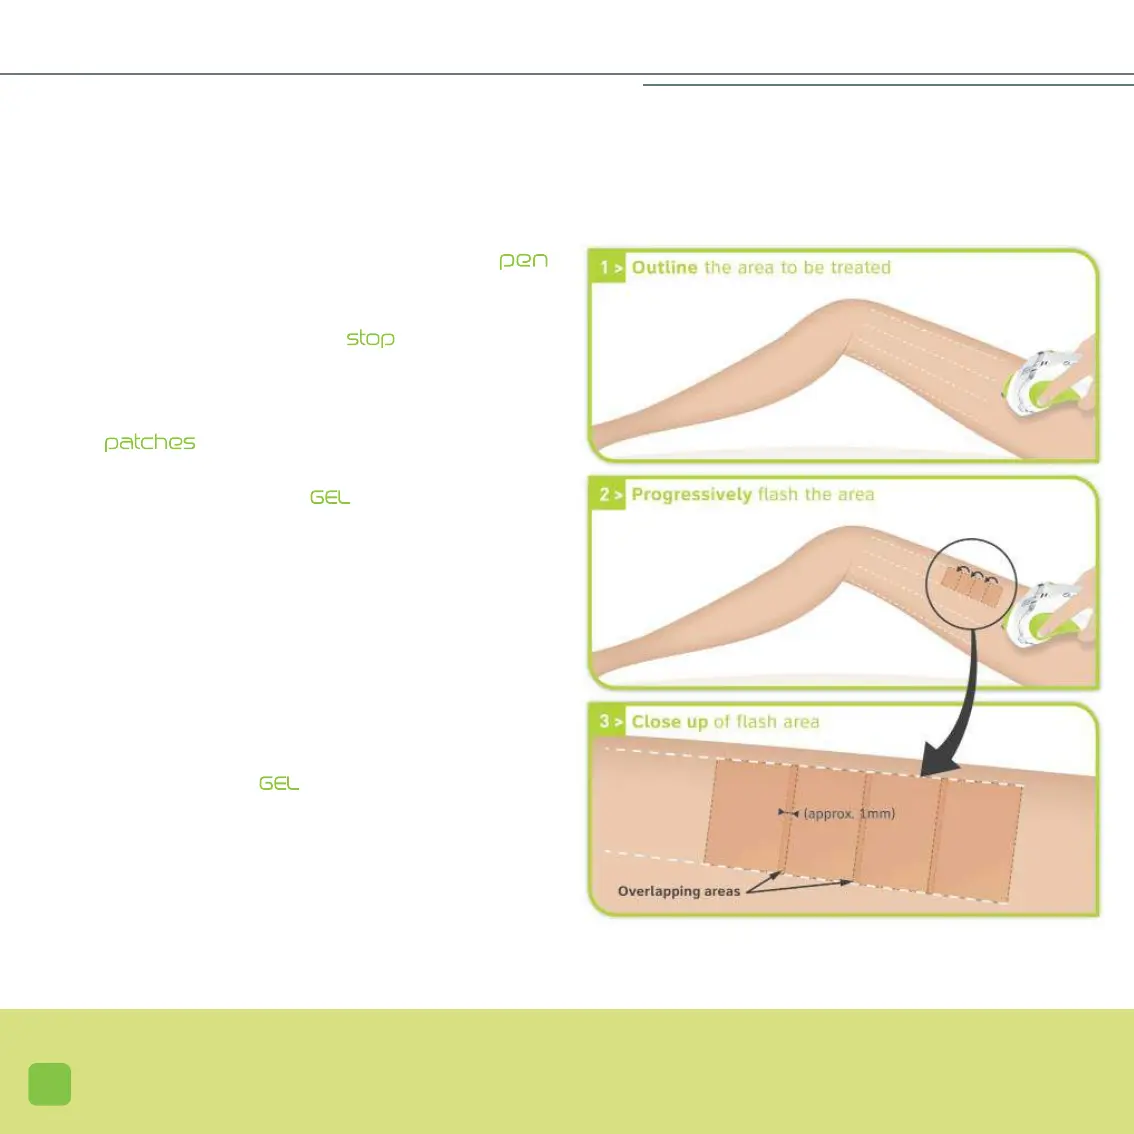
MARK OUT THE AREA TO BE FLASHED
• Mark out the area to be flashed with the help of the ,
by tracing parallel white lines on the large areas.
• If necessary, use the guide plate to cover a rather
large area that should not be flashed (tattoos...).
• Cover small areas that should not be flashed (moles...)
with the .
• After applying a thick layer of over the entire area to
be flashed, move the applicator along the marked out area
(refer to the next page to know how to issue a flash).
• The applicator’s positioning leaves a ‘foot print’ on the
skin, which enables you to see the area that has just been
treated. Thus, from one flash to another, it is very easy to
distinguish between an area that has already been flashed
and another area that has not yet been. An overlap of about
1 mm is possible.
• Apply a thick layer of over the entire area to be
flashed. It must, under no circumstance, enter inside the
mobile head.
26
HAIR REMOVAL WITH