4810 Clover Road • Greensboro, NC 27450 • 1-800-336-2776 • www.eagleequip.com • © Eagle Equipment 2017.12 • page 13
6. MOUNTING AND DEMOUNTING THE WHEEL
6.1 CHECKING THE WHEEL
The wheel must be clean, without sand or dust on it. Remove all the previous counterweights from the
wheel. Check that the tire pressure is up to the rated value. Check whether positioning plane of rim
and mounting holes are deformed.
6.2 MOUNTING THE WHEEL
1. Select the optimal cone for the center hole if there is center hole on the rim.
2. Two ways of installing the wheel: A. positive positioning; B. negative positioning.
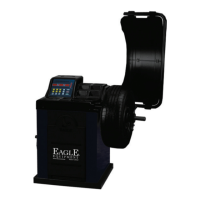
A. Positive positioning (refer to Figure 6-1):
Positive positioning is most commonly used. It operates easily, and it is applicable for steel and
thin duralumin rims with a small inner hole. Mounting process: main shaft → install suitable
cone (small end towards outside) → mount wheel (installing plane of rim towards inside) →
install quick release nut
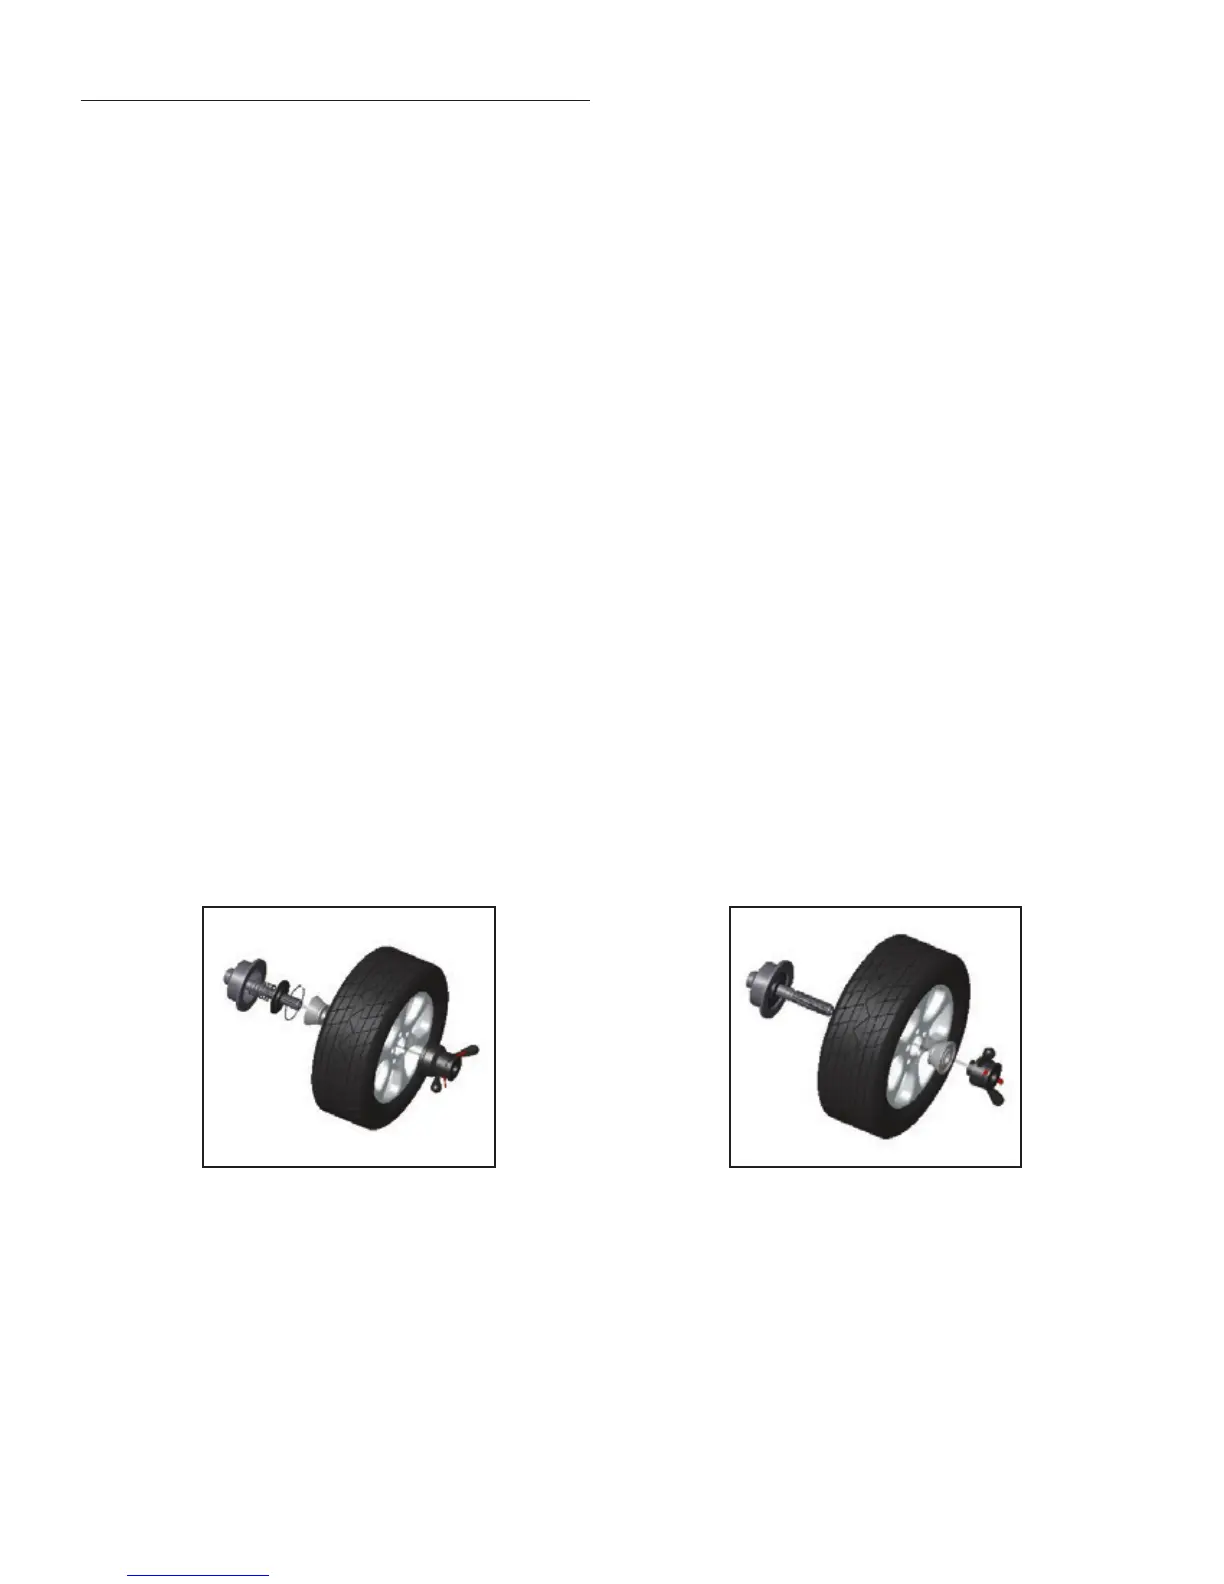
B. Negative positioning (refer to Figure 6-2):
If rim inner hole is big and biggest cone is adopted, negative position is suitable so that rim can
match shaft ange tightly. Mounting process: main shaft → mount wheel → install suitable cone
(big end towards outside) → quick release nut
3. Install wheel and cone on main shaft. Ensure the cone can clamp the wheel before screwing handle.
4. Wheel can rotate after screwing tightly.
6.3 DEMOUNTING THE WHEEL
1. Demount the handle and cone.
2. Raise the wheel and then take it down from main axis.
Note: Do not slide wheel on main shaft to prevent main shaft from scuffing while installation and
demounting the wheel
Figure 6-1 Figure 6-2