4810 Clover Road • Greensboro, NC 27450 • 1-800-336-2776 • www.eagleequip.com • © Eagle Equipment 2017.12 • page 17
9. SELF-CALIBRATING THE DYNAMIC BALANCER
The balancer was calibrated before leaving the factory, but because of long-distance transportation or
long-term use, you may need to self-calibrate after a period of time.
1. After turning on the machine, the initialization is nished (Figure 7-1). Install a can clip
counterweight and comparatively balanced middle size tire, follow step 7 to input the rim data.
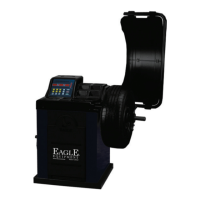
2. Press D key and C key (Figure 9-1), (lay down hood), press START key. Press STOP key or C key to
exit.
3. After axis stop (Figure 9-2), (open the hood) clip a 100 gram counterweight anywhere on the
outside of the rim, (lay down the hood). Press the START key. Press STOP key or C key to exit.
4. After axis stop (Figure 9-3), the calibration is nished. Demount the tire. The balancer is now ready
to use.
NOTE: When doing self-calibration, input data of rim must be correct. The 100 gram counterweight
must be correct, otherwise the self-calibration result will be wrong. An incorrect self-calibration will
decrease the precision of the balancer measuring.
10. THE BALANCING OPERATION OF THE WHEEL
10.1 BALANCING MODE CHANGE OPERATION
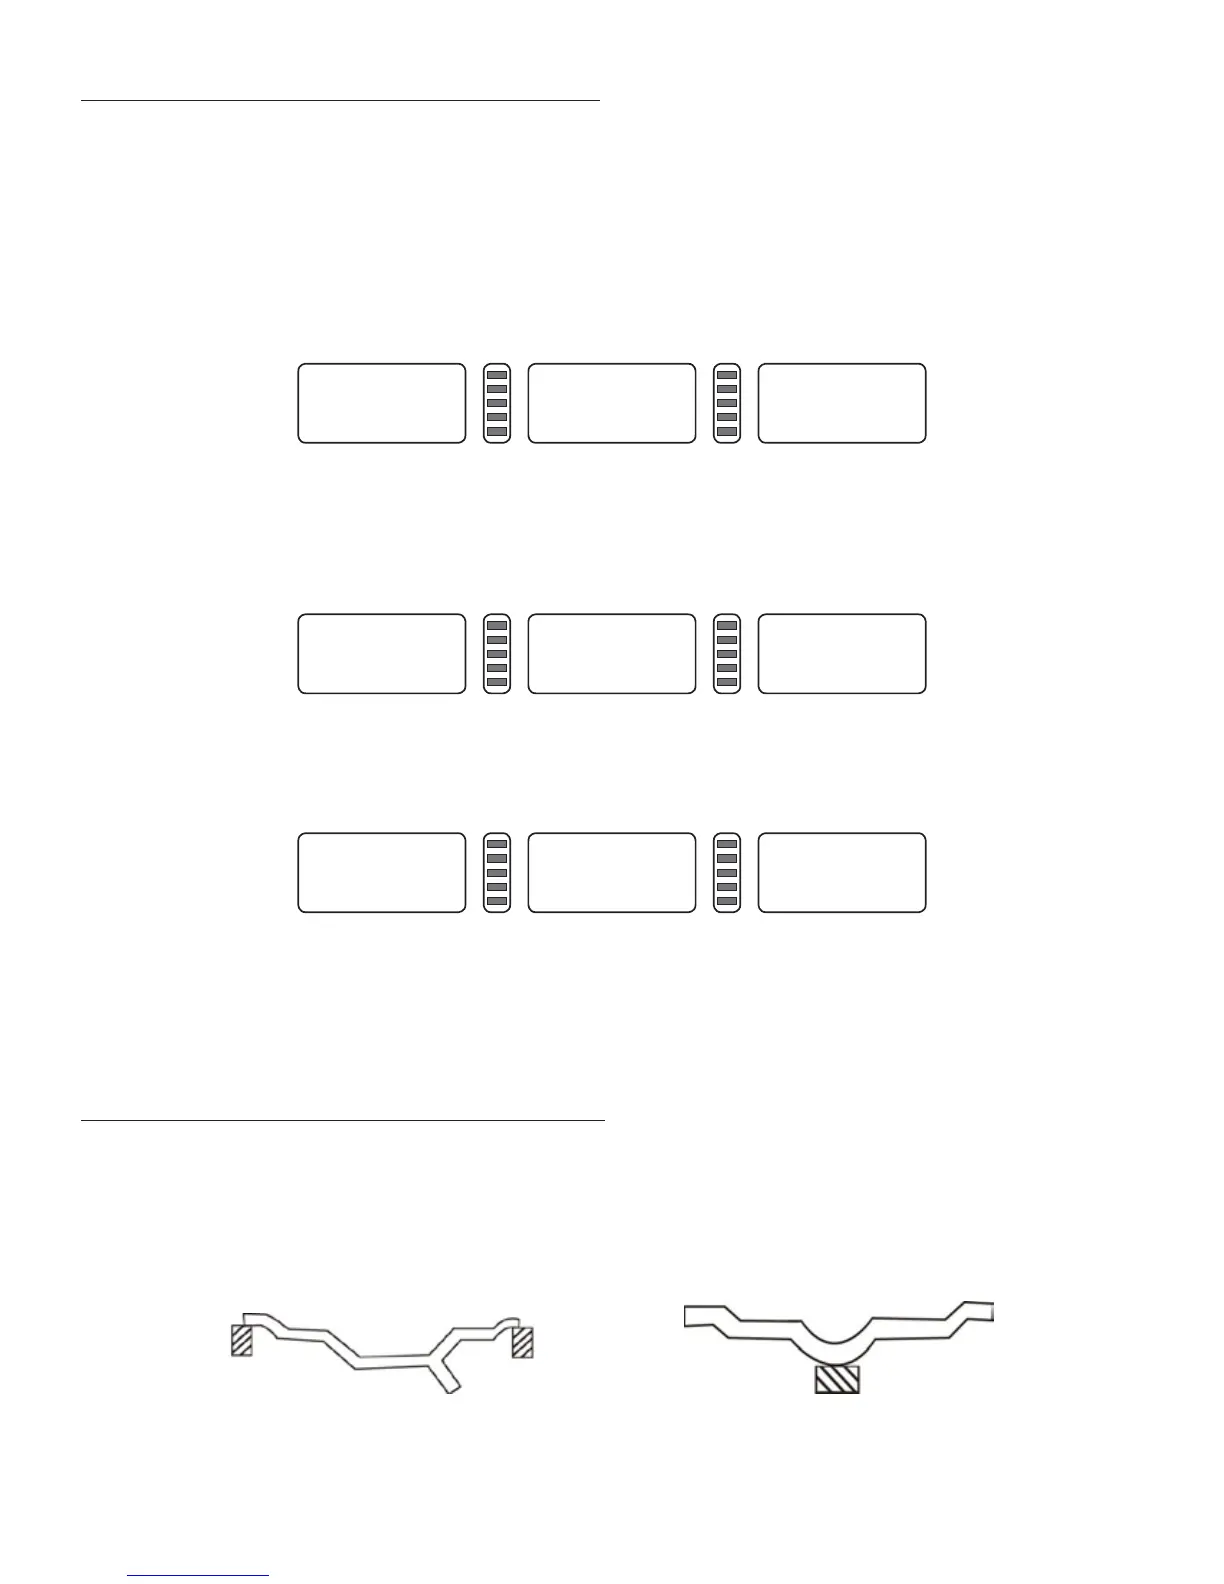
1. Dynamic and static balance mode switch: press F key. Dynamic balance mode: clip counterweight
on inside and outside edge of rim (balancer tolerant normal balance mode) (Figure 21). ST mode:
static balance measure mode, stick counterweight on middle of rim (Figure 22).
CAL. CAL. CAL.
Figure 9-1
ADD 100
Figure 9-2
Cal. END
Figure 9-3
Figure 10-1 Figure 10-2