Procedure
1. Switch on the integrated cable earthing in accordance
with the instructions in section 4.2.2.
2. To open the cable connection compartment:
check, using the single line diagram and position
indicators, whether the cable on the panel to be
opened is earthed;
open the cable connection compartment by lifting
the door and moving it forward
Figure 4-10.
3. Put up a “cable earthed” warning sign.
4. Use a high voltage tester to verify that the cable is
dead. Follow the cable connection supplier's
instructions.
The cable compartments are available as an option
in arc-proof design. The cable access doors of this
optional version are not interchangeable with the
standard doors.
5. Now if requested a visible back-up earth can be
installed by:
connecting the earth terminal on the back-up
earth to the earth bar in the cable connection
compartment, see Figure 4-12;
fit the earthing equipment, according to the plug
supplier's instructions, to all three phases of the
cable connection, see Figure 4-11.
It is still possible, however, to open the switch or
circuit-breaker in this situation. This may be
necessary in order to measure the cable. If the
switch requires to be interlocked against being
closed on in this situation, the scissor-type
interlock (section 4.3.4) can be used for this
purpose.
6. The panel requires to be returned to the neutral
position on completion of the operations.
Proceed as follows:
remove the back-up earthing equipment when this
is mounted;
connect the cable connection plugs according to
the supplier's instructions;
close the cable access door;
remove any earthing interlocks fitted;
open the switch.
check the position indicator.
The above switching operations are summarised
for experienced users in tables shown in
section 4.5.
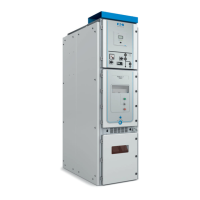
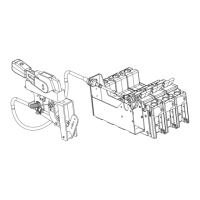
Figure 4-10: Opening the cable connection
compartment
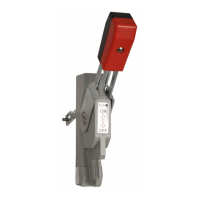
Figure 4-11: Example of an isolated plug with an
earthing point
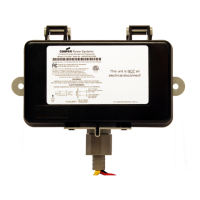
Figure 4-12: Earth bar in the cable connection
compartment
 Loading...