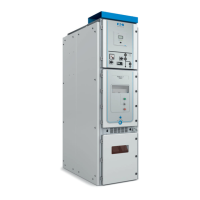
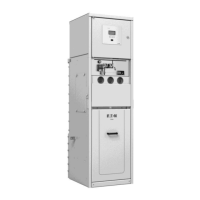
5.1 Connection
The unit concerned is fitted in the secondary space behind
the front plate or in the top-unit with a cable duct (2) and
secondary terminal strip (1).
The wiring to be connected to the terminal strip can be
brought in through the side wall either from the left or the
right-hand side or via the flexible plate (3) in the top plate of
the top-unit.
5.2 Remote signalling (option)
The positions of the:
load-break switch or circuit-breaker;
change-over switch;
(optional) trip indicator;
(optional) overcurrent indicator;
are connected to the terminal strip using auxiliary contacts.
5.3 Remote control
5.3.1 24 V DC Remote tripping (option)
The panels concerned are provided with:
auxiliary contacts as described under remote signalling;
a controller;
a trip coil.
If the supply voltage < > 24 V DC, then an optional
universal voltage converter is mounted.
For on-site commissioning:
1. Check that the power supply is live.
2. Use the position indicator (9) to check whether the
change-over switch is fully in the busbar position or in
the earthed position.
3. Use the position indicator (4) to check whether the
load-break switch or circuit-breaker is closed.
4. The control knob for the selector (7) should be in the
central position.
5. Tripping will follow once the closing contact on the
relevant terminals of the terminal strip is closed.
 Loading...