8
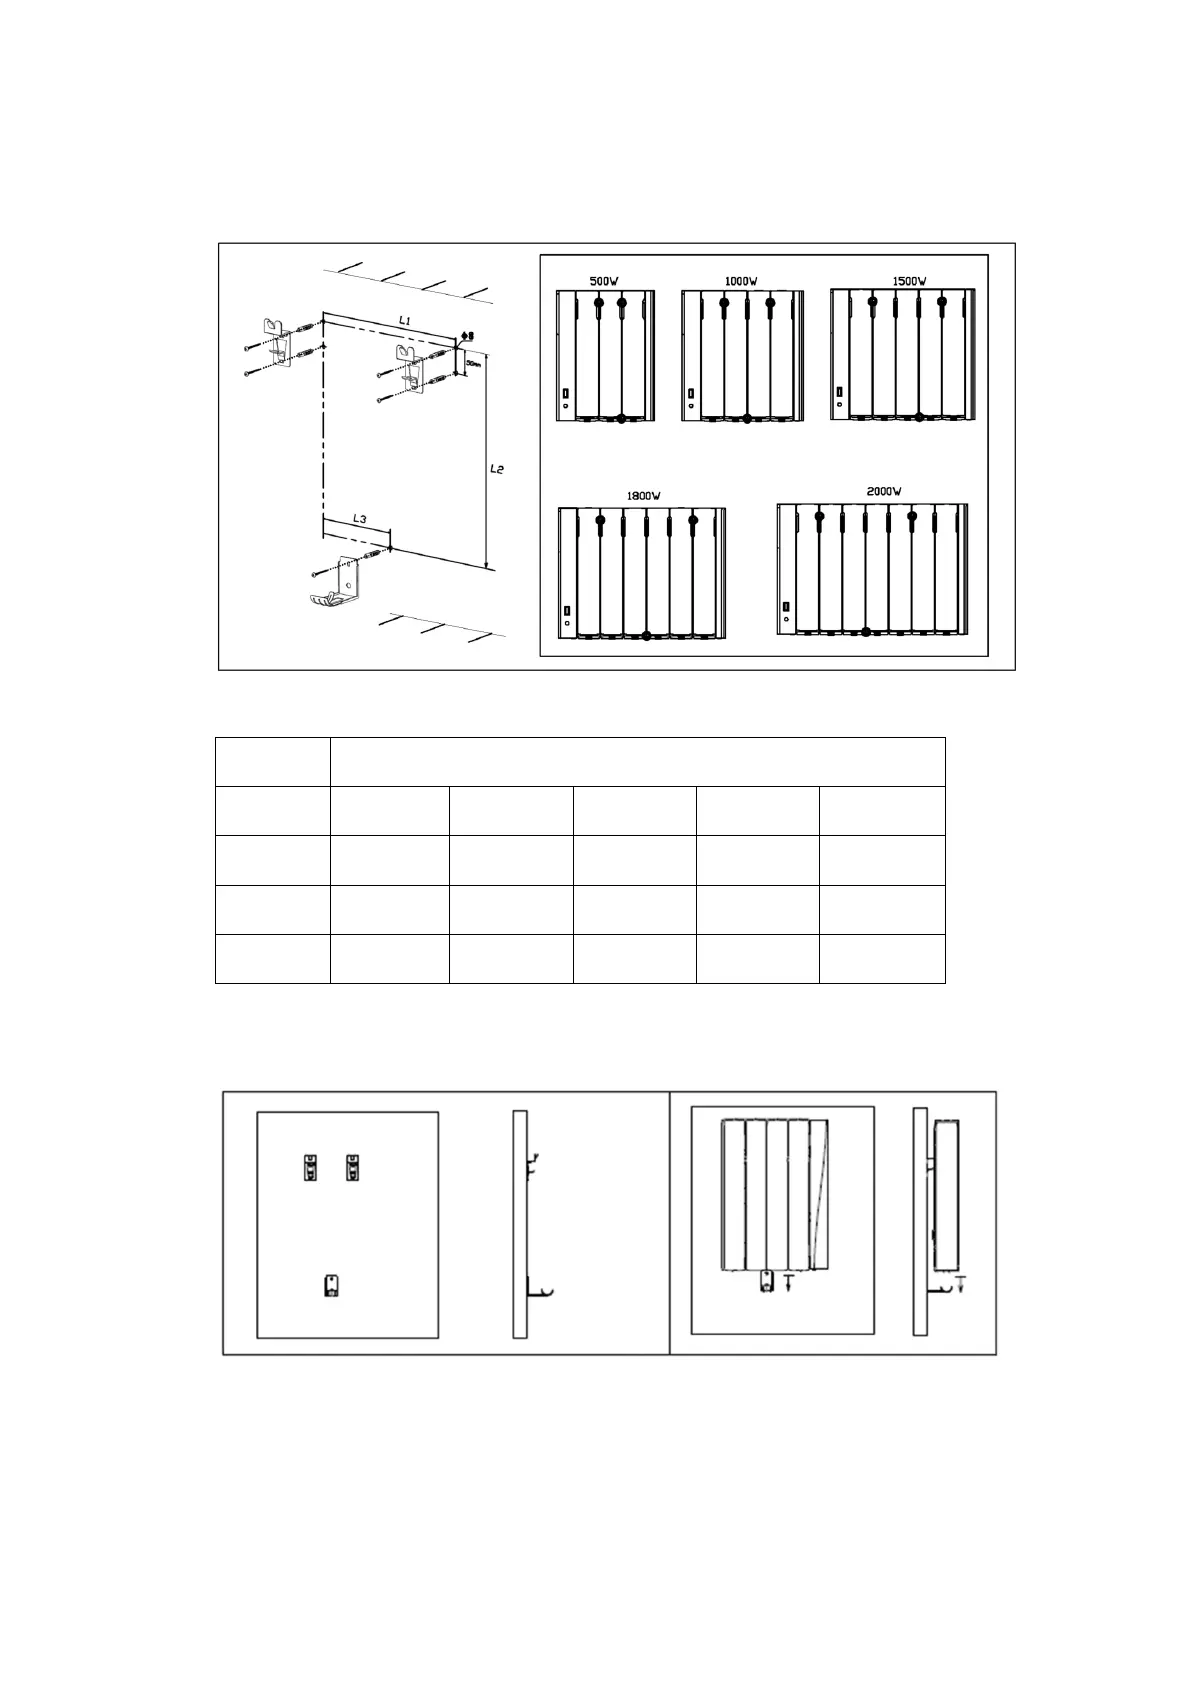
2. Using the template, mark the locations of the 5 drill holes required for your
product size. Fit the wall plugs into the holes and use the wall mounting
screws to fix the brackets in place as per the diagram below.
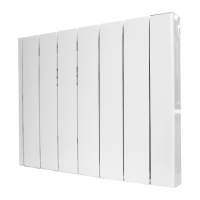
Drill hole distances by product size:
Model
Distance 500W 1000W 1500W 1800W 2000W
L1 (mm) 100 200 300 400 400
L2 (mm) 423 423 423 423 423
L3 (mm) 100 100 200 200 200
3. Lift up the unit and slide the struts of the upper brackets into the grooves.
Then lower the unit so it locks into the lower bracket.
4. Secure the unit on the upper brackets by feeding the locking screws into the
brackets as below.