Do you have a question about the ECOWITT WS69 and is the answer not in the manual?
Check necessary tools and components before starting the assembly process.
Evaluate installation location considering obstructions, sunlight, and wireless range.
Secure the sensor package to a mounting pole using U-bolts and a metal plate.
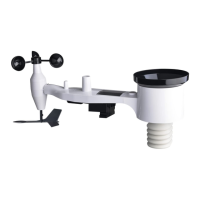
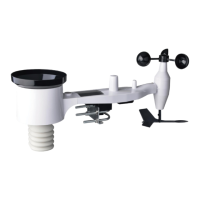
Attach the wind vane to the sensor package shaft and secure it with a set screw.
Mount the wind speed cup assembly onto the sensor package shaft and tighten the set screw.
Insert AA batteries into the sensor package compartment and verify LED indicator.
Attach the assembled sensor package onto a mounting pipe and align it correctly.
Optimize wireless performance by avoiding interference and ensuring proper placement.
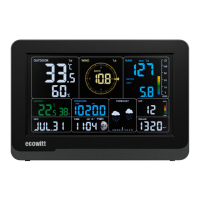
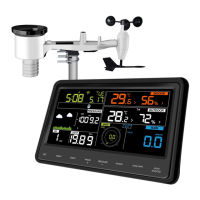
Procedure for replacing a previous sensor unit with the new one and reconnecting the gateway.
Clean the rain gauge mechanism regularly to ensure accurate rainfall measurements.
Clean the solar panel and inspect batteries periodically for optimal performance.
Replace batteries every 1-2 years and apply corrosion prevention compound to terminals.
| Temperature Resolution | 0.1°C |
|---|---|
| Humidity Resolution | 1% |
| Sensor Type | anemometer, rain gauge |
| Measured Parameters | Wind Speed, Wind Direction, Rainfall, Temperature, Humidity, UV Index, Solar Radiation |
| Wind Speed Range | 0 to 50 m/s |
| Rainfall Measurement | 0 to 9999 mm |
| Temperature Range | -40 to 60°C |
| Humidity Range | 0% - 99% |
| UV Index Range | 0 to 16 |
| Mounting | Pole mount |
| Update Rate | Every 16 seconds |