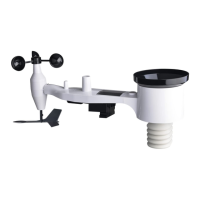
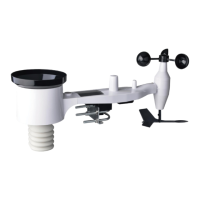
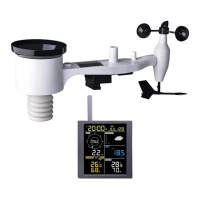
5 Set up Guide
5.1 Pre Installation Checkout
To complete assembly you will need a Philips screwdriver (size PH0) and
a wrench (size M6; included in package).
Note: We suggest you assemble all components of the weather station,
including console in one location so you can easily test
functionality. After testing, place the outdoor sensor package in
the desired location. Note, however, that movement during
assembly, and movement after assembly can cause the rain
sensor to “falsely” register rain. It is therefore best if you do not
connect the console to any Internet services until you have reset
these false readings using the console. The errant values may be
hard to remove from Internet services if you do not reset first.
Attention:
Follow suggested order for battery installation (outdoor sensor first,
console second)
Ensure batteries are installed with correct polarity (+/-)
Do not mix old and new batteries
Do not use rechargeable batteries
If outdoor temperature may go below 32F or 0C for prolonged
periods, Lithium based batteries are suggested over alkaline type
batteries for the outdoor sensor array
5.2 Site Survey
Perform a site survey before installing the weather station. Consider the
following:
1. You must clean the rain gauge every few months and change the