2006-2011 OBDII CONNECTION
1. Locate the remaining Attitude Connec-
tor on the already installed DATA/OBDII
Cable. (Figure 1)
CS/CTS Connector
Figure 1 - DATA/OBDII
2. Route the Attitude Connector and
remaining cable to the lower left corner
of the driver side windshield. (Similar to
Figure 4 on previous page) NOTE: This
cable should already be inside the cab
and underneath the dash.
3. Leave enough length between the dash
and the end of the CS/CTS connector for
easy CS/CTS install.
NOTE: For a clean look, the cable can be hidden behind the dash plastic and
the door frame weather strip.
5. Depending on your mounting style, refer to the following for proper installa-
tion:
(a) Arkon Mount: Quick Install Guide
(b) POD Mount: POD Install Manual
4. Plug the CS/CTS Connector into the proper mating connector on the back of
the CS/CTS Unit,
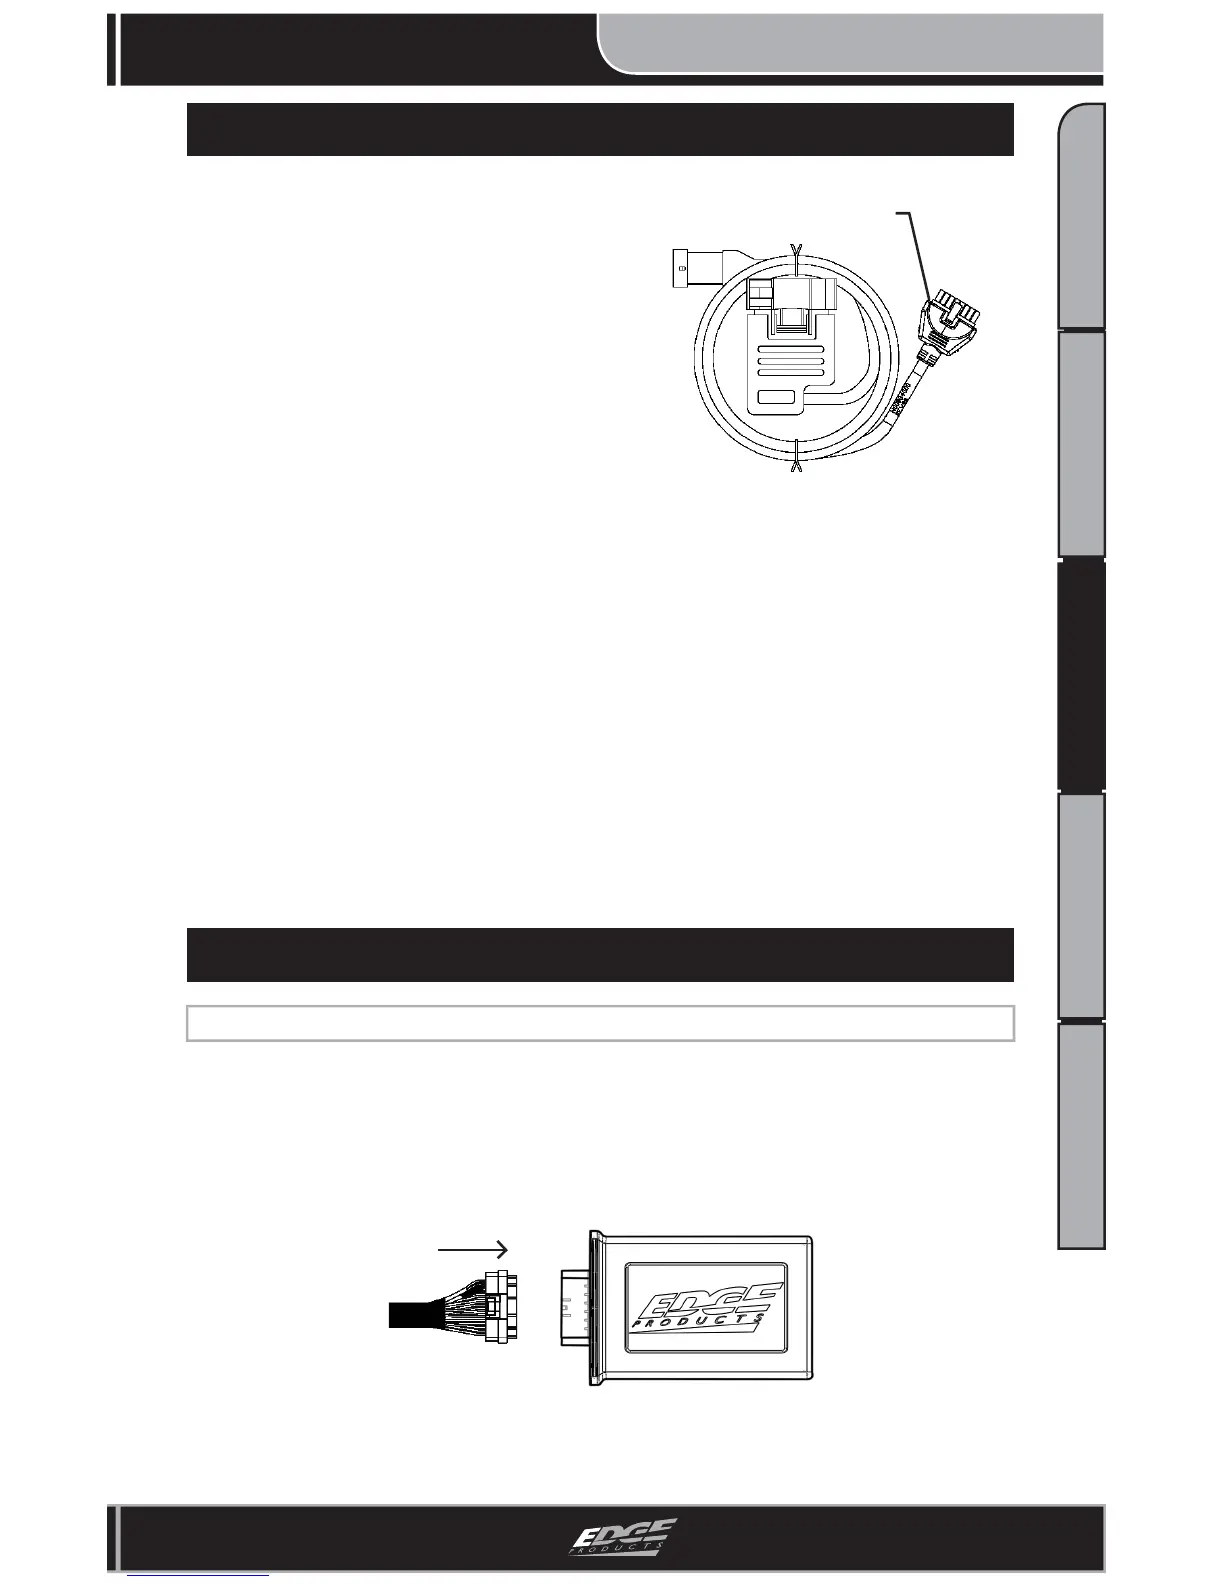
FINAL JUICE MODULE INSTALLATION
1. Plug the “Main Juice Connector” into the “Juice Module” receptacle.
(Figure 1)
Main Juice
Harness
Juice
Module
Figure 1 - Juice Module

 Loading...