- 40 -
ENGLISH
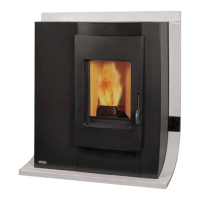
Fig. 4
Apply the rubber pads (Z) provided, under the marble horizon-
tal element (F).Fasten the lower marble horizontal element (G)
by simply resting it on the pins (T) of the lower metal bracket
(D).
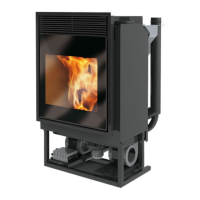
Fig. 5
The fi gure shows the stove completely assembled.
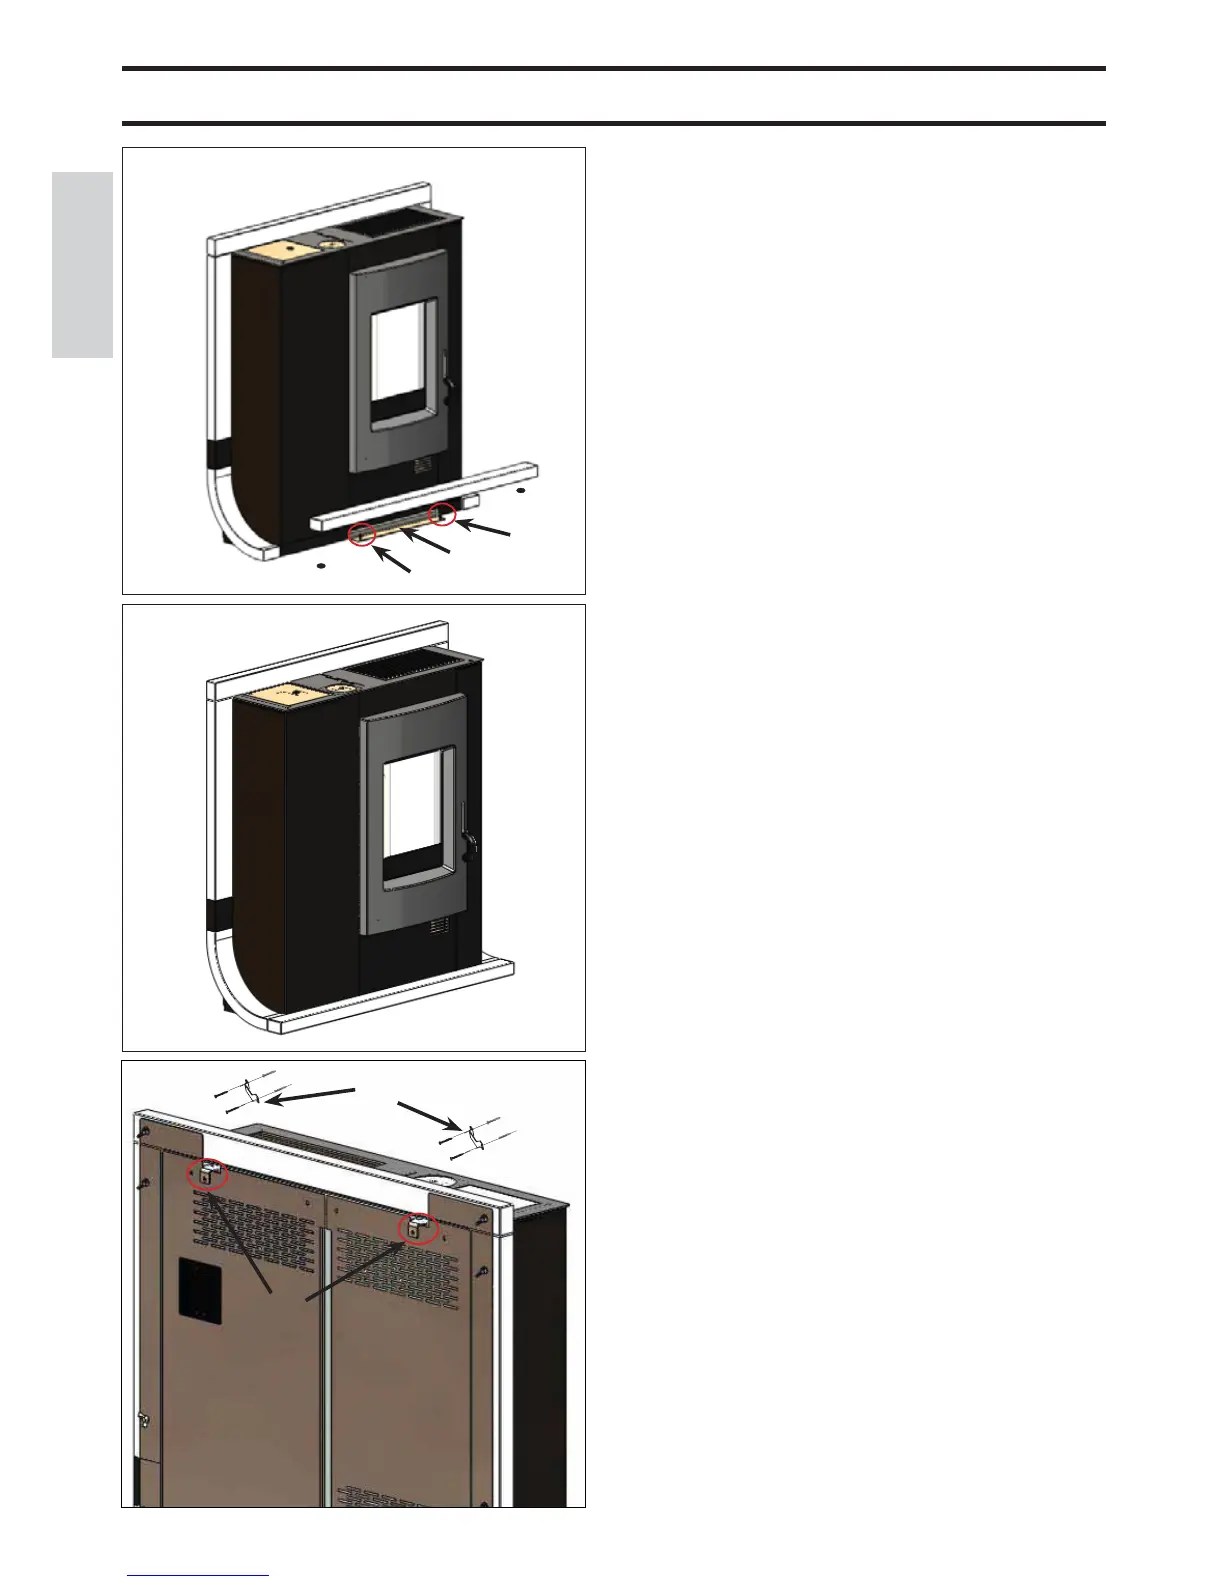
Fig. 6
Fix the stove to the wall using the square pieces (S) and bra-
ckets (R) provided, or use alternative systems that ensure its
stability.
COVERING INSTALLATION
Ŏ g. 5
Ŏ g. 4
Ŏ g. 6
G
T
D
T
Z
Z
S
R
 Loading...