EasyManua.ls Logo

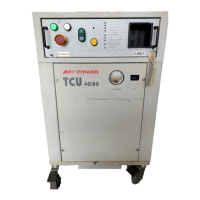
Edwards TCU 40/80

Edwards TCU 40/80
76 pages
To Next Page IconTo Next Page
To Previous Page IconTo Previous Page
Loading...
11.
Gently
slip
the
replacement
coil
onto
enclosing
tube
of
solenoid
valve
body.
12.
Pull
the
base
assembly
wiring
through
conduit
hole
and
slip
on
the
strain
relief
retaining
nut.
13.
Attach
the
ground
wire
to
coil.
14.
Strip
the
ends
of
all
wires
on
base
assembly
and
solenoid
valve
coils.
15.
Crimp
on
the
butt
wire
splices.
16.
Tighten
the
strain relief
retaining
nut.
17.
Install
the
original
junction
box
cover
and
fasten
attachment
screw.
18.
Install
the
spacer
cup.
19.
Install
and
tighten
the
lock
nut.
20.
Verify
the
coil
junction
box
is
labeled
SV1.
21.
Repeat
the
procedure
for
Hot
Gas
Bypass
solenoid
valve
coil
(SV2).
22.
Discard
the old
solenoid
coils.
23.
Perform
the
System
Check
procedure.
Retaining
nut
Junction
box
cover
Ground
screw
Lock
nut
Spacer
cup
Figure 12
-
Solenoid
coil
replacement
TCU
40/80
Temperature
Control
Unit
31

Related product manuals