FlashScan V2
1. With FlashScan V2 connected to your vehicle, select [F1: Scan Tool] -> [F1:
Select PIDs] and select controller you wish to display.
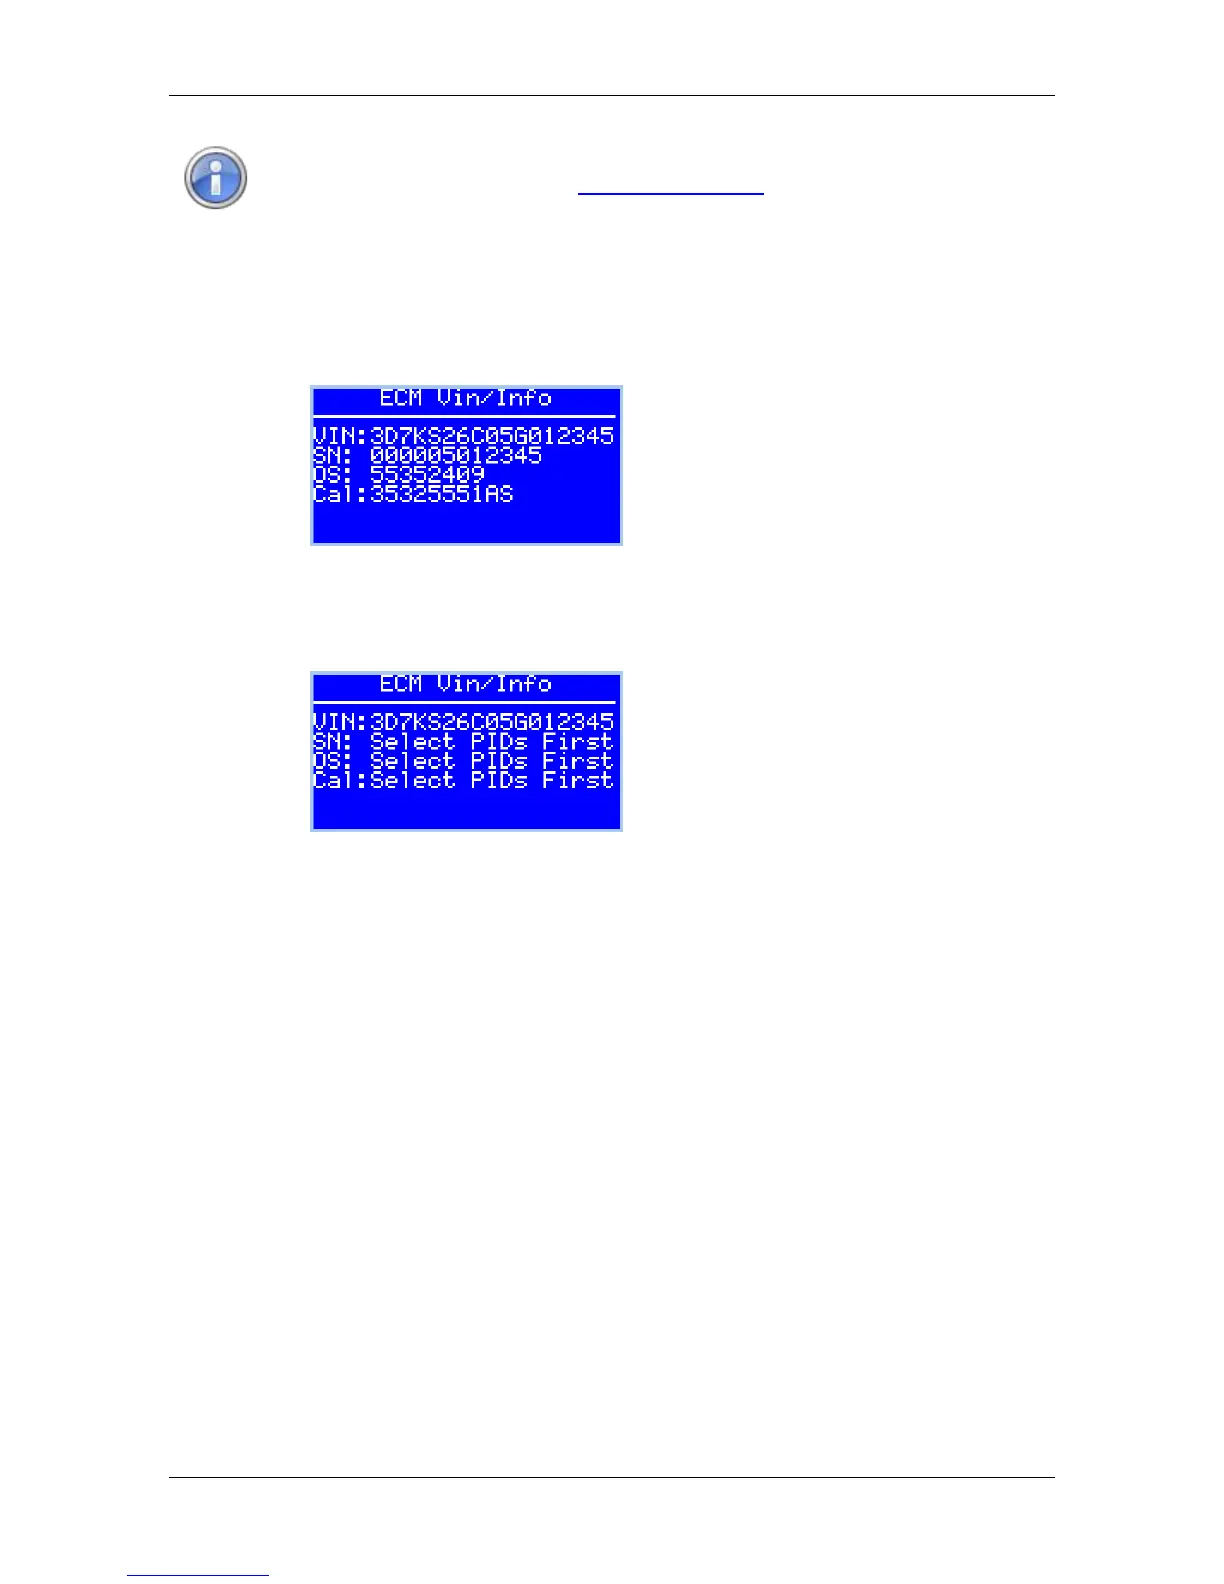
2. Return to the main menu and select [F3: Diagnostics] -> [F1: Display Info] -
> [F1: Display VIN/Info], the following data will be displayed:
3. Record the details displayed in the Cal: field to use in the match calibration
requirements step.
4. If the [Select PIDs] option is not selected first, the following will be
displayed:
AutoCal
For AutoCal, the user must boot into the advanced menu by holding down the
[Next] button while powering up the device.
1. Navigate to [Scan Tool] -> [Select PIDs] and select the controller you wish
to display.
2. Users can navigate to a range of options using the [Next] button. The
following options are available:
"Scan Tool"->"Display VIN"
"Scan Tool"->"Display OS"
"Scan Tool"->"Display SN"
"Scan Tool"->"Display Cal ID"
Where the display information exceeds 8 characters, a ">" character is
displayed at the end of the data prompting the user to press [Next] to scroll
the data horizontally. The "<" character indicates that the user can press
the [Prev] key to scroll the data back again.
3. Record the details displayed in the Cal ID: field to use in the match
calibration requirements step.