- 10 -
Chapter 1
Introduction
●
Rear
10
8
9
11
7
65
43
3. Main power switch
Turns the main power on (
) or off ( ).
4. Power connector Connects the power cord.
5. Input signal connectors Left: DVI-D connector / Center: HDMI connector / Right: DisplayPort connector
6. USB upstream port Connects to the USB cable when using software that requires a USB connection, or when using the USB Hub function (page 42).
7. USB downstream port Connects to a peripheral USB device.
The “CHARGE” port
supports quick recharging (page 26).
8. Handle This handle is used for transportation.
Attention
• Firmly grasp and hold the monitor by the bottom while grabbing the handle, and carefully convey the monitor so as not to drop it.
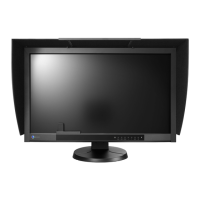
Do not hold the sensor section on the front side of the monitor.
9. Security lock slot Complies with Kensington’s MicroSaver security system.
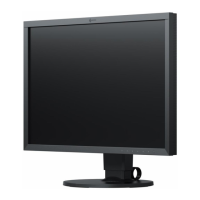
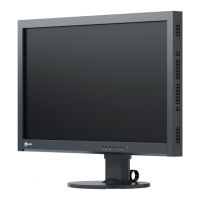
10. Stand
*2
Adjusts the height and angle (tilt and swivel) of the monitor.
Attention
• Do not hold the sensor section on the front side of the monitor.
11. Cable holder
*3
Covers the monitor cables.
*2 An optional arm (or an optional stand) can be attached by removing the stand section (see “6-1. Attaching the Optional Arm” (page 33)).
*3 For details on mounting the cable holder, see “6-3. Attaching/Detaching Cable Holder” (page 39).
 Loading...
