13
4 TAKING A READING
Disclaimer: Inherent in ultrasonic thickness measurement is the possibility that the instrument will use the
second echo rather than the first echo from the back surface of the material being measured while in
standard pulse-echo mode. This may result in a thickness reading which is TWICE what it should be.
The responsibility for proper use of the instrument and recognition of these types of phenomenon rests
solely with the user of the instrument.
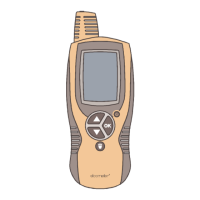
4.1 BEFORE YOU START
• Calibrate the gauge. . . . . . . . . . . . . . See “Calibration” on page 15.
• Prepare the surface. . . . . . . . . . . . . . See “Condition and preparation of surfaces” on page 39.
1. Apply couplant
For the gauge to work correctly there must be no air gaps between the transducer and the surface of
the material to be measured. This is achieved using a material called a couplant.
Before the transducer is placed on the surface, put a small amount of the couplant supplied with the
gauge on the surface of the material. Typically a single drop is sufficient.
2. Place transducer onto surface of material to be measured
Press the transducer with the delay line into the couplant. Moderate pressure on the top of the
transducer using the thumb or index finger is sufficient; it is only necessary to keep the transducer
stationary and the delay line surface seated flat against the surface of the material.