104
Page
Installation
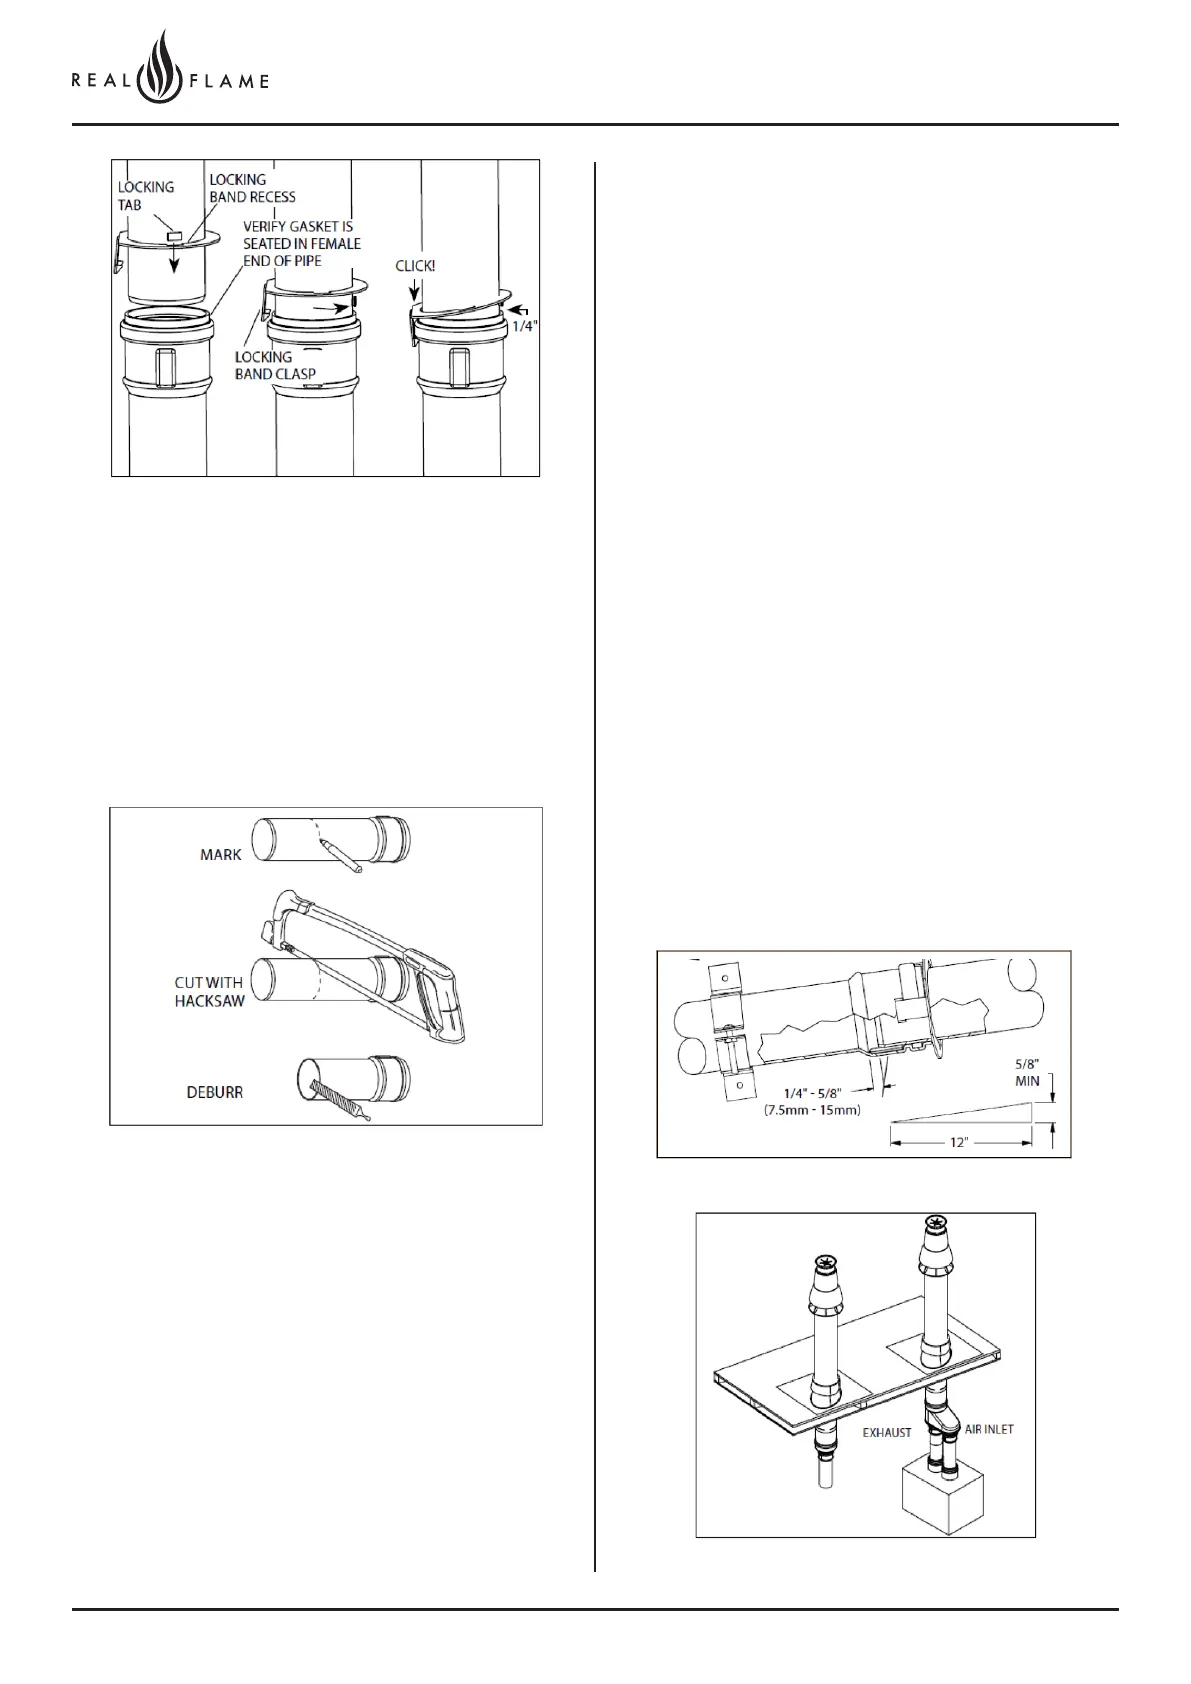
1. Pipe lengths may be cut to length. Use an alternative
clamp (PPS-PAC/PPS-LBC) for the connection if a
locking tab is removed.
• Cut square (not an angle) to the end of the pipe.
• Remove burrs before assembly.
2. Check with appliance manufacturer for any restrictions
or limits on vent length, number of elbows, etc.
3. The slope of the vent pipe must be at least 3° (50mm
per meter) back to the appliance.
4. Every horizontal section must be supported.
5. The venting system shall be securely supported
using suitable hangers. Duravent hardware is
recommended; field supplied support hardware
suitable to the AHJ is acceptable, hardware must not
deform on damage the vent. Make sure the load on
the vent system is not supported by the appliance. On
Duravent and other certain clamp styles, 1/4˝ or
greater All-thread may be used as an extension.
6. Vertical installations must be supported every 3 meters
or less.
7. Elbows and tees are sufficiently supported when a
bracket is fixed at the female end of the connected
straight section.
Vertical Concentric
1. Locate penetration.
2. Cut hole in roof.
3. Cut hole in ceiling above appliance.
Cut hole(s) big enough for pipe in all ceilings above
appliance if installing in a multi storey installation.
4. Firestop each ceiling penetration.
5. Attach flashing to roof.
Slide storm collar onto flashing if using the adjustable
roof flashing.
6. Slide vertical termination into flashing from above
until seated on flashing.
7. Plumb termination and mount support bracket to
structure.