EasyManua.ls Logo

Elkay SWIRLFLO Series User Manual

Elkay SWIRLFLO Series
7 pages
To Next Page IconTo Next Page
Page #1 background imageLoading...
Page #1 background image
Page 1
EDFPB117C, EDFPBM117C, EDFPB117RAC, EDFPBM117RAC, EDFPBV117C,
EDFPBMV117C, EDFPBV117RAC, EBFPBMV117RAC
97922C (Rev. E - 3/05)
SWIRLFLO fountains with FLEXI-GUARD
INSTALLATION, CARE & USE MANUAL
TM
TM
!
CAUTION
:
Review these instructions before beginning installation. Be sure that installation
conforms to all plumbing, electrical and other applicable codes.
!
WARNING
:
When installation is complete, ensure these instructions are left in the plastic bag
provided inside the installed unit for future reference.
!
WARNING
:
Service to be performed by authorized service personnel only.
INSTALLER
NOTE: It is common practice to ground electrical hardware such as telephones, computers and other devices
to available water lines. This can, however, cause electrical feedback in the plumbing circuit, which
results in an “electrolysis” effect occurring in the fountain. This may result in water which has a metallic
taste to it or has a noticeable increase in the metallic content of the water.
When inspecting plumbing circuit, remember the line may be grounded some distance from the
installation, and may occur outside the building or area in which the unit is being installed.
This condition can be avoided (in most cases) by using recommended materials during installation. Any
drain fittings provided by the installer should be made of plastic which will electronically isolate the
fountain from the remainder of the building’s plumbing circuits.
EDFPBM(V)117C EDFPBM(V)117RAC
Question and Answer IconNeed help?

Do you have a question about the Elkay SWIRLFLO Series and is the answer not in the manual?

Elkay SWIRLFLO Series Specifications

General IconGeneral
CategoryOutdoor Fountain
BrandElkay
MaterialStainless Steel
Rated For Outdoor UseYes
SeriesSWIRLFLO
FinishStainless Steel
OperationMechanical
Water SourceMunicipal Water
DimensionsVaries by model
WeightVaries by model

Summary

Installer Guidance

Pre-installation Review

Review all instructions before installation and ensure conformity with applicable codes.

Post-installation Instructions

Ensure installation instructions are left with the installed unit for future reference.

Authorized Service Only

Service on the unit should only be performed by authorized service personnel.

Electrolysis and Water Taste

Note potential electrolysis effect from grounding electrical hardware to water lines, causing metallic taste.

Installation Instructions

Wall Framing & Rough-in Dimensions

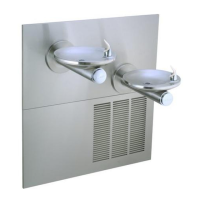
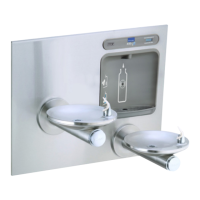
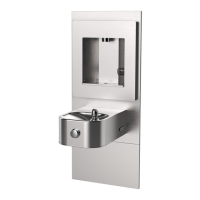
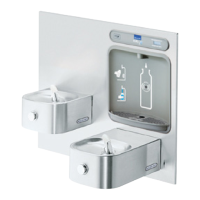
Install based on wall framing and rough-in dimensions for compliance with ANSI Standard A117.0.

Plumbing & Service Stop Installation

Run supply water inlet line through the back panel and install a service stop.

Back Panel & Fountain Mounting

Mount the back panel and then the fountain to the back panel and mounting plate.

Waste Line & Trap Setup

Determine required waste line length and connect to a slip trap.

Water Supply Connections & Insulation

Connect water supply to the copper tube and insulate the line after leak check.

Pressure Requirements & Regulator

Ensure supply pressure is between 20-105 PSIG; install regulator if needed.

Stream Height Adjustment

Adjust stream height via the regulator screw to achieve optimal flow.

Troubleshooting & Maintenance

Orifice Assembly Maintenance

Address mineral deposits on orifice to prevent spurting or regulate flow issues.

Stream Regulator Function

Ensure orifice is clean; replace regulator if necessary for proper stream regulation.

Quick Connect Fittings Operation

Learn to connect and disconnect tubing from fittings by relieving pressure and pushing the collar.

Water Supply Connections

Details on connecting water inlet tubing to the cooler and service stop.
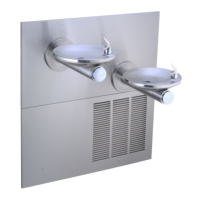
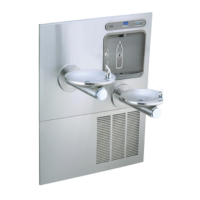
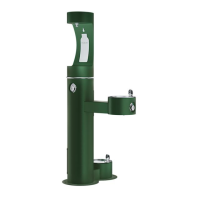
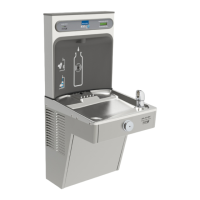
Related product manuals