EllisSaw.com
12
INSTALLING DRILL CHUCK
AND ARBOR (FIGURE A)
The Ellis 9400 Drill Press comes with a
Morse Taper #3 (MT3).
1. Clean the inside taper in the drill press spindle.
2. Clean the outside of the tapers on the drills
and chucks.
3. To insert the MT3 arbor into the spindle:
a. Insert arbor in hole and turn until taper falls into
slot. Push up rmly or tap with soft hammer.
b. Place a block of wood on the table under drill
or chuck (#8649).
c. Using Feed Handles, press down to seat arbor
into spindle of drill press.
REMOVING DRILL CHUCK
AND ARBOR (FIGURE B)
1. Lower the Drill Press Spindle until the slot is visible.
2. Using locking handle (#8472) and dial (#8440),
rotate dial CW (clockwise) until it stops (p. 10).
3. Tighten locking handle (#8472)—this holds spindle
down in place.
4. Turn drill chuck or drill (by hand) until
slots align.
5. Insert drift key (#8073) into slot.
6. Hold chuck or drill with one hand while tapping
on drift key with hammer.
7. Drill or chuck will come out of slot.
DRILL SPEEDS AND USAGE
The speed at which the drill has to rotate for efcient
cutting depends on the type of material being worked
and the diameter of the drill.
• Apply cutting oil (uid) to the drill bit. When drilling
deep holes, retract the drill bit often to remove chips.
• Use a low Spindle Speed and High Torque Range for
tapping a threaded hole.
• Use a heavy oil or thread cutting uid to lubricate the tap.
• Reverse the spindle rotation with the reverse switch
on the VS Control Box to retract the tap.
TIGHTENING CHUCK
The Ellis 3/4" drill chuck (#8649) is designed to
hold drill bits and taps securely. Adjust the chuck by
rotating the sleeve clockwise until it is open more than
the size of the shaft. Hold the bit in place and turn the
sleeve counter-clockwise until the jaws of the chuck
hold the bit in place. Be sure to check that the bit is
installed straight. Locate the three (3) pilot holes on
the chuck body. Use the 11-point key and insert and
tighten each of the three (3) pilot holes under even
and rm pressure.
ROTATING, ELEVATING AND
CLAMPING THE TABLE (FIGURE C)
The worktable can rotate 360 degrees and move up
and down on the column. Loosen both column
clamp screws (#8407), rotate the table to the
required position, elevate the table by means of the
elevating handle (#8406). Then, tighten both clamp
screws again. (See Figure C)
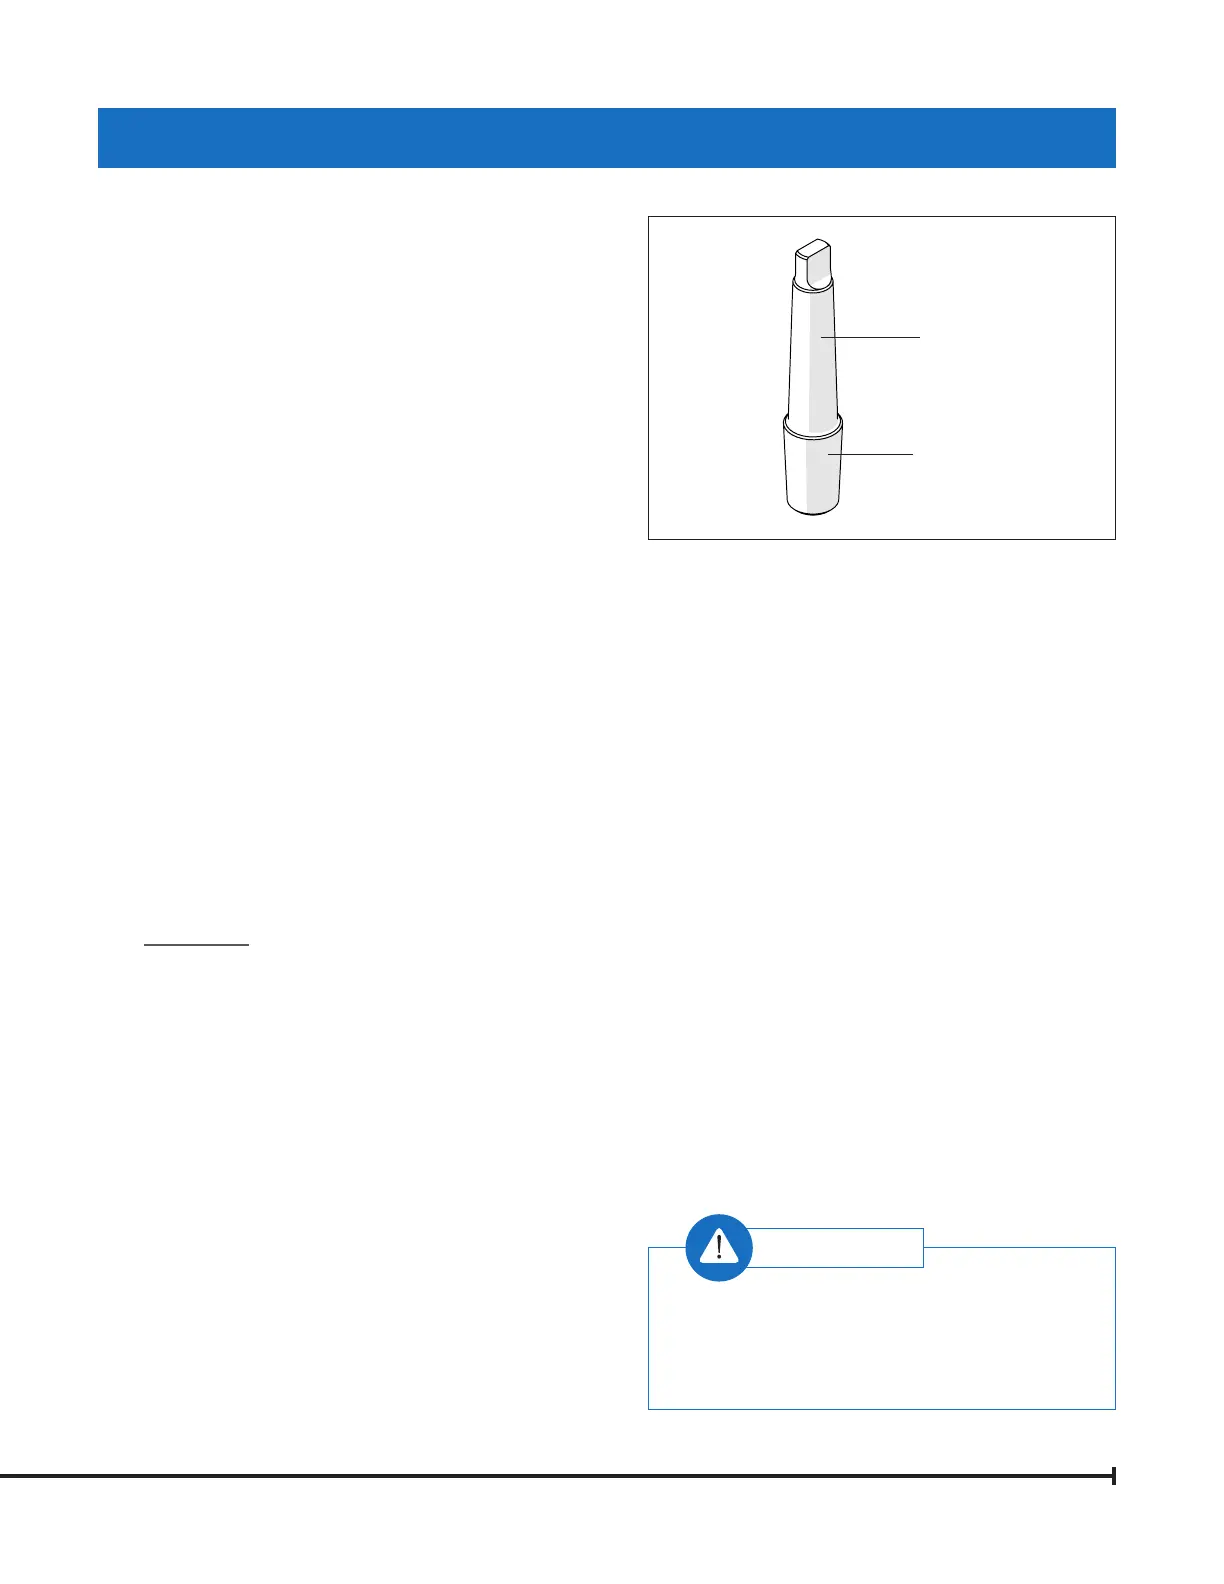
DRILL CHUCK AND ARBOR
Damage will occur to internal table gear
components if column clamp screws are not
loosened prior to elevating table.
WARNING:
MT3
JT4
4981 — Arbor
 Loading...