iMX RT1062 OEM Developer’s Kit - User’s Guide
Copyright 2019 © Embedded Artists AB
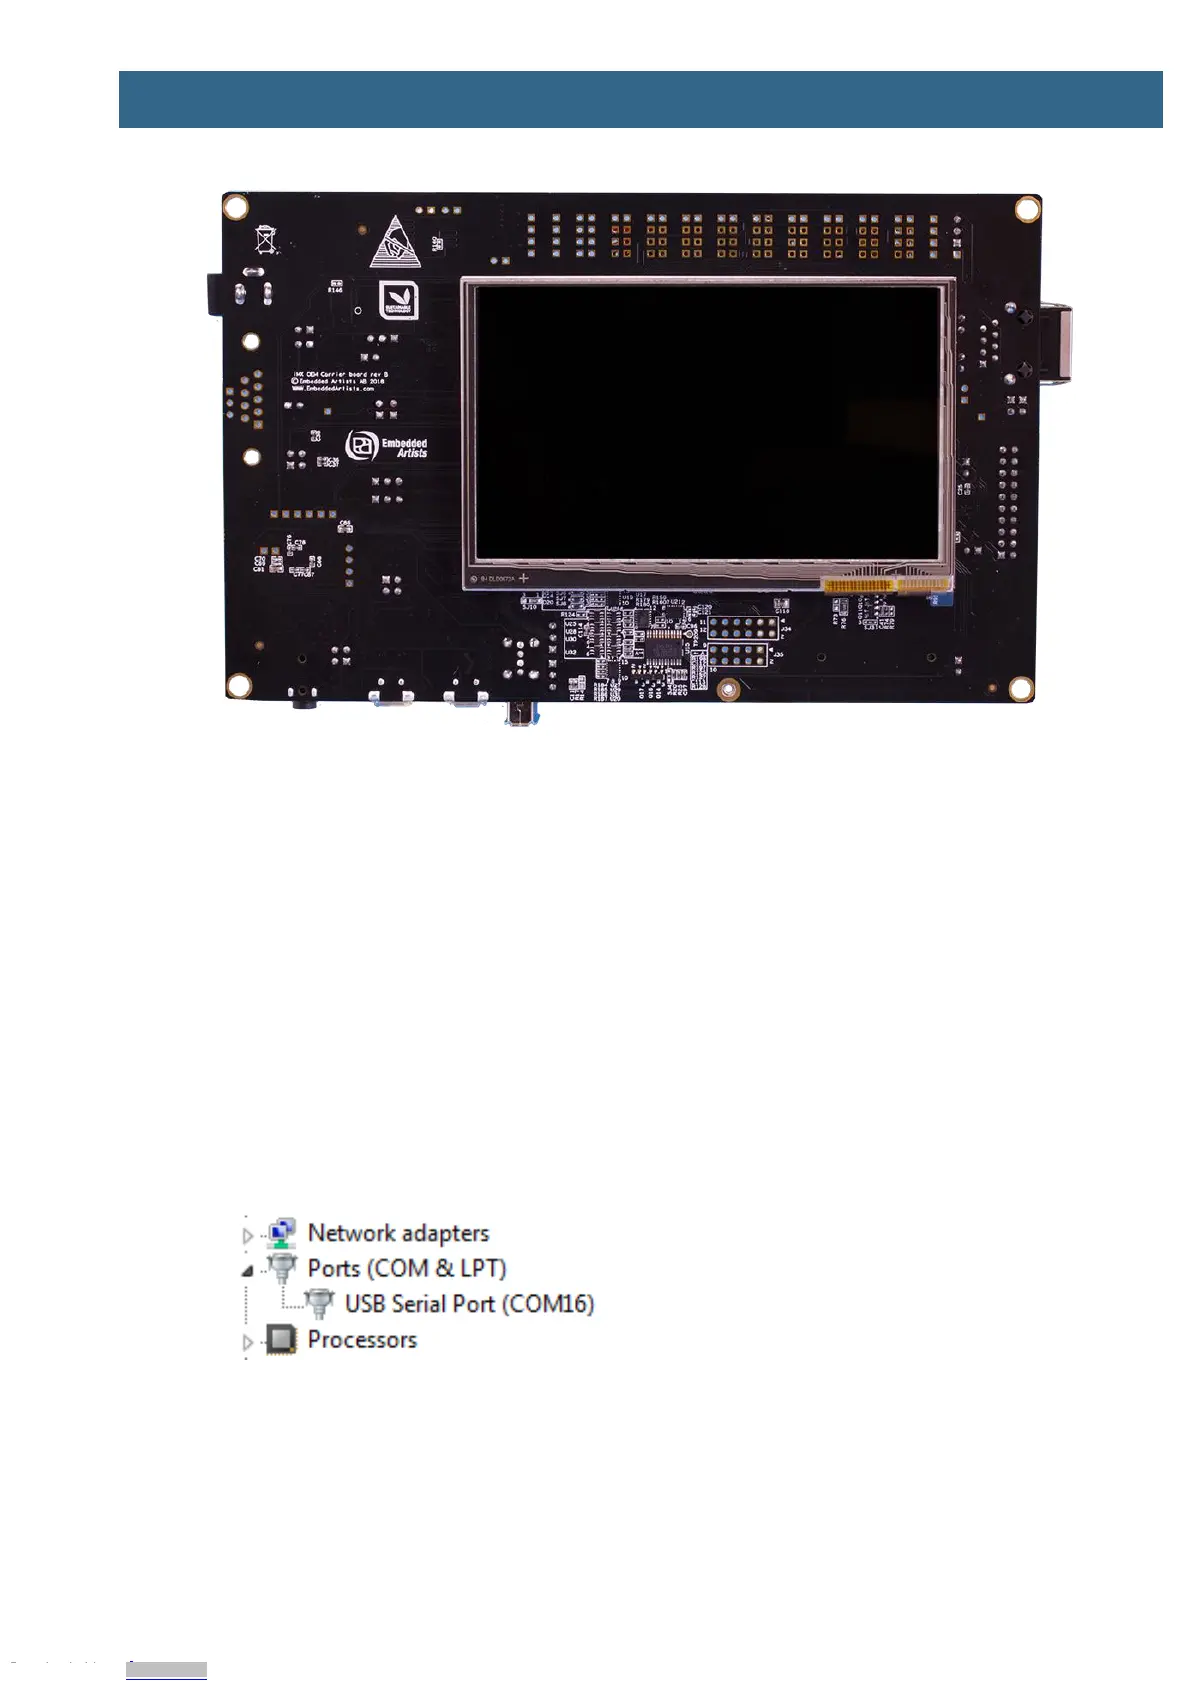
Figure 2 – iMX RT1062 Developer's Kit Bottom View
2.3 Connecting - Get Started
Begin by connecting the micro-B USB connector to position 1) in Figure 1 above. Connect the other
end of the USB cable to the PC. The pre-loaded demo application will immediately start, showing some
graphics on the LCD (on the bottom side). The demo application is described in more detail in section
3 .
Meanwhile the PC will typically install drivers automatically for the UART-to-USB bridge that creates a
Virtual COM port, if they are not already installed. If you have problems the drivers can be downloaded
from the links below:
http://www.ftdichip.com/Drivers/VCP.htm
http://www.ftdichip.com/Support/Documents/InstallGuides.htm
When the driver has been installed, a new COM port will listed under “Ports” in the Device Manager as
shown in Figure 3. Please note that the actual port number will most likely be different on your
computer.
Figure 3 – Virtual COM port shown in device manager
The next step is to open a terminal application and attached it to the Virtual COM port that has just
been created. The baud rate should be 115200.
Some development environments/IDEs have a built-in terminal application that can be used.
Sometimes it is better to have a terminal application with more features. For increased flexibility, we
Downloaded from Arrow.com.Downloaded from Arrow.com.Downloaded from Arrow.com.Downloaded from Arrow.com.Downloaded from Arrow.com.Downloaded from Arrow.com.Downloaded from Arrow.com.Downloaded from Arrow.com.