28
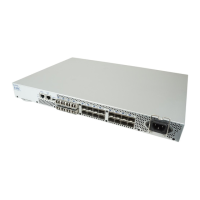
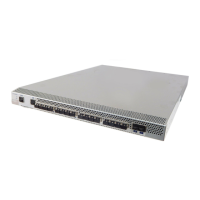
EMC Connectrix B Series DS-300B Hardware Reference Manual
Installing and Configuring the DS-300B
Configuring the DS-300B
◆ “Using EZSwitch Setup (optional)” on page 28
◆ “Providing power to the switch” on page 28
◆ “Creating a serial connection” on page 29
◆ “Setting the switch IP address” on page 29
◆ “Setting the date and time” on page 30
Using EZSwitch Setup (optional)
Once you have set up the DS-300B in a rack or as a standalone switch, it
is time to give it power and a basic configuration. If you are going to use
the DS-300B in a single-switch setup, you can use EZSwitchSetup to
complete the basic configuration.
See the EZSwitchSetup CD, included with DS-300B for more information.
You can also use the Connectrix DS-300B Quick Start Guide.
If you do not want to use EZSwitch Setup, follow the rest of this
section.
Providing power to the switch
1. Connect the power cord to the power receptacle on the port side
of the DS-300B, and then to the power source. Ensure that the
cord has a minimum service loop of 6 in. available and is routed
to avoid stress.
The DS-300B does not have an on/off switch. This means that
power is supplied to the DS-300B as soon as you connect it to an
AC power source.
The status LEDs display amber until POST is complete, and then
change to green. The switch usually requires from 1 to 3 minutes
to boot and complete POST.
2. After POST is complete, verify that the switch power and status
LEDs on the left of the port side of the switch are green.