Jp1
Jp2
Jp3
1
"Closed" position:
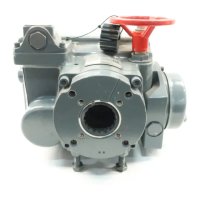
7. Movethevalvetoabout15°beforethefully
“closed”positionwiththemanualoverridehand
wheel.
8. Turnthe“closed”mechanicalstopscrewout
(CCW)4turns.
9. Movethevalvetothefullyclosedpositionwith
themanualoverridehandwheel.
10.Turn“Motorswitchclosed”-cam(CCW)until
switchtrips.
Forpositionindicationsetthelimitswitchesas
follows:
Turn“Motorswitchclosed”-cam(CCW)until
switchtrips.
11.Turnthe“Closed”mechanicalstopscrewin(CW)
untilanobstructionisfelt(donotforce)then
back-off3turnsandlockthemechanicalstop
screwwiththelocknut.
Important
• Afteradjustmentsalwaysmountthecoverto
thehousingorcontinuewithchapter5.
• Takecarethatthecoversealisinplaceto
complytodustandwatertightnessaccording
toIP65,IP67orNEMA4.
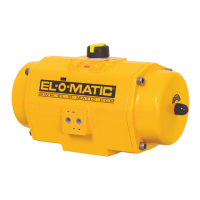
4.2 Torque setting
4.2.1 Jumper setting maximum torque
Warning
Besurethatthejumperisplacedatoneof
thethreejumperpositions.
TheELQisfactorysetatitsmaximumoutputtorque.
Theoutputtorquecanbereducedbymeansofa
jumper(seetable4.2).
Table 4.2 Jumper setting maximum torque
Metric data Jp1 Jp2 Jp3
ELQ100 100 Nm. 80 Nm. 55 Nm.
ELQ200 200 Nm. 160 Nm. 130 Nm.
ELQ300 300 Nm. 250 Nm. 210 Nm.
ELQ500 500 Nm. 430 Nm. 360 Nm.
ELQ800 800 Nm. 700 Nm. 600 Nm.
Imperial data
ELQ100 885In.Ibf 708In.Ibf 487In.Ibf
ELQ200 1770In.Ibf 1416In.Ibf 1151In.Ibf
ELQ300 2655In.Ibf 2213In.Ibf 1859In.Ibf
ELQ500 4425In.Ibf 3806In.Ibf 3186In.Ibf
ELQ800 7081In.Ibf 6196In.Ibf 5310In.Ibf
4.1.1 Mount cover
 Loading...