Comfort where it counts 8 P/N 240008111, Rev. G [06/18/10]
Mounting the Unit (continued)
Unit Mounting Instructions
Aer determining the best location for 1.
the unit, use the cardboard template
provided in the packaging (Figure 3,
Page 7).
Mark where the piping, electrical wiring 2.
and condensate drain should penetrate
the wall.
Determine the appropriate hole size and 3.
cut through the wall.
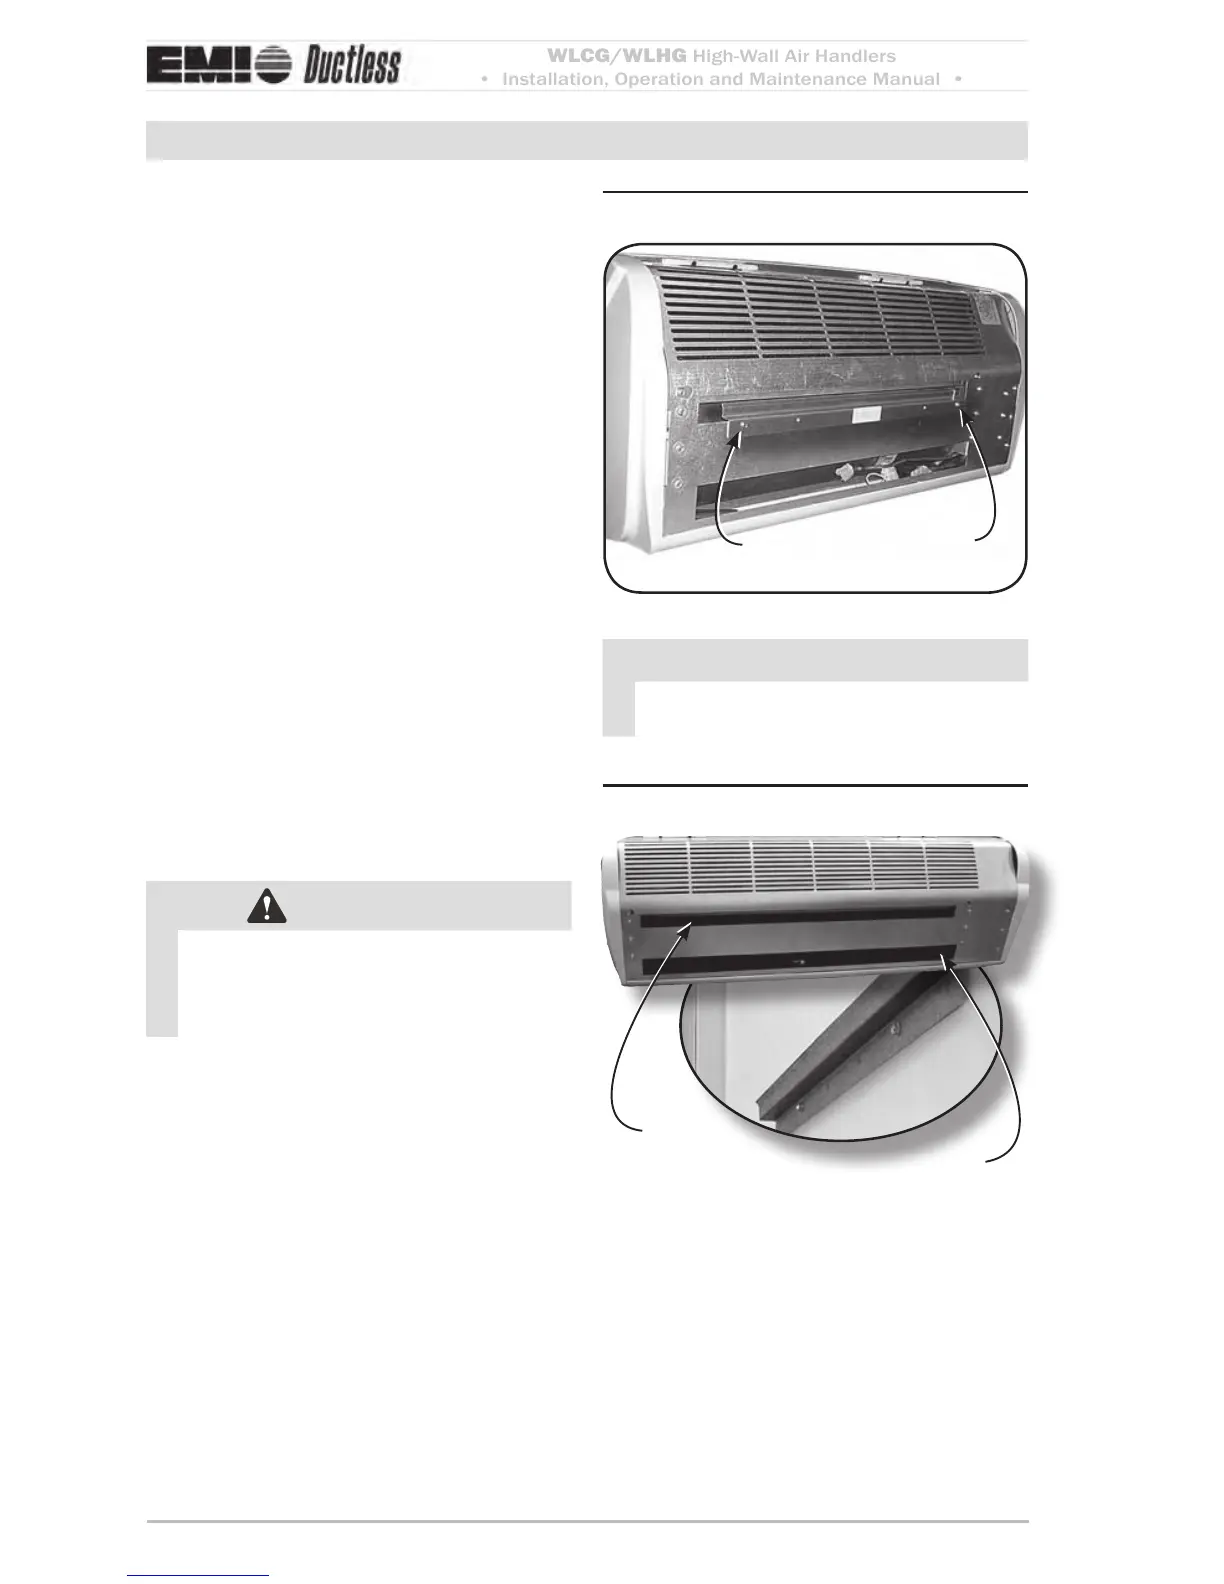
Use the supplied wall bracket. For 4.
shipping purposes, the wall bracket is
fastened to the back of the unit.
Secure the bracket to the wall with 5.
the appropriate screws (for wood) or
anchors (for masonry). Ensure the
bracket is mounted in a manner that will
support the weight of the unit (Figure 4,
Page 8).
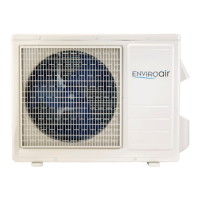
To mount the unit to the bracket, align 6.
the mounting slot on the back of the
unit over the bracket and make certain
it ts properly (Figure 5, Page 8).
WARNING
Replace all panels aer installation or
servicing. Panels must remain on the
unit at all times while powered and in
operation.
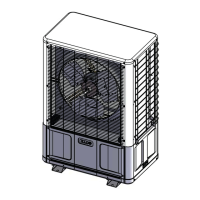
Wall hanging bracketFigure 4
Remove and discard
these screws
NOTICE
e wall hanging bracket is not located
in the center of the unit.
Mounting to wall bracketFigure 5
Mounting
slot
Slot for piping