1. Put on PPE. The minimum required equipment are safety goggles to protect from splashes and
nitrile gloves. Ensure your working area is clean to avoid chemical contamination and potential
exposure hazards. Enable maintenance mode using the Enapter App.
2. Attention: the device should be kept powered on, if possible.
3. Prepare the container to catch the drained liquid and insert the end of the drainpipe into it.
4. Take out any tube or fitting attached to the "O
2
VENT" to let the air fill into the tank when the
solution is drained.
5. Fully insert the supplied male CPC quick connector into the valve bulkhead labelled "FILL/DRAIN".
The solution will start pouring out immediately.
6. Collect the drained liquid in an appropriate container and place in a chemical waste container. Do
not flush to sewer. Dispose of the liquid in compliance with local and national regulations.
7. Once electrolyte stops pouring, safely remove the drain connector. To disconnect, push the button
and pull the connector out of the bulkhead.
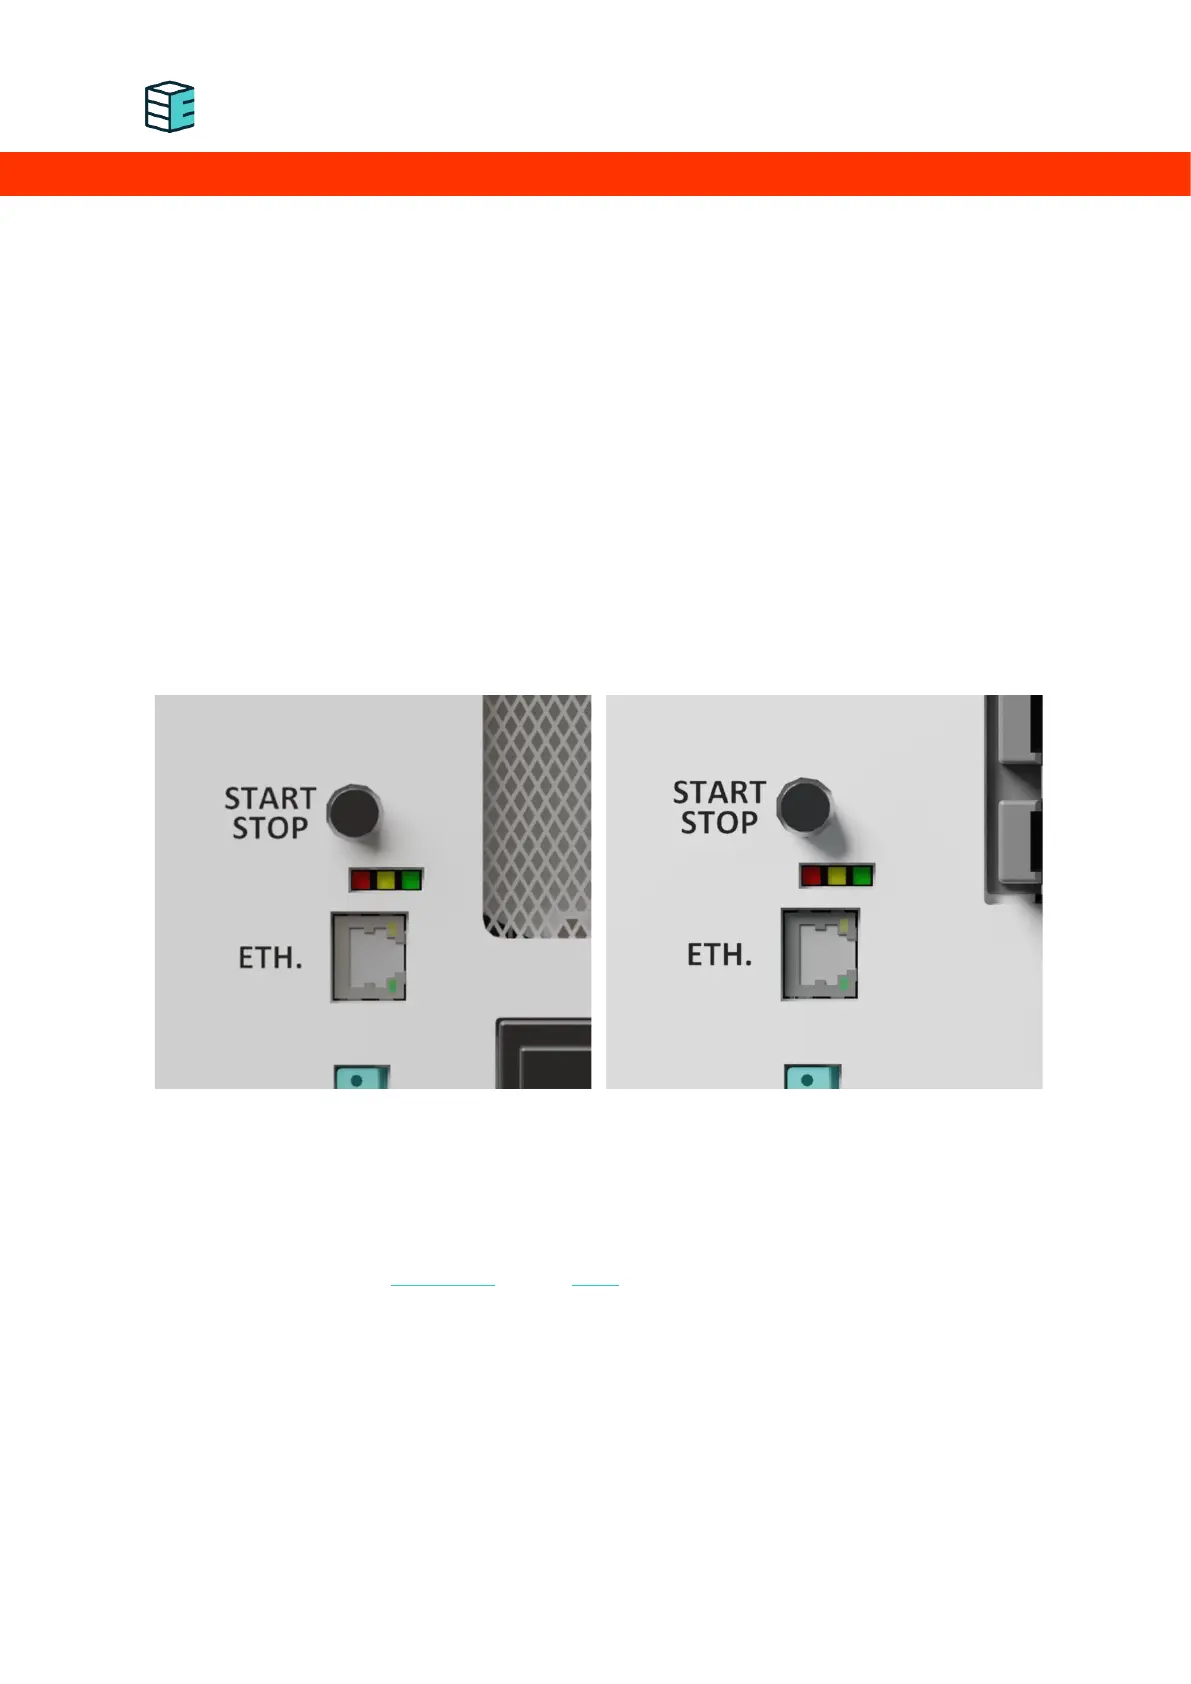
Appendix IV. LED States
The three LEDs located next to the right handle on the front panel and help to indicate the device status
and operating condition.
During normal operation, the LEDs indicate the status of the device. Please visit the Handbook for the
status LED indication of the electrolyser and the dryer.