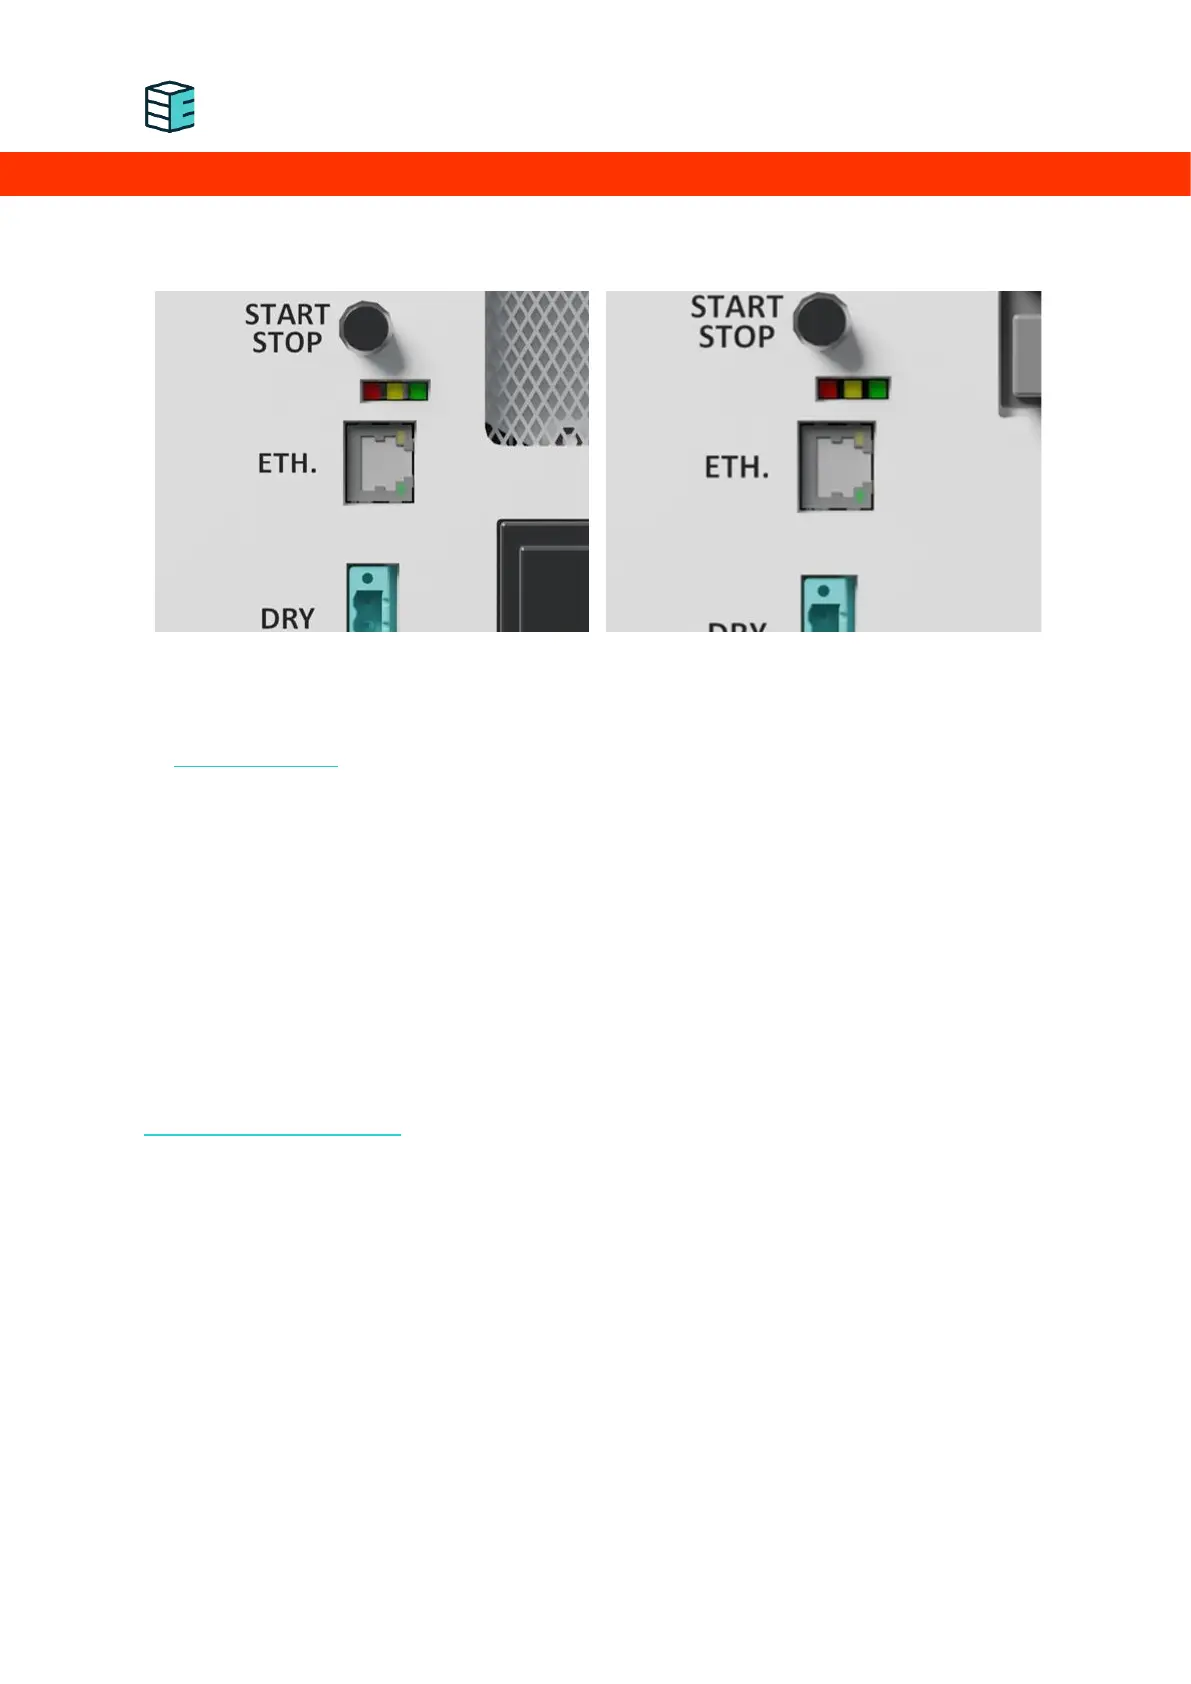
This Ethernet port allows Modbus access. The Modbus command interface table can be accessed online
via Enapter handbook.
4.9 INITIAL OPERATION OF THE ELECTROLYSER
4.9.1 PREPARING FOR H
2
PRODUCTION
Now that the pipes and cables are connected, here is what to do next to get it running.
4.9.2 PAIRING THE DEVICE TO THE CLOUD
It is time to power on the device for the first time. Switch the breaker at the top of the front panel in
the upper position to switch the device on.
Using the Enapter app, add your device to a site. For detailed information on this, please refer to the
mobile application handbook.
1. To start using the application, you need an account in the Enapter Cloud. If you already have
an account, simply skip this step.
To create an account, click on the create account button of the first screen.
2. After logging in on the Enapter app, create a site – a virtual environment which will house all
the telemetries collected from the devices connected to the cloud via UCMs (Universal
Communication Modules).
3. Add the device to the site by scanning the QR code located on the front panel.
4.9.3 MANUAL FILLING OF ELECTROLYTE
Your device is now ready to be commissioned for its first use. Once it is successfully paired to the cloud,
you will notice that the device has started in maintenance mode and is prompting you to perform the
first-time filling.