10
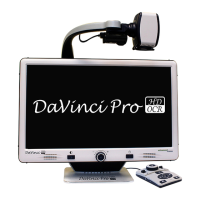
Figure 1 Safe Transport
Setting Up DaVinci Pro
1. Find a steady and level location, such as a table or
desk, where you will be comfortable using DaVinci Pro.
Carry DaVinci Pro only by the recessed handle on the
backside of the unit for a secure grip. DO NOT lift
DaVinci Pro unit by the camera arm. Gently place it on
the table or desk (see Figure 1 Safe Transport).
2. Connect the Control Console cord to either of the two
USB ports on the back of your DaVinci Pro, (See Figure 4
Rear Panel Connections).
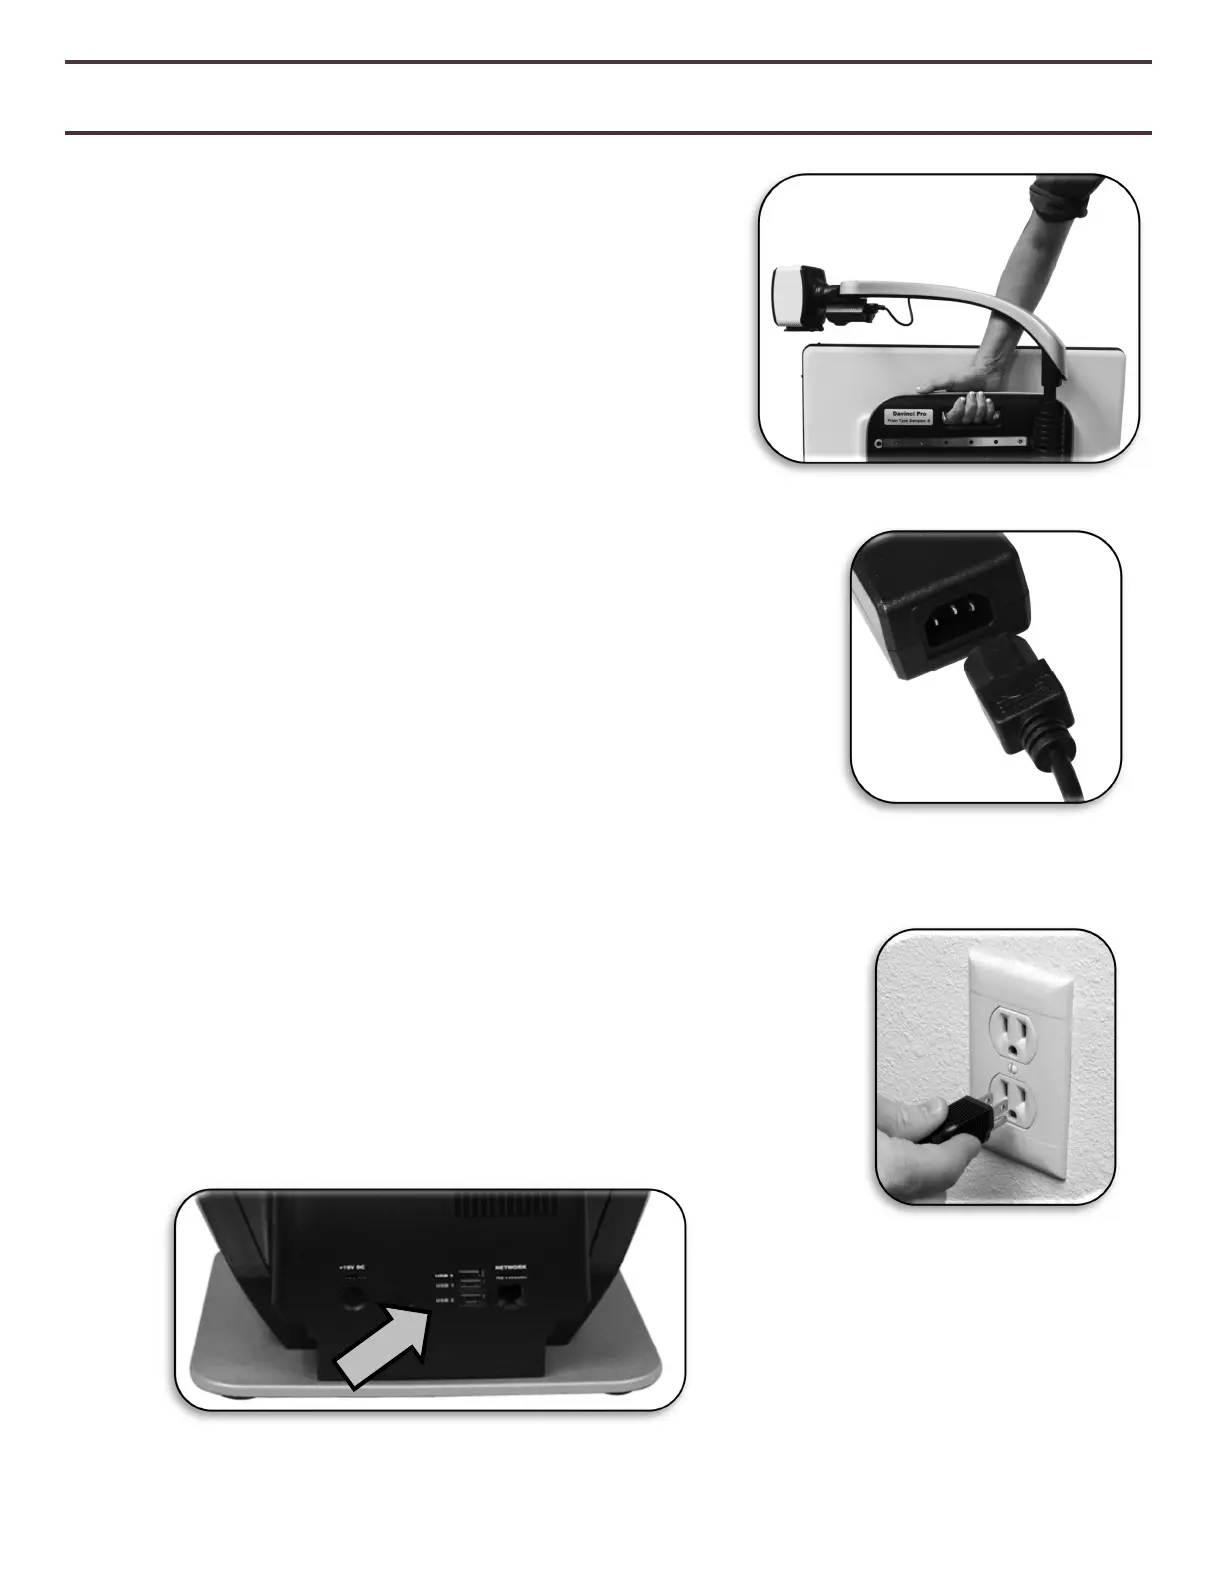
3. Connect the power cord to the power supply (See Figure 2
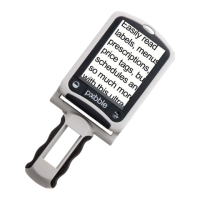
Power Supply). Connect the power cord to an available electrical
outlet (See Figure 3 Connecting to an Outlet). Connect the other
end of the power supply to DaVinci Pro where it is labeled
“19VDC” (Also Shown Figure 4 Rear Panel Connections). To offer
additional protection during an electrical storm, a surge
protector may also be used and is recommended.
4. To turn DaVinci Pro on, Power Button once. A DaVinci Pro
Logo should appear followed by a message indicating that the device
is initializing with a startup chime. Afterwards An image should
appear on your Display and enter into “Live CCTV View”.
5. IMPORTANT: To maximize the life of your DaVinci Pro always
allow DaVinci Pro to do a complete Shutdown before removing
from wall power. Press the power button and hold it for 5
seconds to initiate the shutdown sequence. This process takes an
additional 10 seconds when the Status LED Indicators also turn
off.
Figure 3 Connecting
to an Outlet
Figure 2 Power Supply