24
enabling it in the user menu mentioned in more detail on page 40
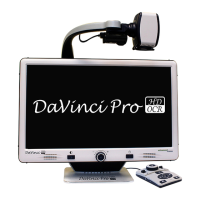
Adjusting Line Markers and Windowing Positions
To adjust the position of the Marker (If markers are already enabled please skip steps 1 & 2):
1. Press the “[Find/Enter] and [Mode]” on the Control Console, to enter the Menu.
2. Enter into the Menu >> User Settings >> Display and ensure your desired “Markers Setting”
are selected. Press the [Find/Enter] button on the DaVinci Pro Front Panel, or Control
Console, to select your options.
3. Return to the live CCTV and use the scroll wheel on the right hand side of the console to
select your desired marker.
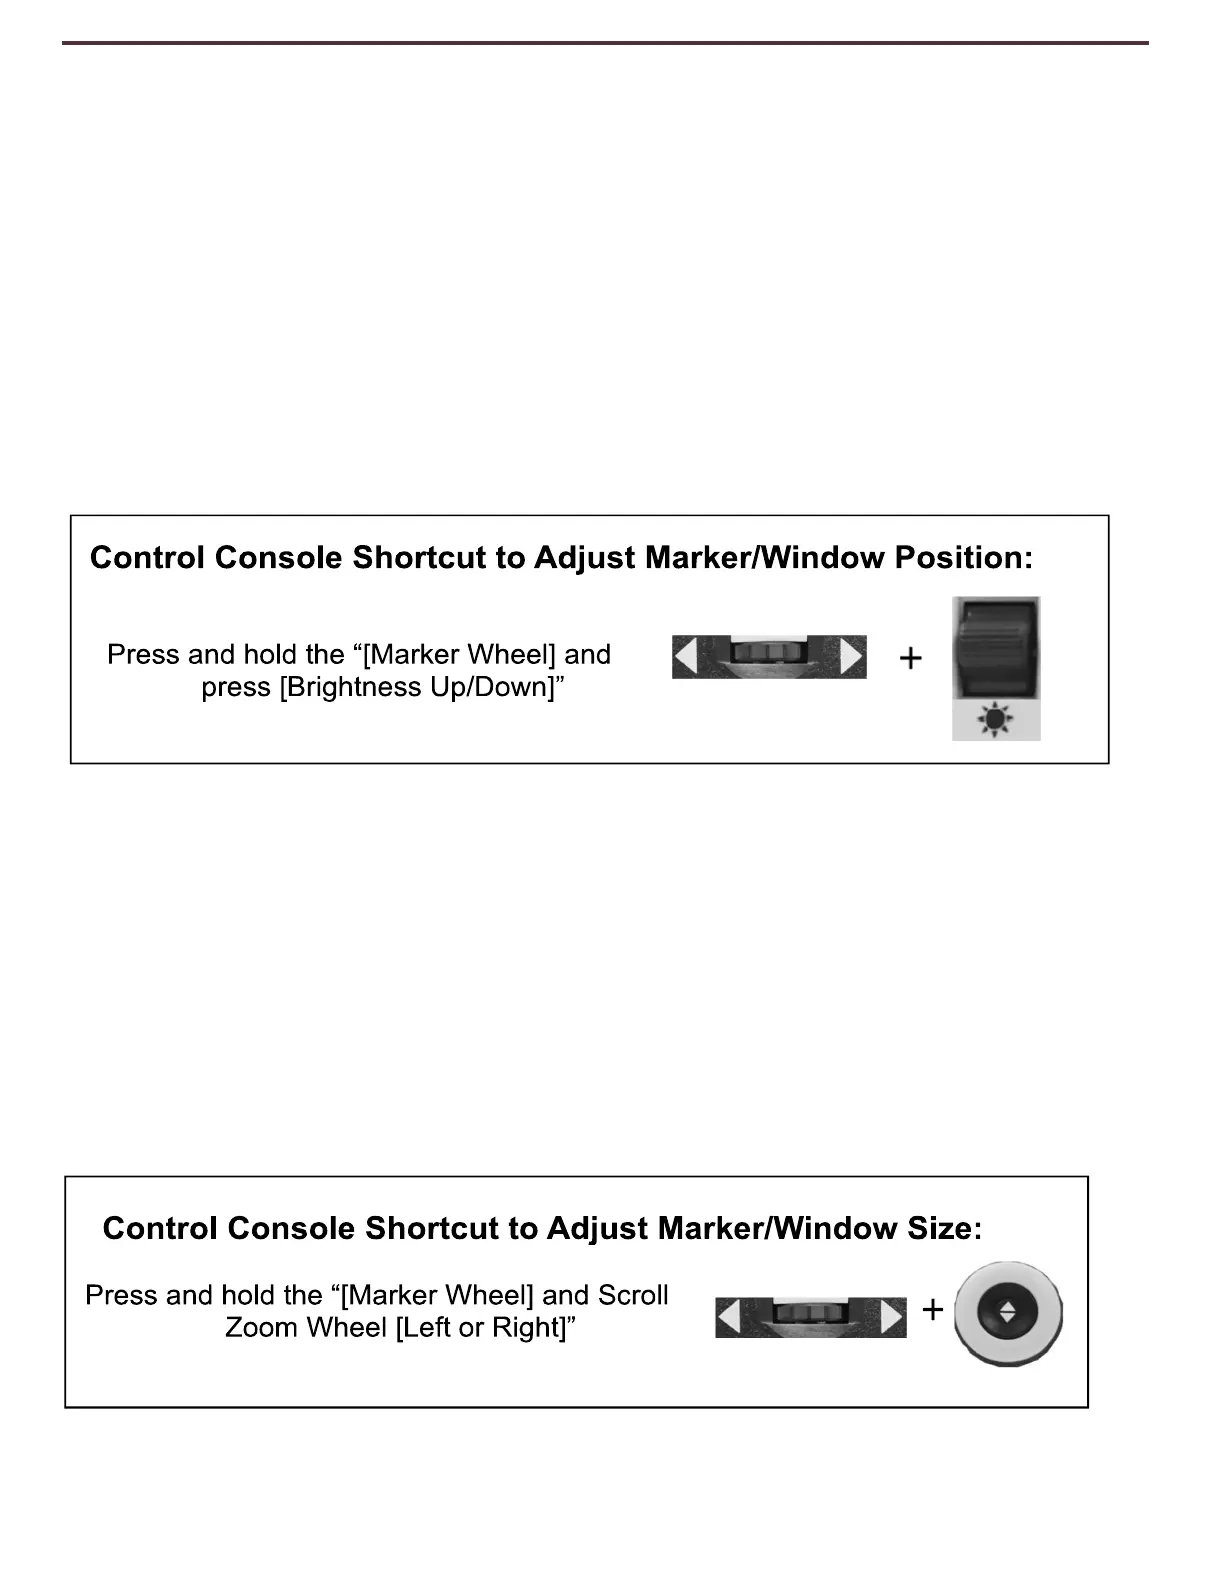
4. Press the right hand console button and simultaneously use the brightness up and down to
adjust the Line or Window Position. (Shortcut is listed below)
To adjust the size between the Line Markers or size of the Windowing:
To adjust the size of the Marker (If markers are already enabled please skip steps 1 & 2):
1. Press the “[Find/Enter] and [Mode]” on the Control Console, to enter the Menu.
2. Enter into the Menu >> User Settings >> Display and ensure your desired “Markers Setting”
are selected. Press the [Find/Enter] button on the DaVinci Pro Front Panel, or Control
Console, to select you options.
3. Return to the live CCTV and use the scroll wheel on the right hand side of the console to
select your desired marker.
4. Press the right hand console button while simultaneously turning the Zoom Wheel Clockwise
or Counter-Clockwise to adjust the Line or Window size. (Shortcut is listed below)