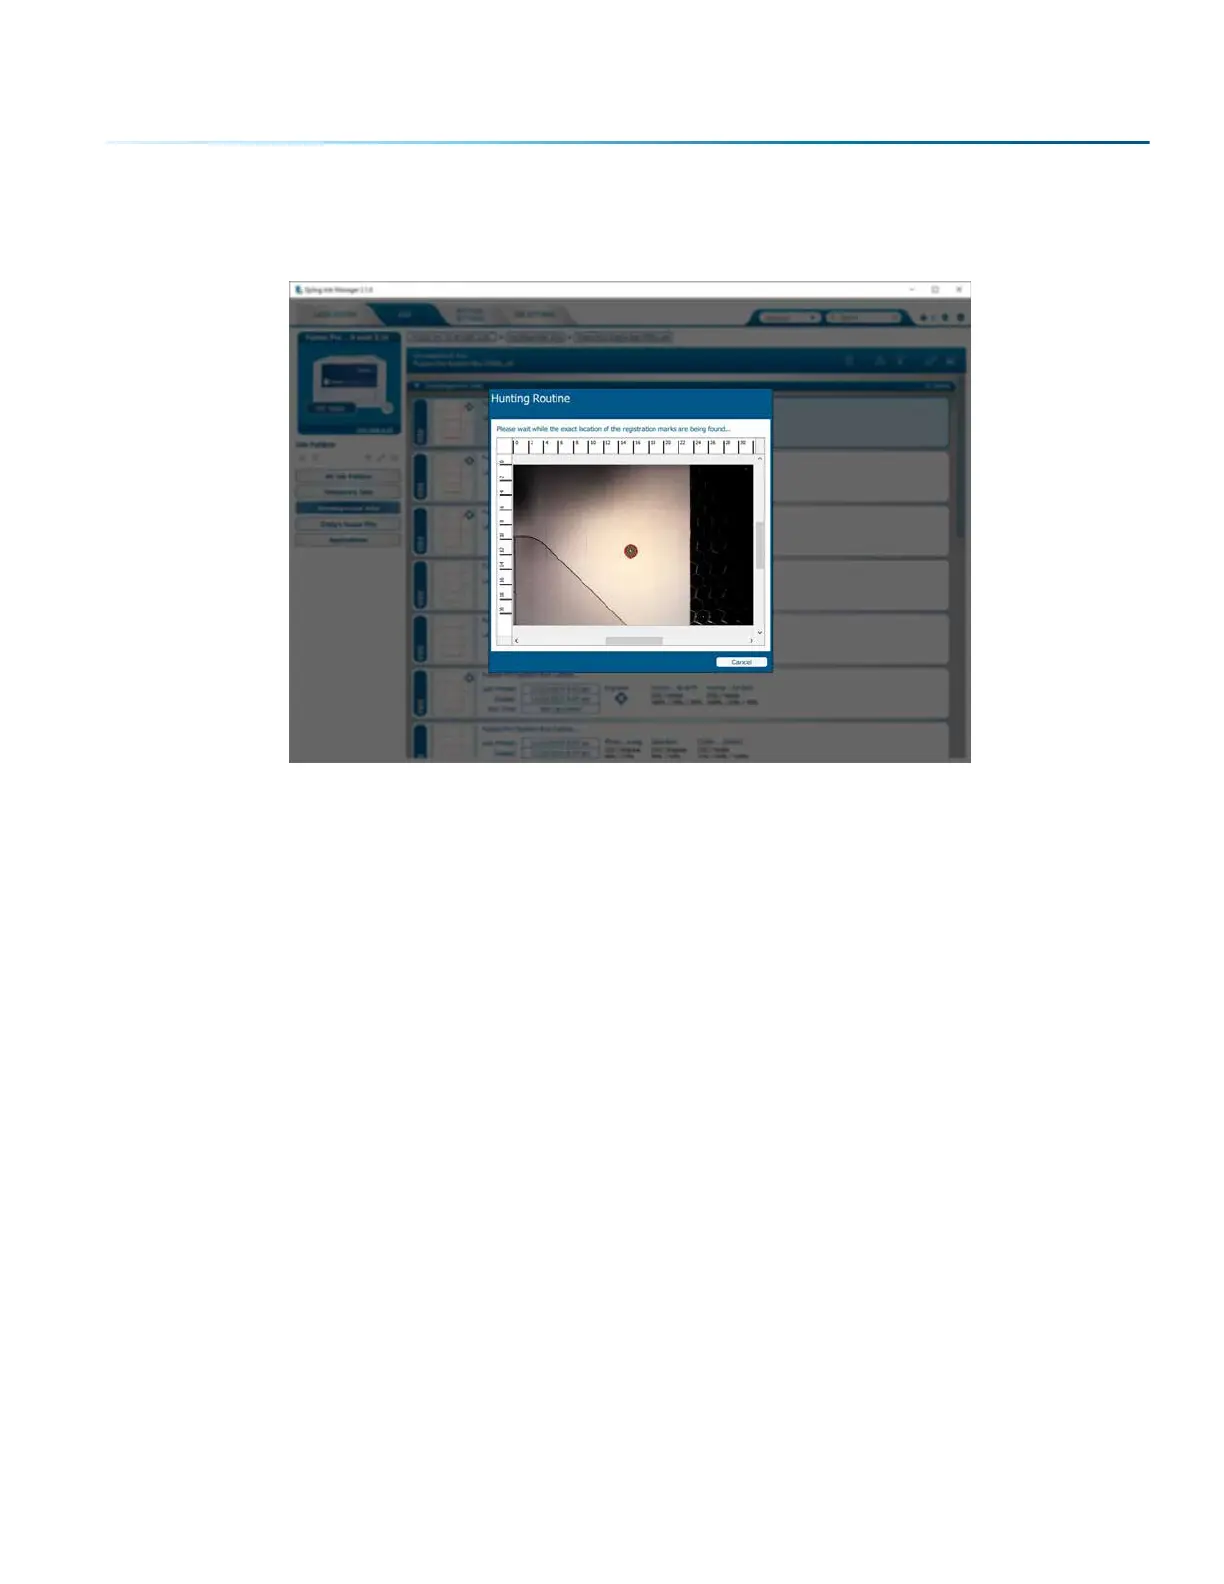
6. Hunting Routine: The laser carriage will start moving to find the first registration mark and precisely
locate its exact location on the laser bed. The same process is followed to precisely locate the
second mark.
7. Aer locating the second mark, the carriage will stop moving while it is directly over the second
mark. At this point, the job is sent to the Fusion Pro and the Fusion Pro is ready to start cutting.
8. Select the job and press the Go/Stop Button to start the job.
Quick Print a Job
When you are cutting multiple prints, you can quickly move from one piece to the next by using the
Quick Print feature.
1. Aer you have run your first laser cutting, open the door to the laser and place your next item to cut
in the same direction and vicinity as the last so the registration marks are within 1.5” (38 mm) of the
last position.
2. With the door to the laser closed, click on the Quick Print icon in the Job Manager. The camera
system will move out to do a quick hunt for the registration marks then start the cutting process.
- 125 -
SECTION 8: SYSTEM FEATURES

 Loading...


