3. Place your artwork close to the top edge of the page. When the job starts, the first part of the
process is for the cylinder to rotate through any white space that is between the top of your page
and the top of your artwork. Once it has rotated through the white space it will begin to laser your
artwork.
The edge of the black bumper on your Rotary Attachment corresponds to the le edge of your
page in CorelDraw. Set your cylinder on the Rotary Attachment so that it just touches the black
bumper. The “top” of a cylinder can be at either end of the Rotary Attachment. It is useful to
visualize the orientation of the cylinder when it is being engraved.
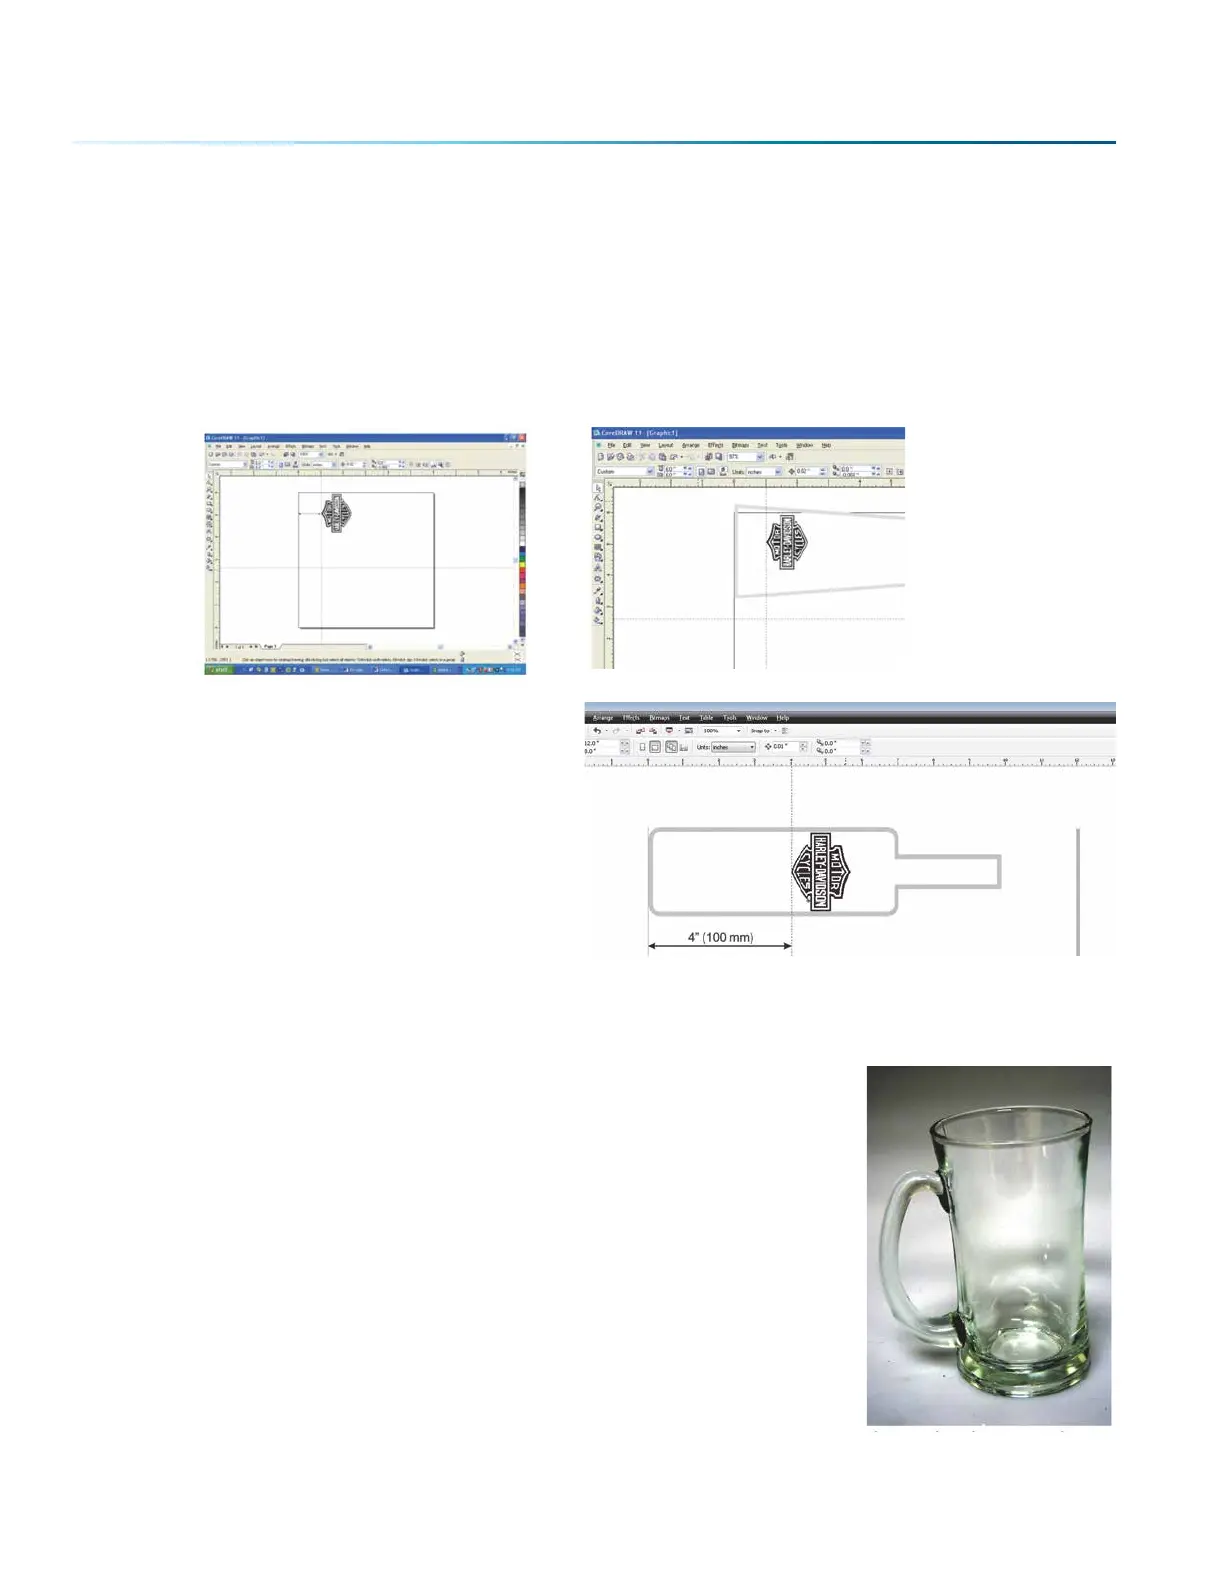
In this example, the bottom of the logo will
engrave 4” (100 mm) up from the bottom of the
bottle.
Stretching or Shrinking Your Artwork for Objects with Multiple
Circumferences
The instructions below show you how to shrink or expand your artwork to
accommodate a cylinder where the area being engraved is a dierent
circumference than the circumference at the drive wheels. The Rotary
Attachment works with the assumption that the cylinder is the same
circumference from end to end and that your artwork doesn’t need to be
stretched. But some cylinders have a big dierence in circumference from the
middle to the end that aects how the engraved image looks. It is sometimes
necessary to stretch or shrink your artwork so it looks proportional on odd
shaped items. The photo below shows a glass that fits this category.
This glass has a circumference of 4” (100 mm) at the ends and a circumference
of 3.2” (81 mm) in the middle where we want to engrave. Most artwork will
look acceptable on this glass without stretching or shrinking, but because
the middle of the glass is a smaller diameter than the ends, some artwork will
look compressed (more as an oval than a circle), so we’ll want to adjust the
artwork before engraving. To determine how much to adjust your artwork,
- 132 -
SECTION 9: OPTIONAL FEATURES

 Loading...


