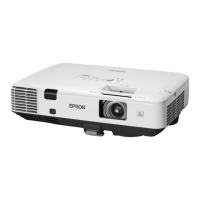
From Installation to Projection
This section explains the procedure for connecting the projector to a
computer with the computer cable and projecting images.
a
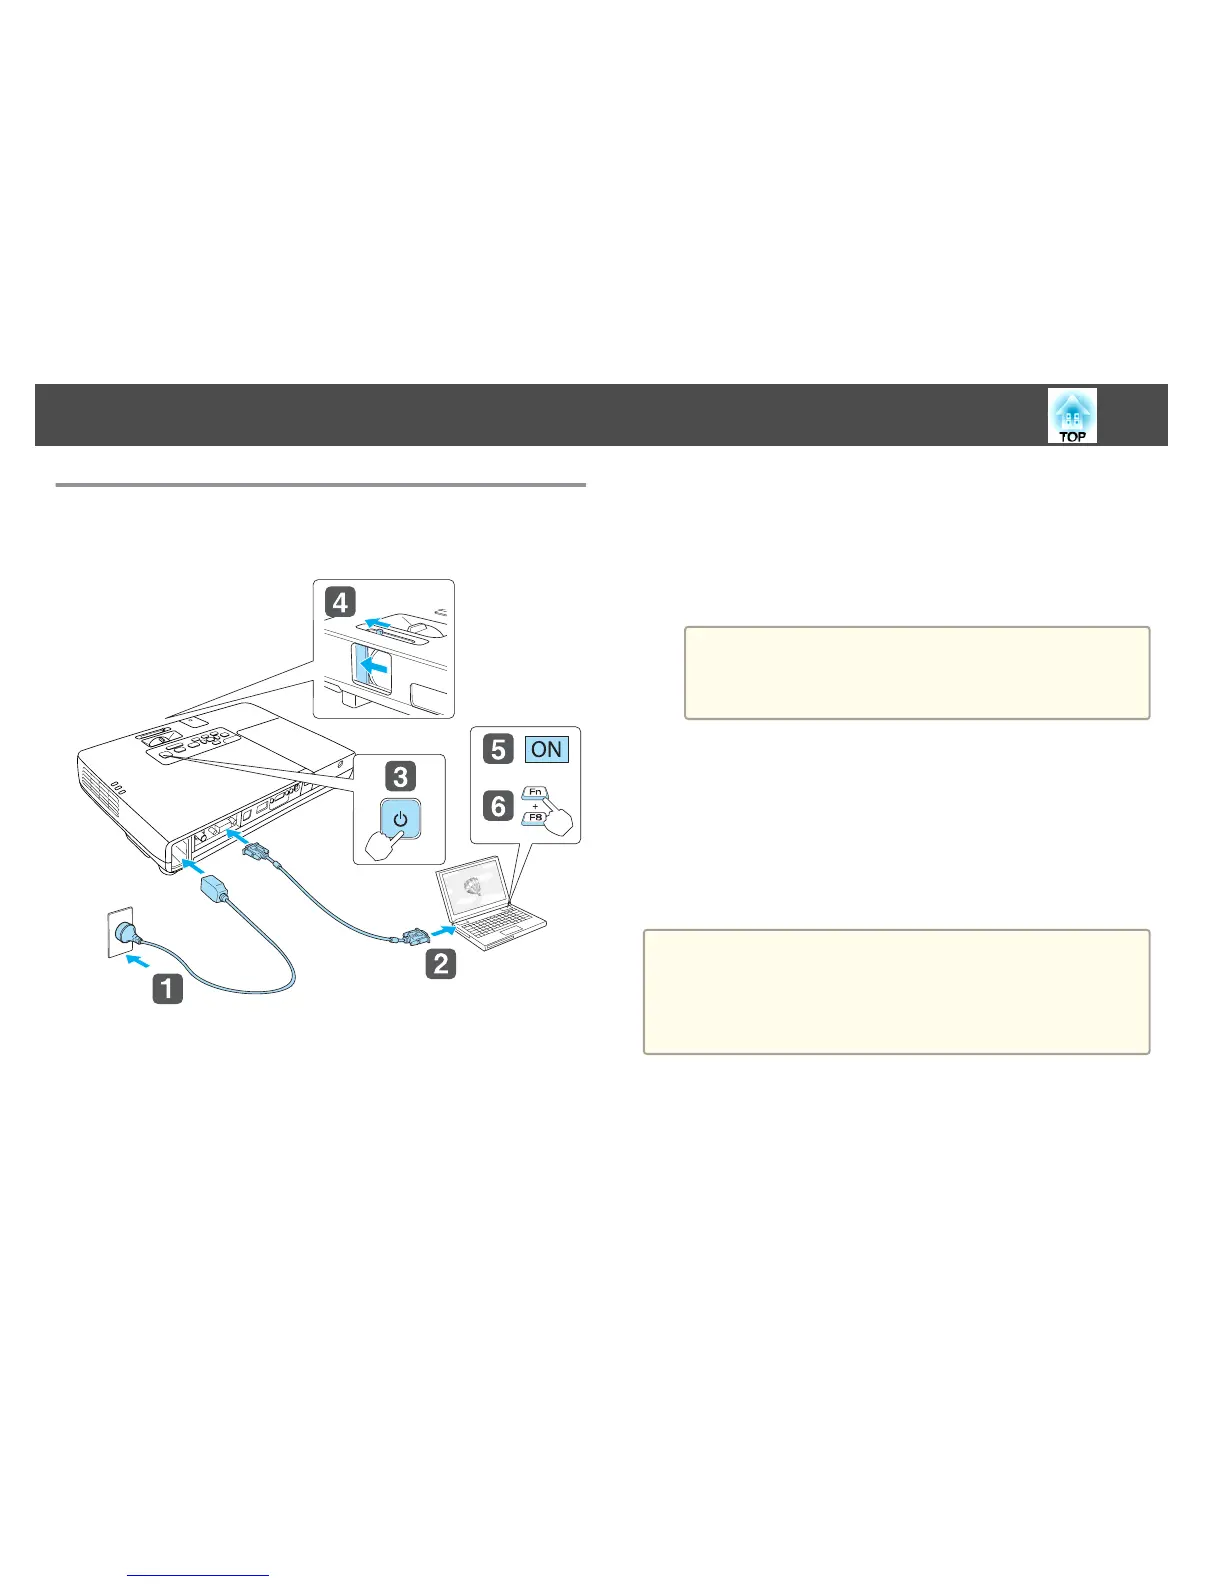
Connect the projector to an electrical outlet with the power cord.
b
Connect the projector to the computer with the computer cable.
c
Turn on the projector.
d
Open the A/V mute slide.
e
Turn on your computer.
f
Change the computer's screen output.
When using a laptop computer, you need to change the screen
output from the computer.
Hold down the Fn key (function key), and press the b key.
a
• The method for changing differs depending on the computer
being used. See the documentation supplied with the
computer.
• When turning off the projector, press the [t] button twice.
If the image is not projected, you can change the projected image using one
of the following methods.
• Press the [Source Search] button on the control panel or the remote
control.
s "Automatically Detect Input Signals and Change the Projected Image
(Source Search)" p.30
• Press the button for the target port on the remote control.
s
"Switching to the Target Image by Remote Control" p.31
a
After projecting the image, adjust the image if necessary.
s "Automatically Adjust to Fit into the Screen Frame - Screen Fit -
(EB-1776W only)" p.35
s "Correcting Keystone Distortion" p.37
s "Correcting the Focus" p.42
Projecting Images
29