Note:
Remove the cap from the EXT. port of the printer only when connecting your telephone to the printer. Do not remove the cap
if you are not connecting your telephone.
In areas where lightning strikes occur frequently, we recommend that you use a surge protector.
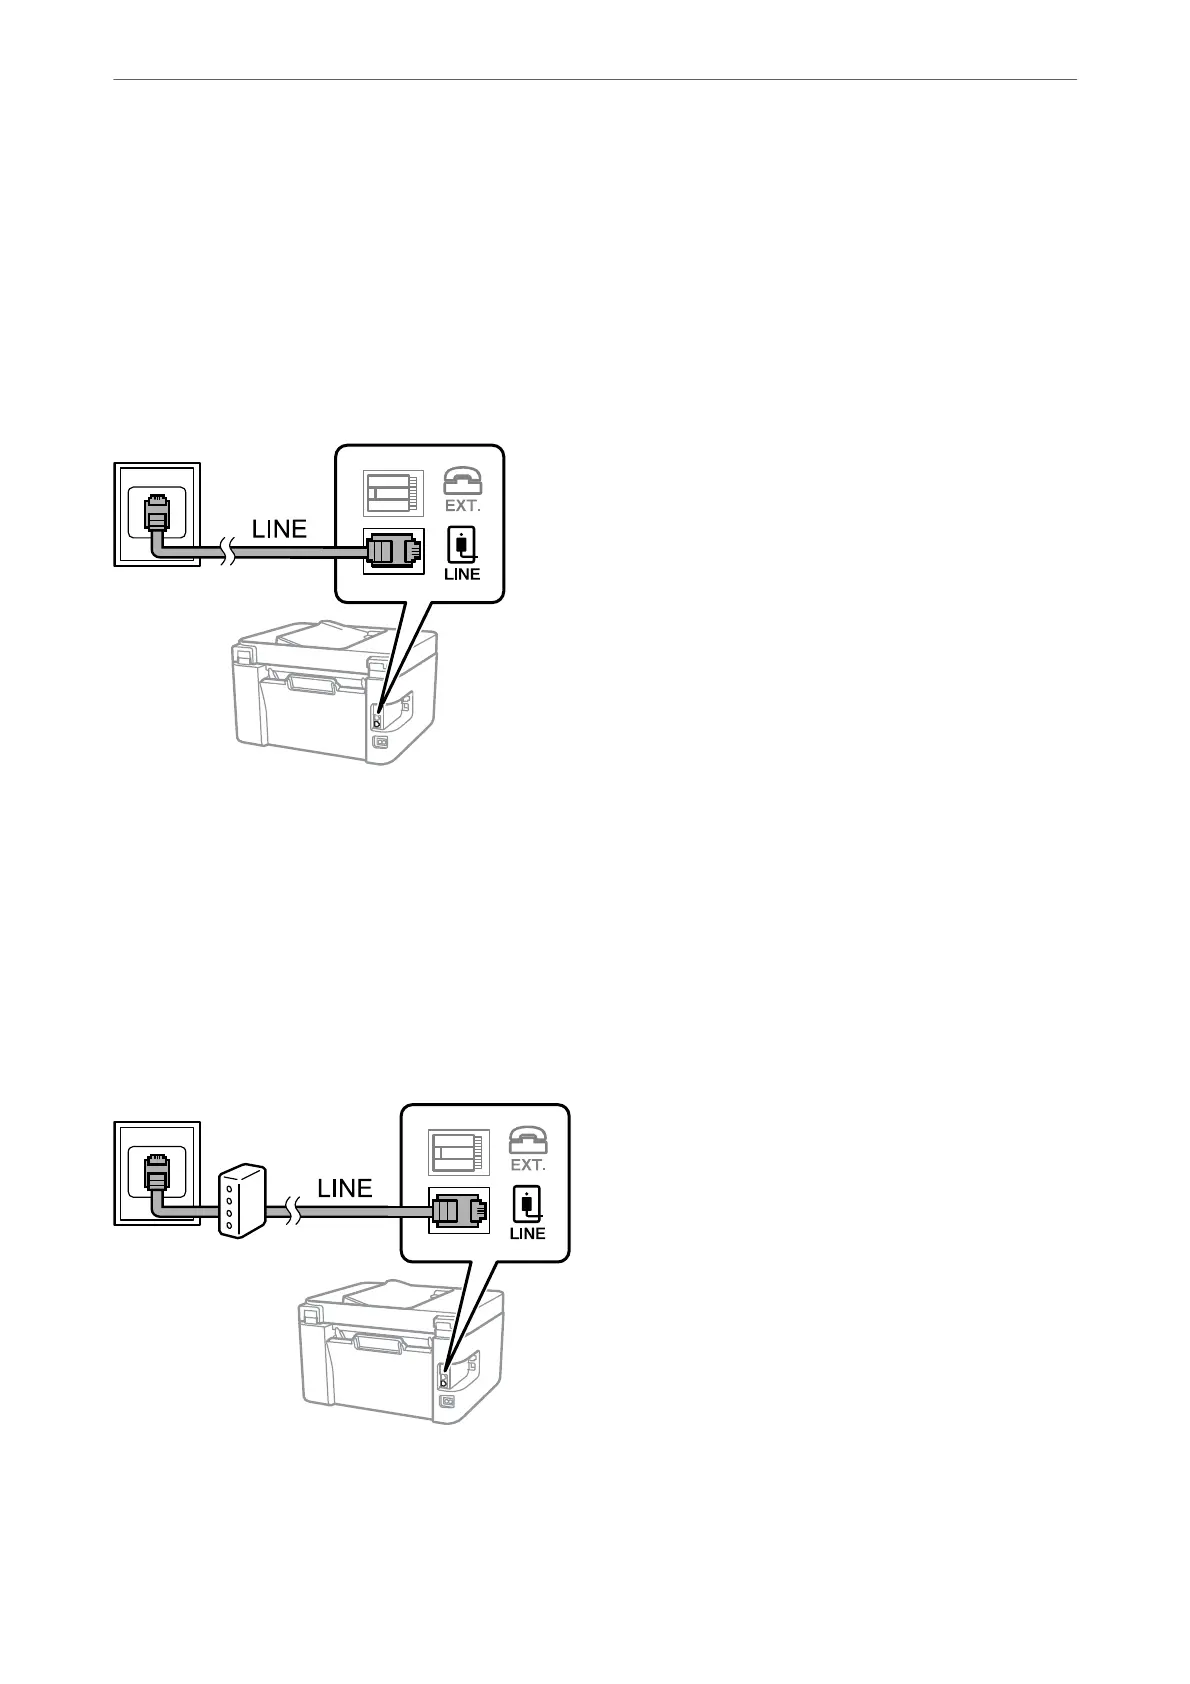
Connecting to a Standard Phone Line (PSTN) or PBX
Connect a phone cable from the telephone wall jack or PBX port to the LINE port on the back of the printer.
Related Information
& “Connecting Your Phone Device to the Printer” on page 75
Connecting to DSL or ISDN
Connect a phone cable from the DSL modem or the ISDN terminal adapter to the LINE port on the back of the
printer. See the documentation provided with the modem or the adapter for more details.
Note:
If your DSL modem is not equipped with a built-in DSL lter, connect a separate DSL lter.
Related Information
& “Connecting Your Phone Device to the Printer” on page 75
Faxing
>
Before Using Fax Features
>
Connecting the Printer to a Phone Line
74
 Loading...