124
2. Open the printer cover to the upright position, then pull it up
to remove it.
3. For LX-1170II users, remove the tension unit by squeezing the
tension unit's lock tabs gently and pulling the tension unit
away from the printer.
4. For LX-300+II users, make sure that the print head is in the
middle of the printer.
For LX-1170II users, make sure that the print head is in
position at 10 cm (4 inches) from the left side.
(If it is not, turn on the printer, and then, turn off the printer.)
Then remove the ribbon cartridge from the printer.
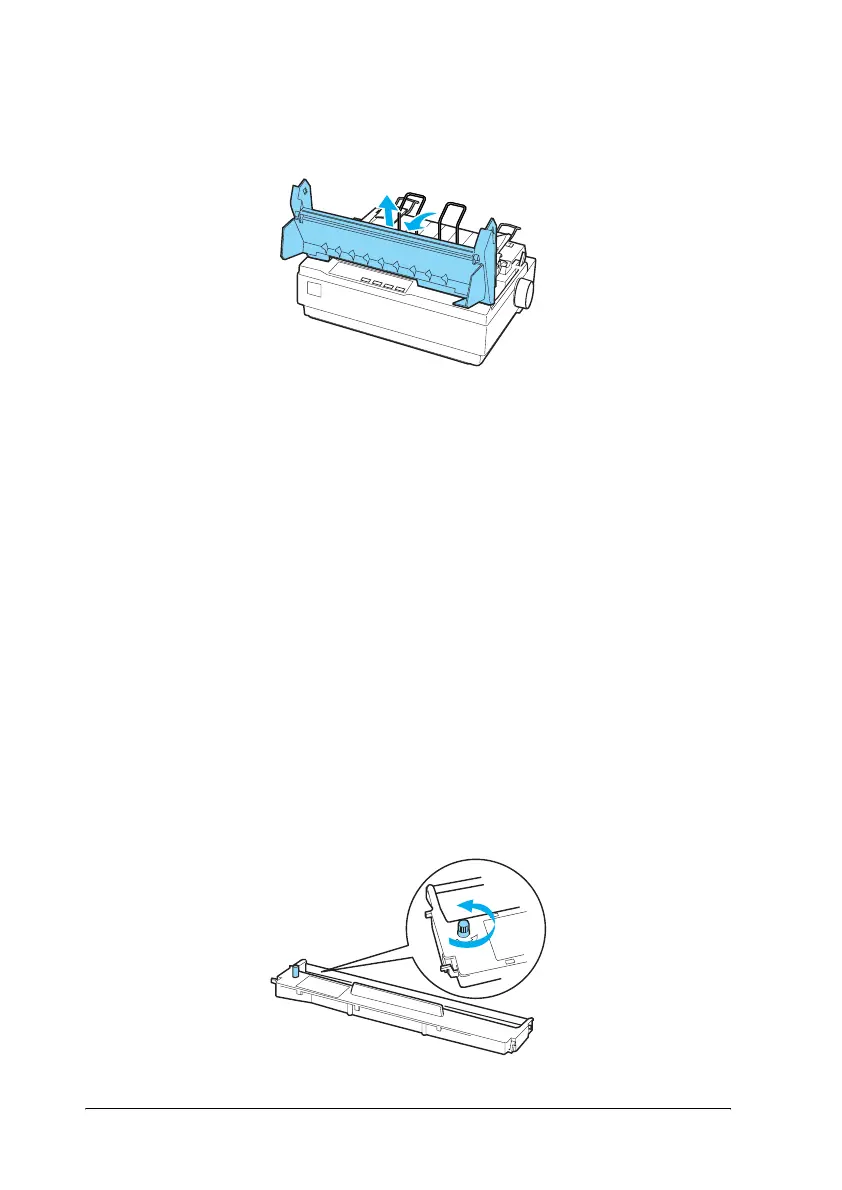
5. Remove the new ribbon cartridge from its package.
6. Turn the ribbon-tightening knob in the direction of the arrow
to remove any slack from the ribbon so it is easier to install.

 Loading...


