23
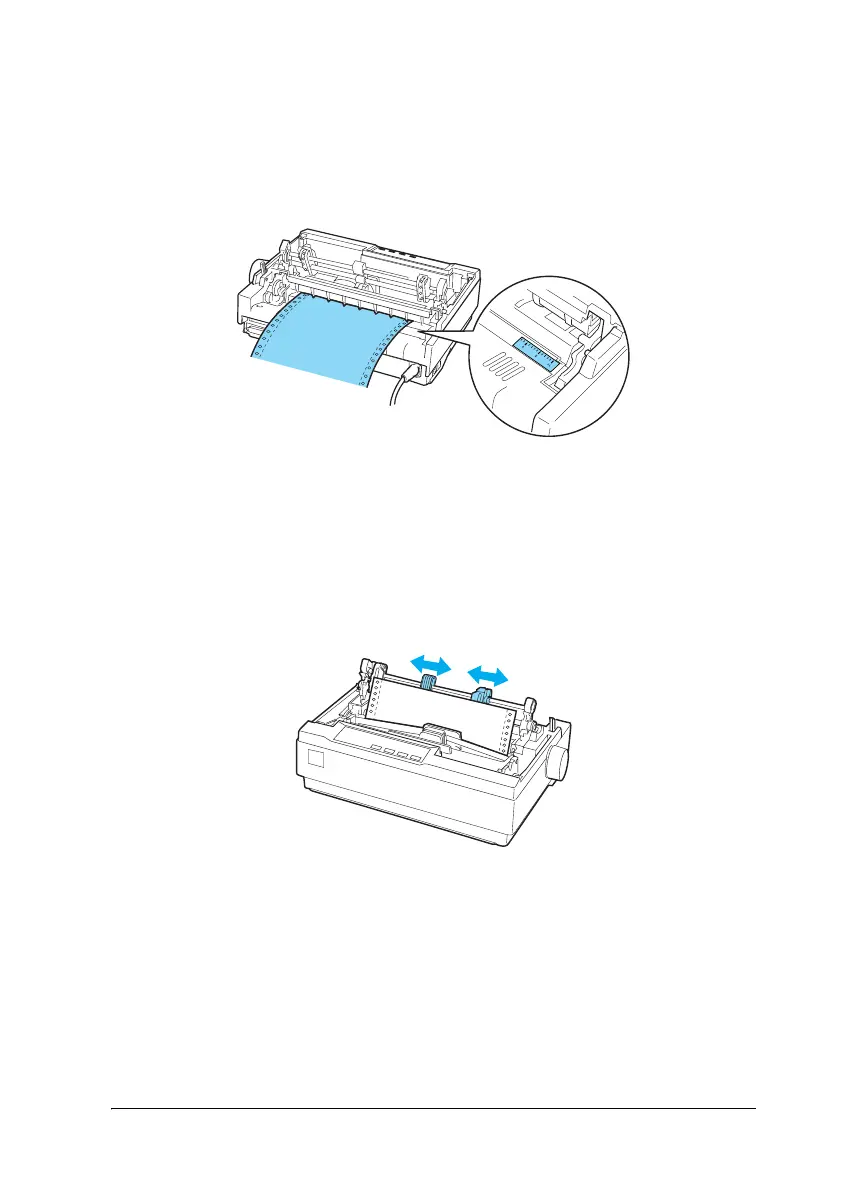
5. Insert the paper into the bottom paper slot or into the rear
paper slot as shown below, and pull it up. Position the paper
using the scale on the printer as a guide. The printer prints to
the right of the position marked 0.
6. Slide the left sprocket unit so that its sprockets match the
position of the holes in the paper and lock the unit in place.
Then slide the right sprocket unit to match the width of your
paper, but do not lock it. Move the paper support midway
between the two sprocket units.
7. Make sure your paper has a clean, straight leading edge. Open
the sprocket covers. Fit the first holes of the paper over the
sprocket pins and then close the sprocket covers. Slide the
right sprocket unit to remove any slack in the paper and then
lock it in place.

 Loading...


