28
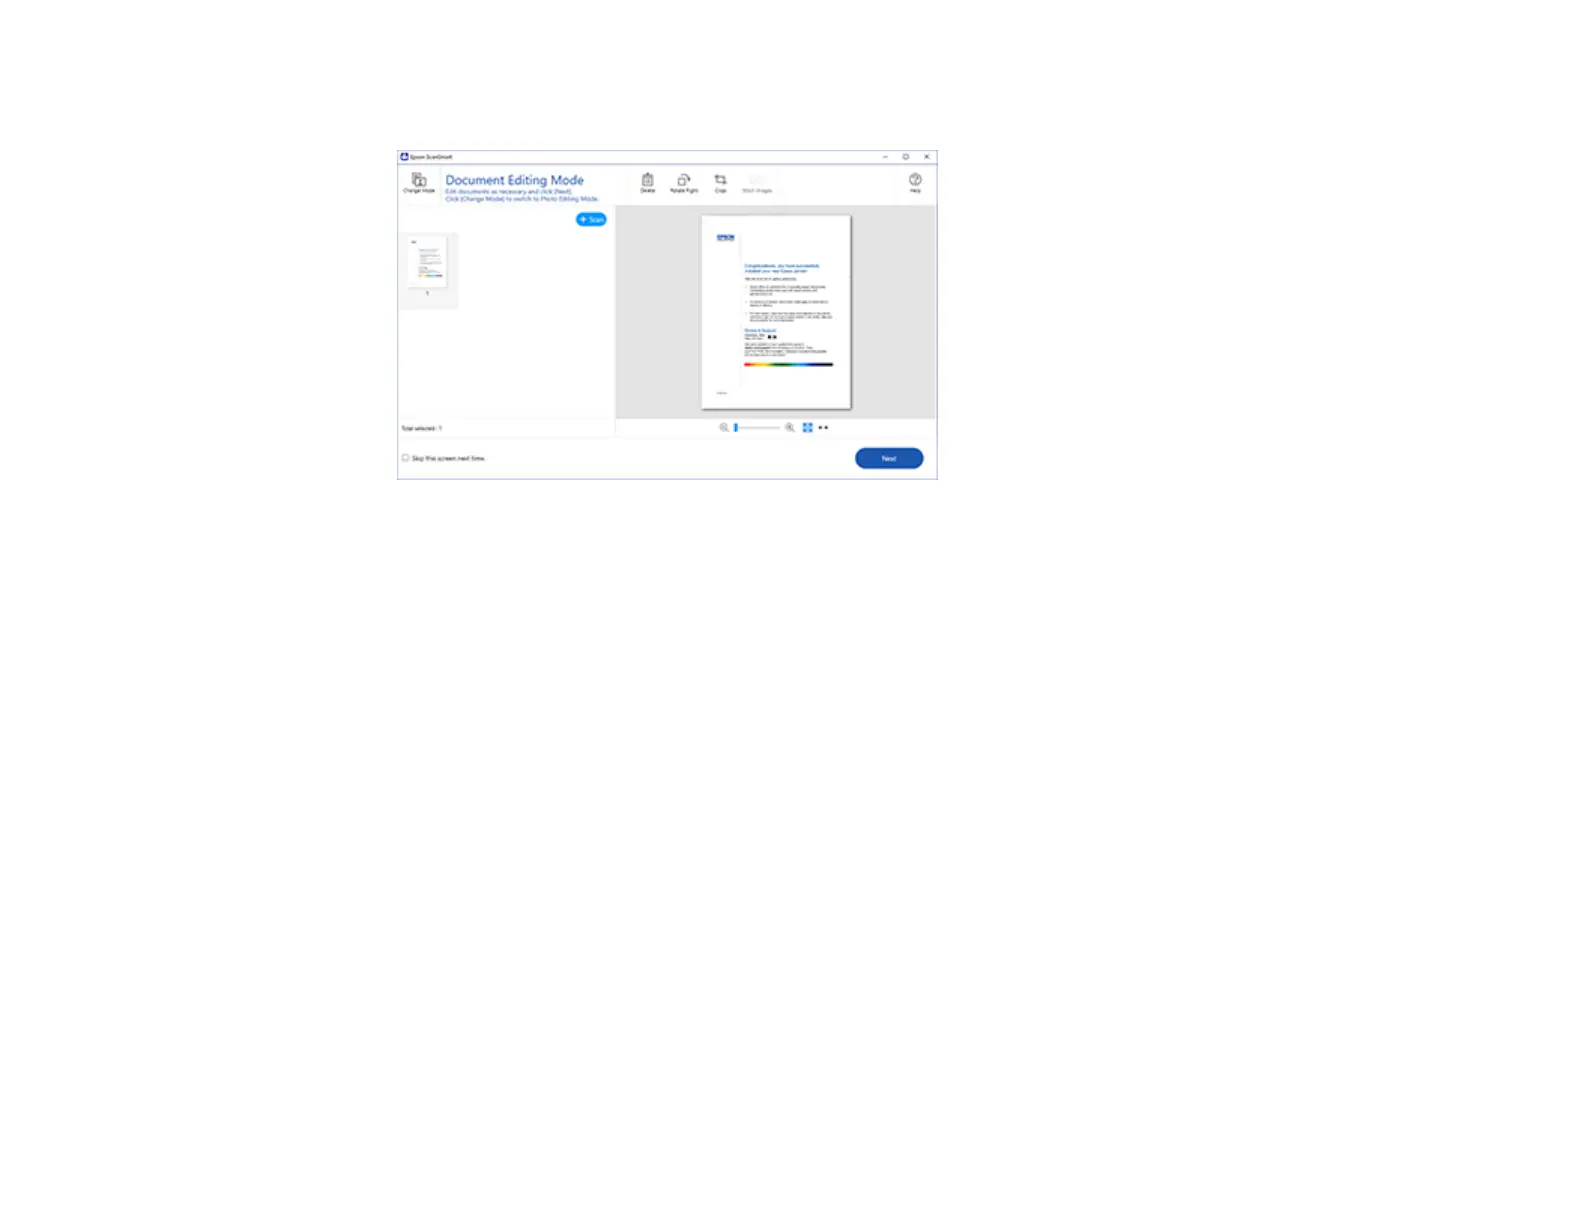
The original is scanned. When scanning is complete, you see a screen like this:
4. You can review, edit, or reorder the scanned images as follows:
• Select + Scan to scan more originals.
• Select Delete to delete selected scanned images.
• Select Rotate Right to rotate each scanned image.
• Select Crop to crop the selected image.
• Control-click two images, select Stitch Images, and follow the on-screen instructions to combine
them into a single image.
5. If Photo Mode is automatically detected, the following enhancement options are available:
• Auto Color Enhancement: automatically adjusts the brightness, contrast, and saturation of your
photos
• Restore Faded Colors: restores the colors in faded photos automatically
• Remove Red Eye: automatically removes the red-eye effect from your photos
• Auto Cropping: automatically crops the scanned image edges
Note:
You can scan multiple photos at the same time. Make sure there is a gap of at least 0.80 inches
(20 mm) between the photos. Also, place each photo about 0.24 inches (6 mm) away from the
edges of the scanner glass.
 Loading...