SE Group Confidential (Related Staff Only)
Adjustment Details of Adjustments 67
SC-P600 Revision D
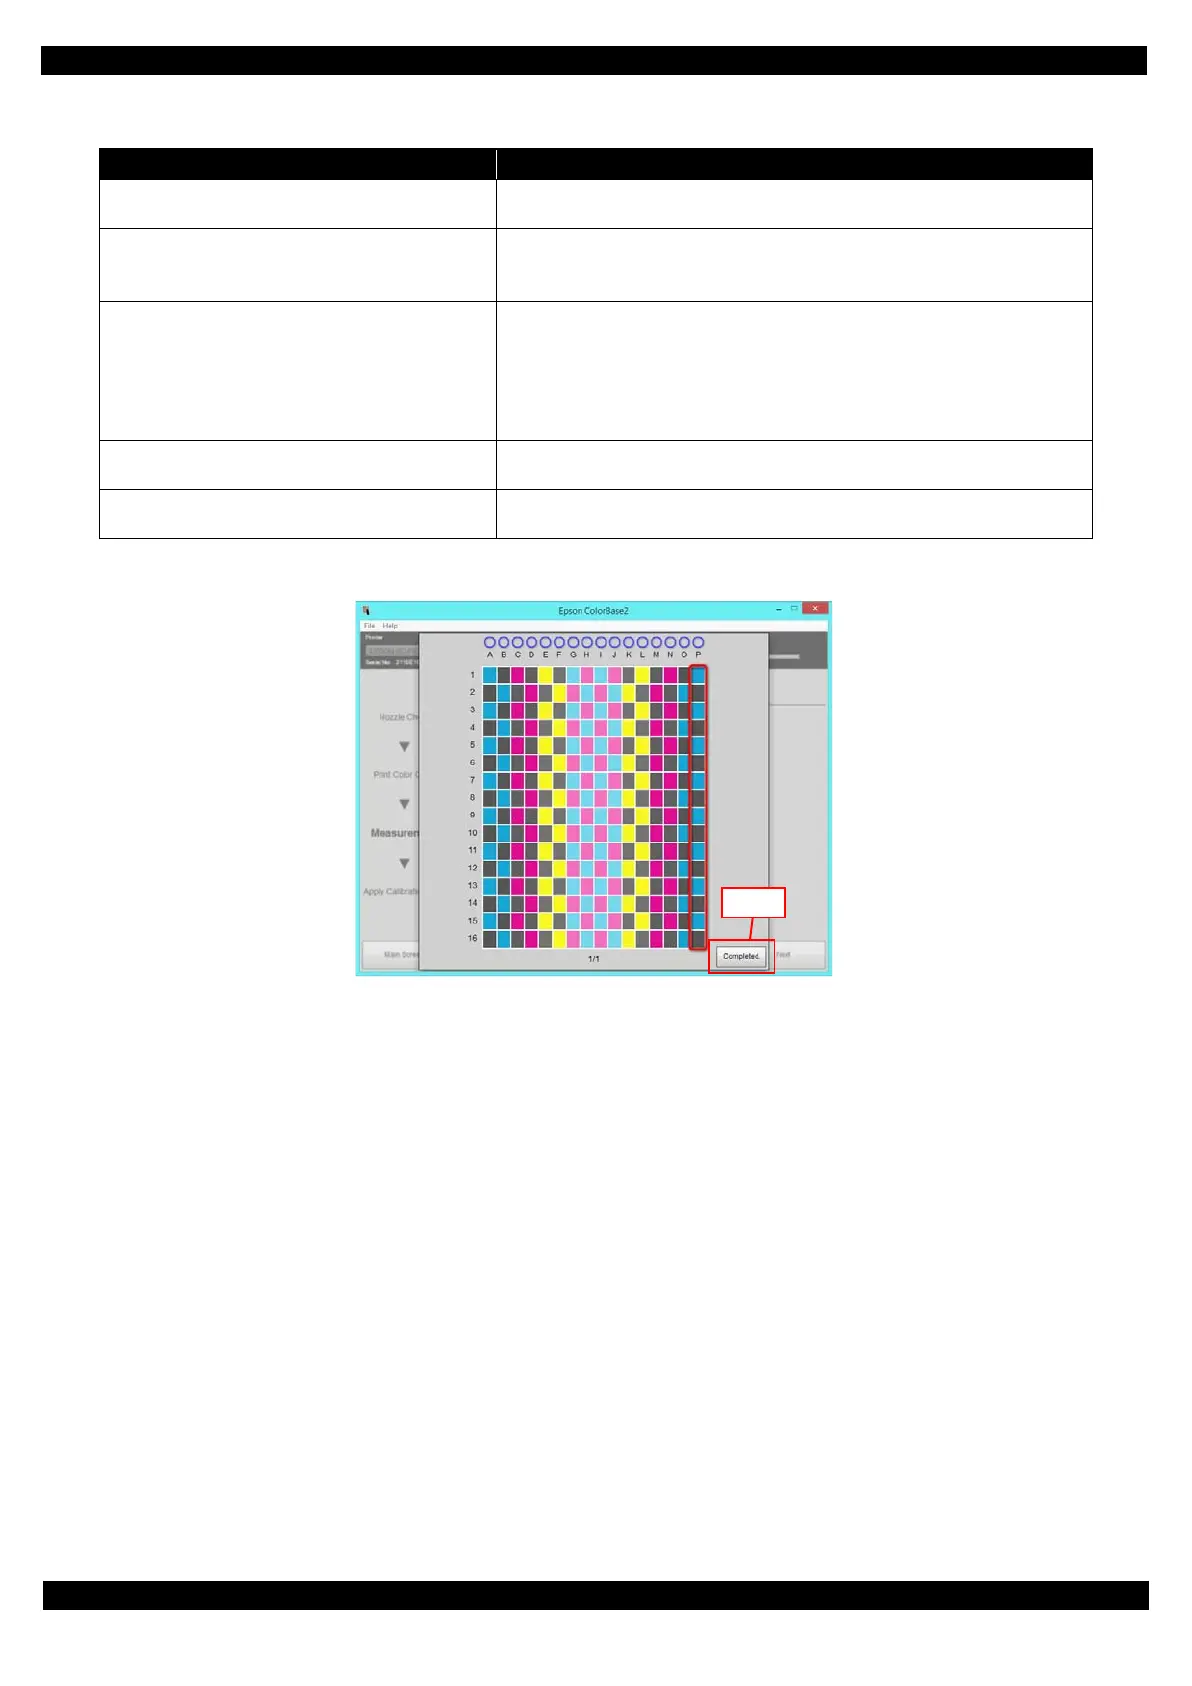
17. When the measurement of all the rows is complete, click the Completed button.
Figure 2-38. Color measurement completed
Table 2-9. Troubleshooting when the measurement fails
Presumable Cause Major Troubleshooting
The adjustment of the printer may be insufficient. After the adjustments that must be done after parts replacement are all
complete, perform the measurement again.
The media has deteriorated and discolored.
The media was stored in bad conditions and
damaged.
Use new Ultra Premium Presentation Paper Matte Enhanced Matte Paper or
Archival Matte Paper.
The color or contamination of the backing may be
interfering.
When using the backing board: remove any contamination on the backing
board, and then stack two color charts over on each other and perform the
measurement.
Measurement without a backing board: Stack the color chart over on each
other on blank (white) Premium Glossy Photo Paper and perform the
measurement.
Wrong row/wrong measuring direction See Figure 2-35 and Table 2-8 and confirm the current row to be measured and
the measuring direction are correct.
Measuring at an angle Align the scale with the chart correctly again, and then slide the calibrator in
parallel to the row to be measured on the patches.