The following procedure explains how to replace an ink
cartridge and a cleaning cartridge.
c
Important:
Epson recommends the use of genuine Epson ink
cartridges. Epson cannot guarantee the quality or
reliability of non-genuine ink. The use of
non-genuine ink may cause damage that is not
covered by Epson's warranties, and under certain
circumstances, may cause erratic printer behavior.
Information about non-genuine ink levels may not
be displayed, and use of non-genuine ink is recorded
for possible use in service support.
A
Make sure the printer is on.
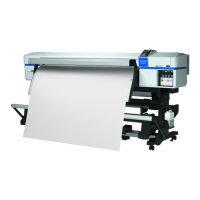
B
Lift the lock lever for the cartridge you intend to
replace.
C
Insert a finger into the depression on the top of
the cartridge and pull the cartridge straight
toward you.
c
Important:
Removed ink cartridges may have ink around
the ink supply port, so be careful not to get any
ink on the surrounding area when removing
the cartridges.
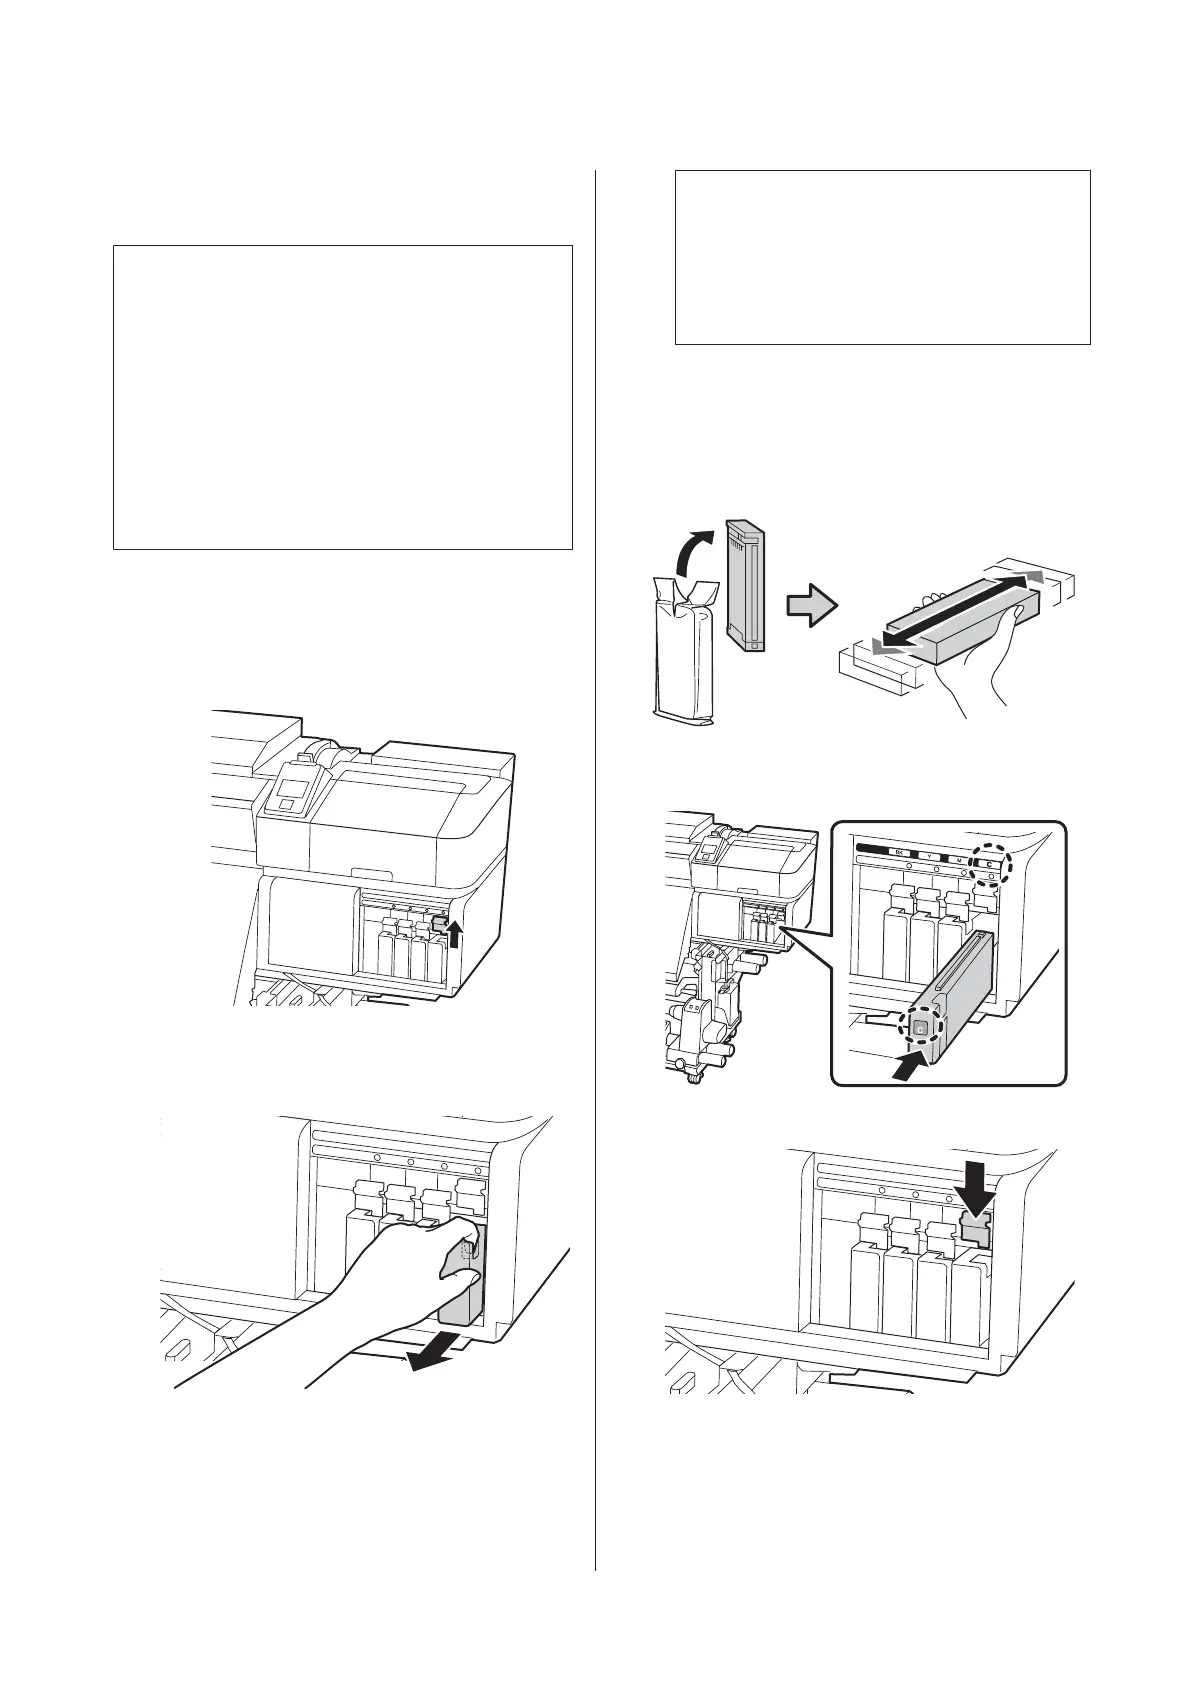
D
Hold the cartridge horizontally and shake it in
both directions about 5 cm approx. 15 times in 5
seconds.
In the case of OR, WH, or MS, shake it well
approx. 50 times in 15 seconds.
E
Match the color of the cartridge to the color of the
label on the printer and insert.
F
Lower the lock lever to engage the latch.
Repeat Steps 2 to 6 to replace other ink cartridges.
SC-S80600 Series/SC-S80600L Series/SC-S60600 Series/SC-S60600L Series/SC-S40600 Series Operator's Guide
Maintenance
36

 Loading...