WorkForce 1100/Epson Stylus Office T1110/B1100/T1100/Epson ME Office 1100 Revision A
Disassembly And Assembly Disassembling the Printer Mechanism 114
Confidential
Align the positioning holes on the Main Frame with the guide
pins on the Front Paper Guide.
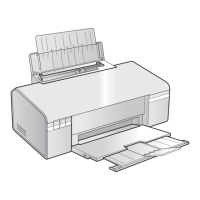
Figure 4-131. Reinstalling the Front Paper Guide
After installing the Front Paper Guide, lift the Printer
Mechanism to check the following points.
1. Make sure that the tabs on the Paper Guide Pad are not cut
midway.
2. Make sure that all the tabs are facing down (toward the Waste
Ink Pads) without any folds.
3. Make sure that the tab foldbacks are protruding completely
from the Front Paper Guide.
Figure 4-132. Checking the Front Paper Guide Pad
A D J U S T M E N T
R E Q U I R E D
After replacing the following parts, be sure to apply G-45 grease to the
area specified for each part.
EJ Grounding Spring: See Figure 6-8 on page 157.
Front Paper Guide and Paper EJ Roller: See Figure 6-9 on
page 157.
A D J U S T M E N T
R E Q U I R E D
After replacing or removing the Front Paper Guide and Paper EJ
Roller, always make the required adjustments referring to the
following.
• “Chapter 5 Adjustment (p.128)”
高速行式打印机 http://www.lineprinter.com.cn/
_______________________________________________________________________________________
_______________________________________________________________________________________
打印机维修论坛 http://www.printerwhy.net/ 打印机驱动下载 http://www.printerwhy.com/
 Loading...