17
English
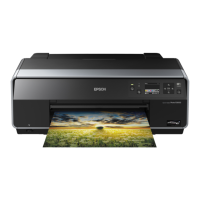
Buttons
a. LCD panel: Shows the items and settings you change with the
buttons on the control panel.
b. Direct Save button: Store the contents of memory card in an
external storage device.
c. Custom buttons: Store the current settings on the LCD panel
when held down for more than two seconds. Load the stored
settings when pressed.
d. Stop button: Cancels print operations, or the settings on the
LCD panel.
e. Print button: Starts printing with the settings on the LCD panel
selected via the buttons on the control panel.
f. Maintenance button: Refer to the following table for details.
g. Power button: Refer to the following table for details.
h.Back button: Returns to the main menu on the LCD panel.
i. Up/Down arrow buttons: Move the cursor on the LCD panel.
Increase and decrease numbers being entered.
j. OK button: Opens the setting menu and selects the item to be
set on the LCD panel.
k. Basic/Advanced mode switch button: Switches between Basic
mode and Advanced mode.
Note:
With the exception of the maintenance button, the stop button and the
power button, the control panel buttons are used only with direct
printing from a memory card.

 Loading...


