52
Self-Test Mode
In the self-test mode, the printer prints the current status of the printer and resident characters as
a test print.
You can confirm the following information with the status print.
•Model name
•Control software version
•Printer settings
•User counter
•Maintenance counter
Starting the Self-Test
Follow the steps below to start the self-test.
1
Install the roll paper.
2
Close all covers.
3
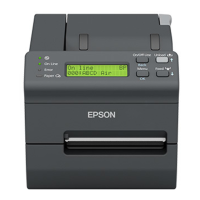
While pressing the Unload () button, turn on the printer. (Keep pressing
the button until the printer starts printing.)
The printer starts printing the current status of the printer on the paper.
When the printer finishes printing the current printer statu s, the following message is
printed and the Paper LED flashes. (The printer is n ow in the self-test printing standby
status.):
“If you want to continue SELF-TEST pr
inting, please press Unload button.”
4
To start the test print, press the Unload () button (less than 1 second).
The printer prints a rolling pattern on the paper, using only the built-in character set.
After printing the following message and autocutting the paper, the printer is initialized and
returned to the normal mode.
“*** completed***”
With the Ethernet interface, before printing starts, it takes 15 seconds if the IP address is
fixed and 20 seconds if the IP address is obtained with the automatic setting. (It may take
longer, depending on the response time from the host.)
If you press the Unload () button for more than 1 second, the printer prints the other
settings and counter value.
 Loading...

