Confidential
Adjustment Details of Adjustments 81
Epson WF-5690/4640/4630/5620/5190/5110 series Revision D
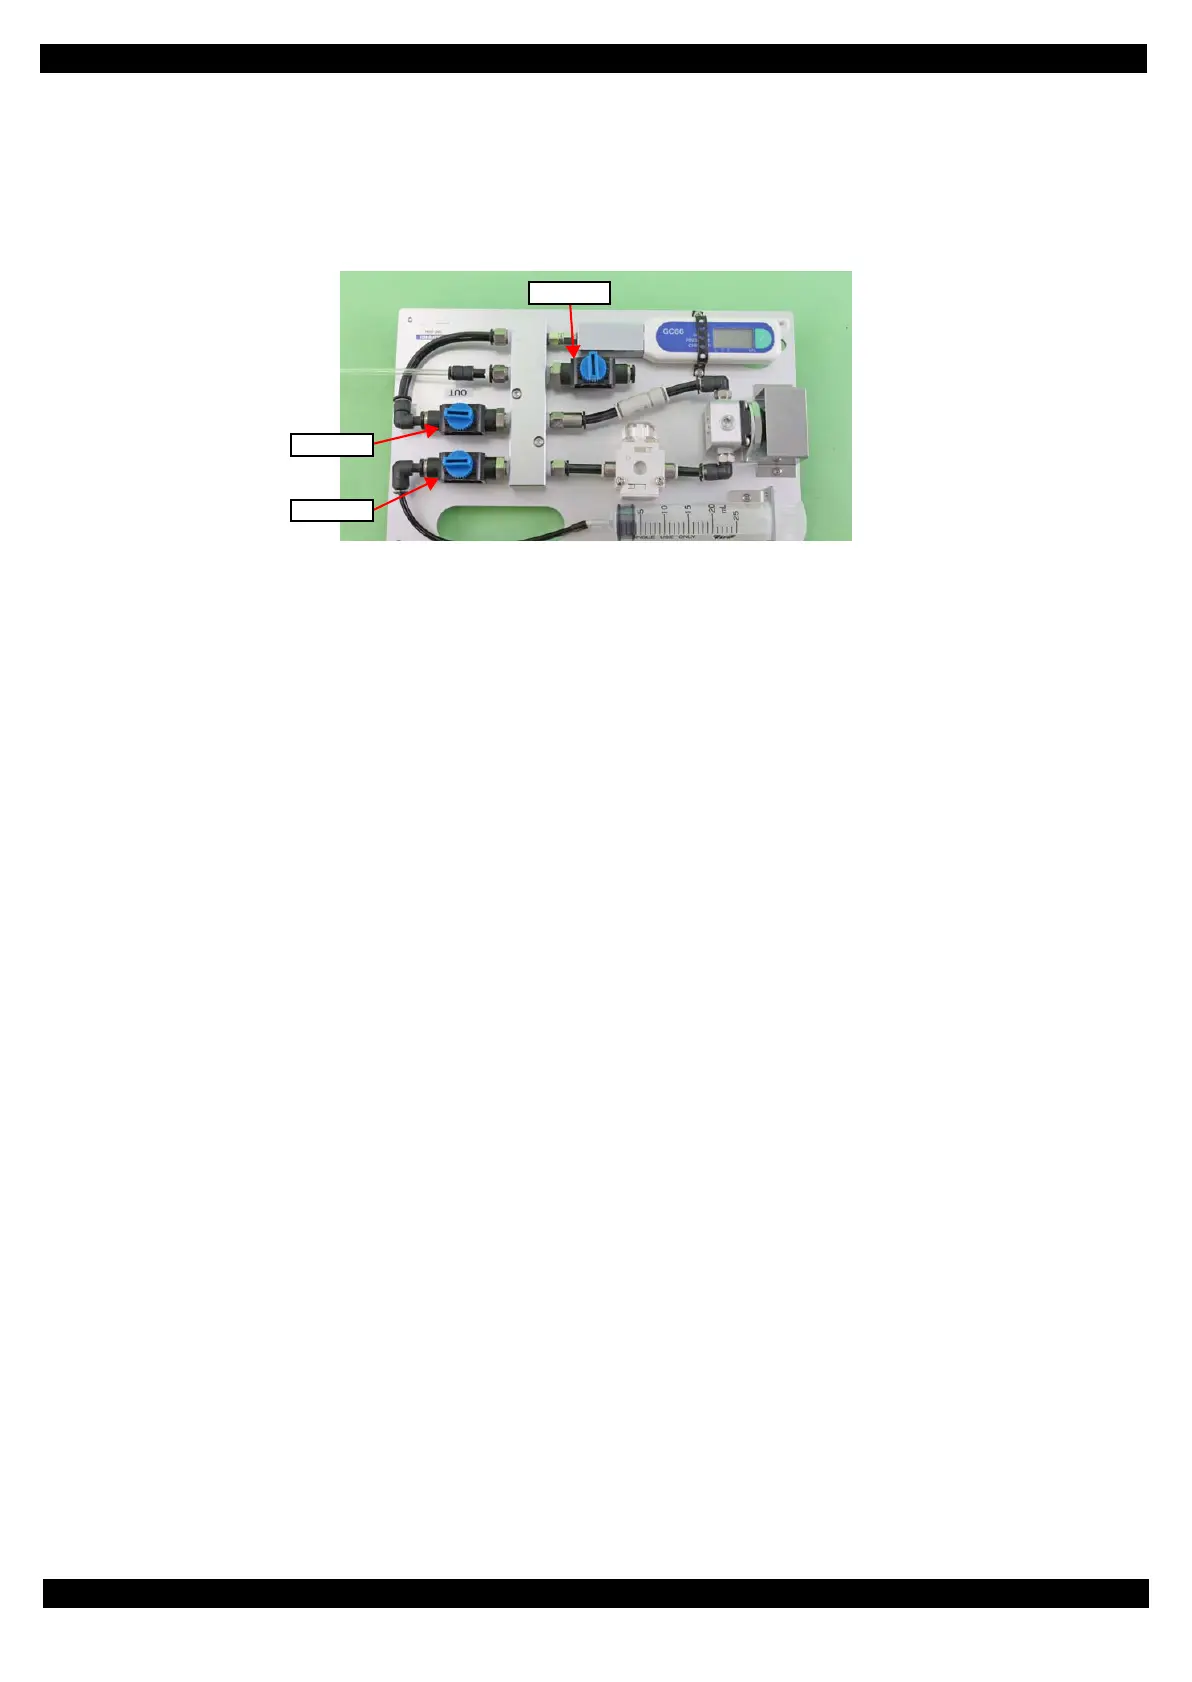
7. Close the valve C of the Ink Leak Measurement Jig.
8. Push the plunger to inject the air out, and confirm the pressure gauge indicates 48±2 kPa, then after the
value has stabilized, shut the valve A. If the value is less than 48±2 kPa, open the valve A and pull out and
push in the plunger several times until the value reaches 48±2 kPa, then after the value has stabilized,
shut the valve A.
Figure 3-41. Ink Leak Check (3)
9. Close the valve B, and after waiting 10 seconds for the pressure to stabilize, record the value displayed on the
pressure gauge.
10. After about 30 seconds have passed, check the value on the pressure gauge, and compare it with the recorded
value.
Difference is less than 0.4 kPa: No problem. Go to Step 11.
Difference is 0.4 kPa or more: Air may be leaking. Disconnect the ink tubes of the Ink Supply Unit from the
Printhead, and connect them again correctly. (See "Ink Supply Unit (p42)".)
Then, start the check again from Step 3.
11. Open the valve C to release the air pressure in the jig.
12. After confirming the value on the pressure gauge is 0.0 kPa, remove the Ink Leak Check Cartridge from the
printer.
13. Repeat from Step 3.
to Step 12. for the rest of the ink cartridge slots to check.
14. After checking all the ink cartridge slots, press and hold the power button of the pressure gauge for about
four to five seconds to turn off.
 Loading...


