354
Ink color Part number
Black T02S100
Cyan T02S200
Magenta T02S300
Yellow T02S400
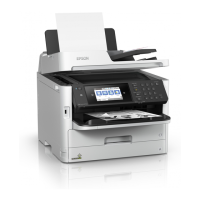
WF-C21000
Ink color Part number
Black T02Y100
Cyan T02Y200
Magenta T02Y300
Yellow T02Y400
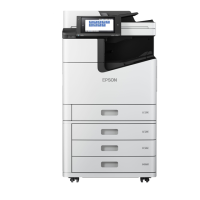
WF-M21000
Ink color Part number
Black T04Q100
Parent topic: Replacing Ink Cartridges and Maintenance Boxes
Removing and Installing Ink Cartridges
If an ink cartridge is low or expended, a message appears on your product's LCD screen. Note which ink
cartridge needs to be replaced. Select How To and follow the steps on the LCD screen to remove and
install the ink cartridges.
Make sure you have the replacement ink cartridge(s) handy before you begin. You must install new
cartridges immediately after removing the old ones.
Caution: Leave your old cartridges in the printer until you are ready to replace them to prevent the print
head nozzles from drying out. Do not open ink cartridge packages until you are ready to install the ink.
Cartridges are vacuum packed to maintain reliability.
1. Open the ink cartridge cover.
Downloaded from ManualsNet.com search engine
 Loading...