E
Press Settings, and then make the print settings.
Scroll down if necessary.
F
Press x to start printing.
Note
Refer to the PDF User’s Guide for other printing functions
and the Print Photos mode menu list.
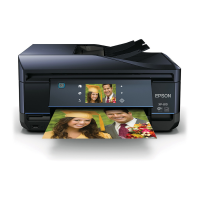
From a Digital Camera
A
Load photo paper in the paper cassette.
& “Into the paper cassette” on page 5
B
Remove a memory card.
C
Enter Setup mode from the Home menu.
D
Enter External Device Setup. Scroll down if
necessary.
E
Select Print Settings.
F
Make the appropriate print settings. Scroll down
if necessary.
G
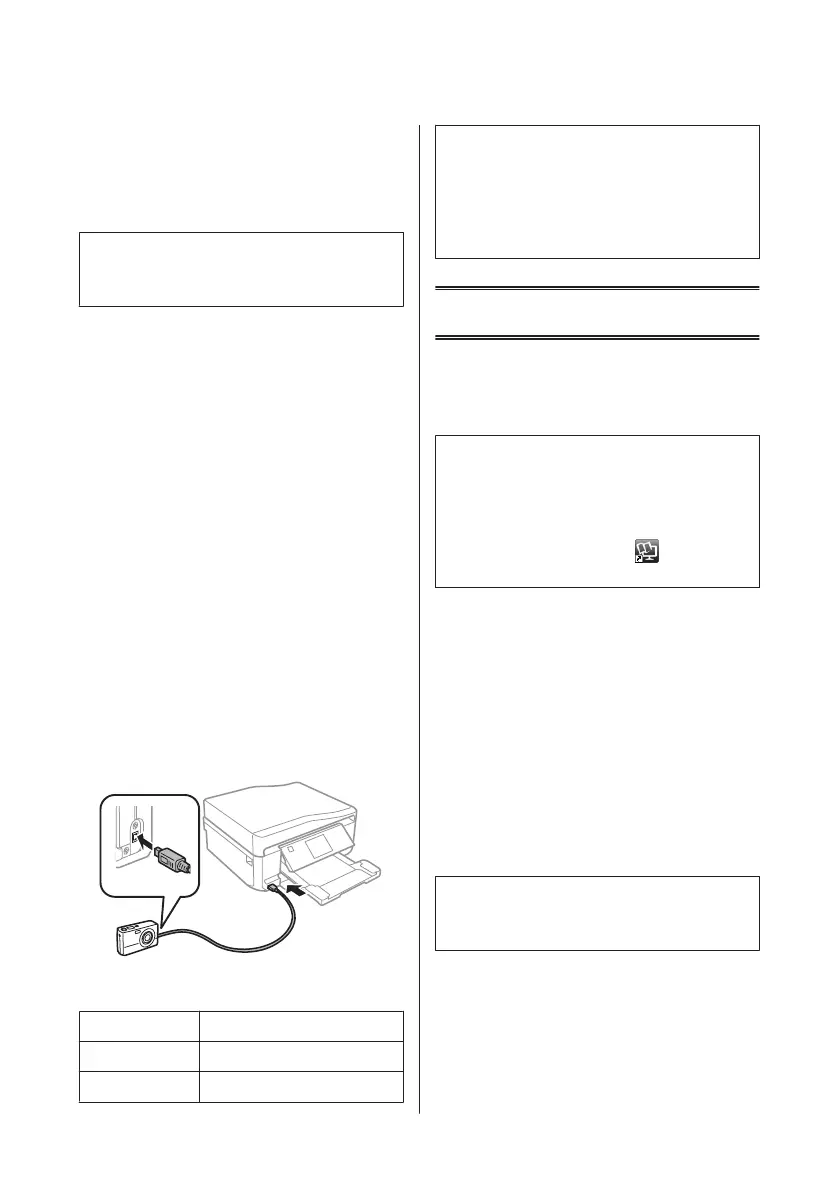
Connect the camera to the product with a USB
cable, and then turn on the camera.
H
See your camera’s guide to print.
Compatibility PictBridge
File Format JPEG
Image Size
80 × 80 pixels to 9200 × 9200 pixels
Note:
❏ Depending on the settings on this printer and the
digital camera, some combinations of paper type,
size, and layout may not be supported.
❏ Some of the settings on your digital camera may not
be reflected in the output.
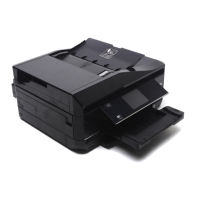
Scanning
You can scan documents and send the scanned image
from the product to a memory card or a connected
computer.
Note:
❏ If you want to scan your data to a memory card,
insert a memory card first.
& “Inserting a Memory Card” on page 9
❏ If you want to use the Scan to Cloud service,
double-click the shortcut icon
on your desktop
and check the Epson Connect guide.
A
Place your original(s).
& “Placing Originals” on page 10
B
Enter Scan mode from the Home menu.
C
Select a scan menu item.
D
If you select Scan to Memory Card, you can
make scanning settings.
If you select Scan to PC, select your computer.
E
Press x to start scanning.
Note:
See the PDF User’s Guide for other scanning functions
and the Scan mode menu list.
Your scanned image is saved.
Basic Guide
Scanning
13

 Loading...