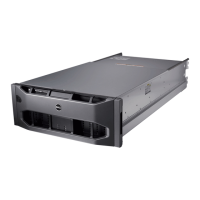
PS6500 Rack Mount Instructions 7
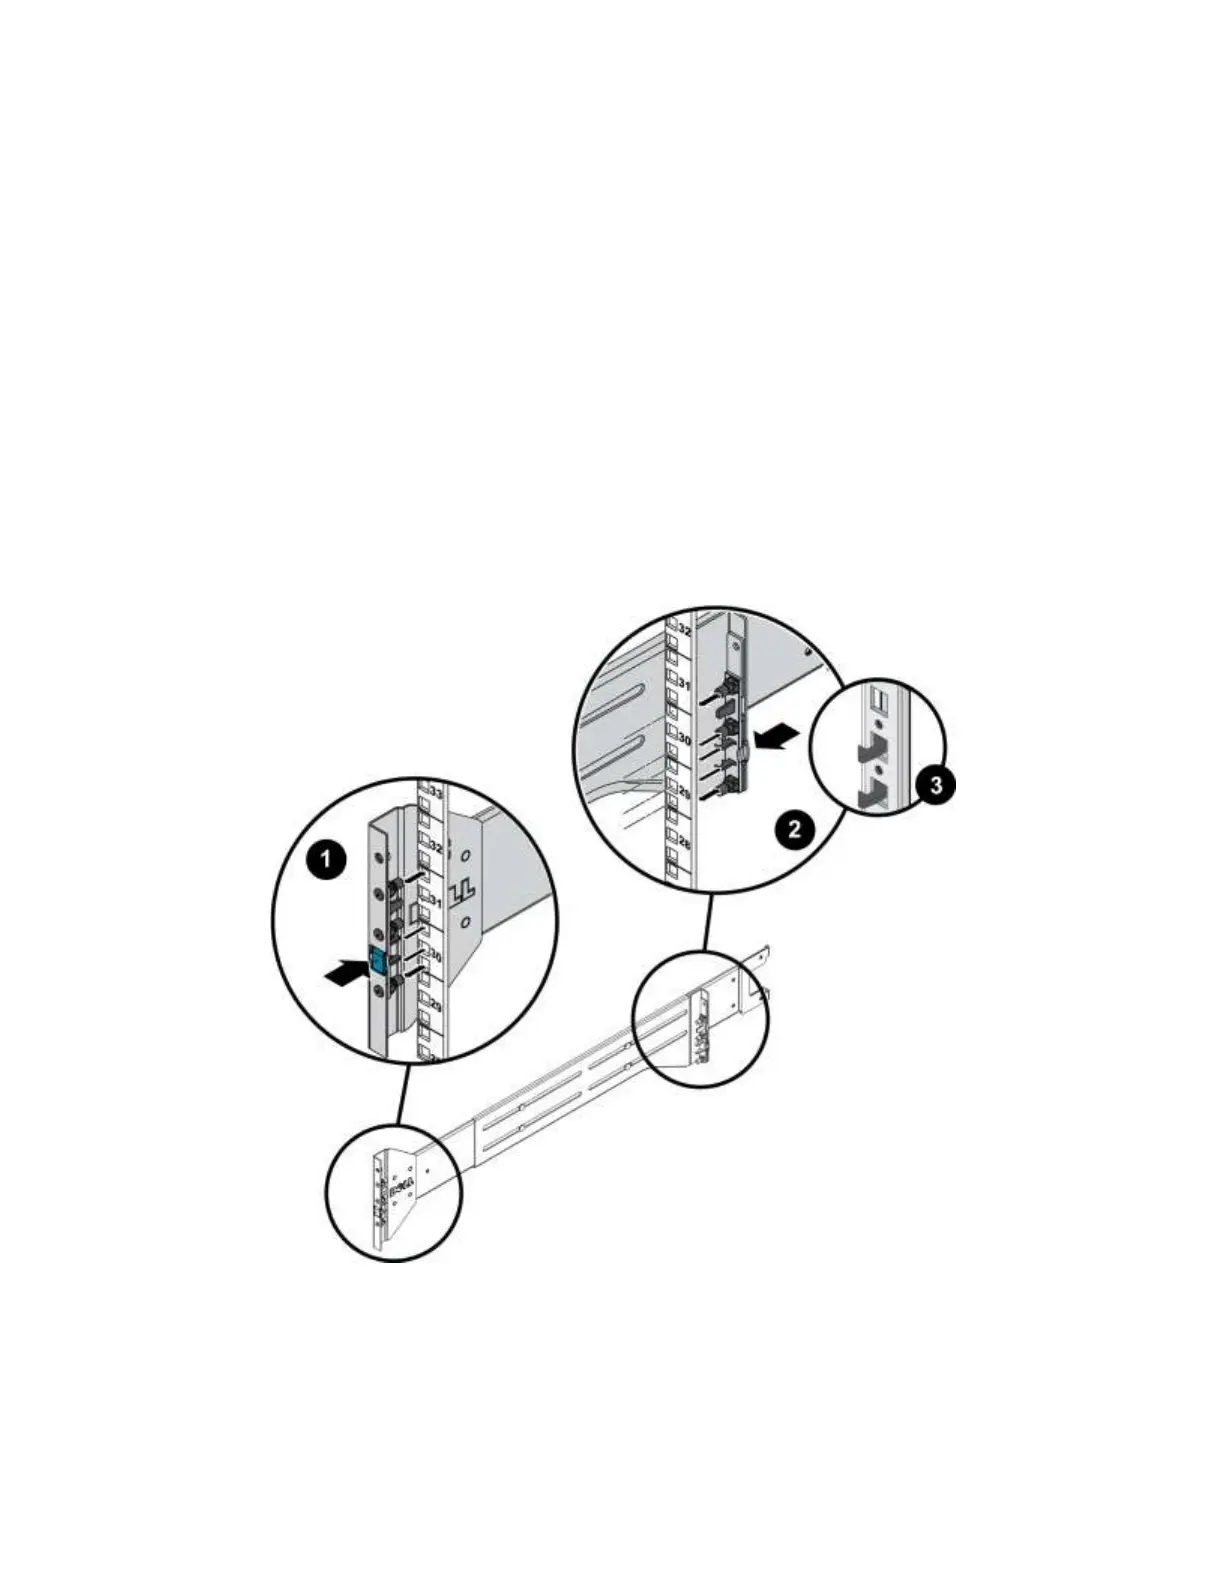
Attaching the Rails to Square-Hole or Round-Hole (Unthreaded) Posts
1. Position the left and right rail end pieces labeled FRONT facing inward and orient each front end to
align with the 4U space where you will install it.
2. Align the back end so that the bottom peg is aligned with the bottom hole of the first U. See Figure 6.
3. Engage the back end of the rail until it fully seats on the vertical rack flange and the second tooth (on
square-hole racks) or the first tooth (on round-hole racks) on the latch locks in place.
4. Repeat these steps to position and seat the front end piece on the vertical flange.
Note: When correctly installed, the front rail pegs will be one U higher than the rear pegs. For
example, if the front pegs are in U 30 and 31, the rear pegs will be in U 29 and 30.
5. To remove the rails, pull on the latch release button on the middle of each end piece and unseat each
rail.
Figure 6 Attaching the Rails to the Rack (Square Hole Rack Shown)