PS6500 Rack Mount Instructions 3
Mount the array in a horizontal position, or you will void your array warranty and support contract.
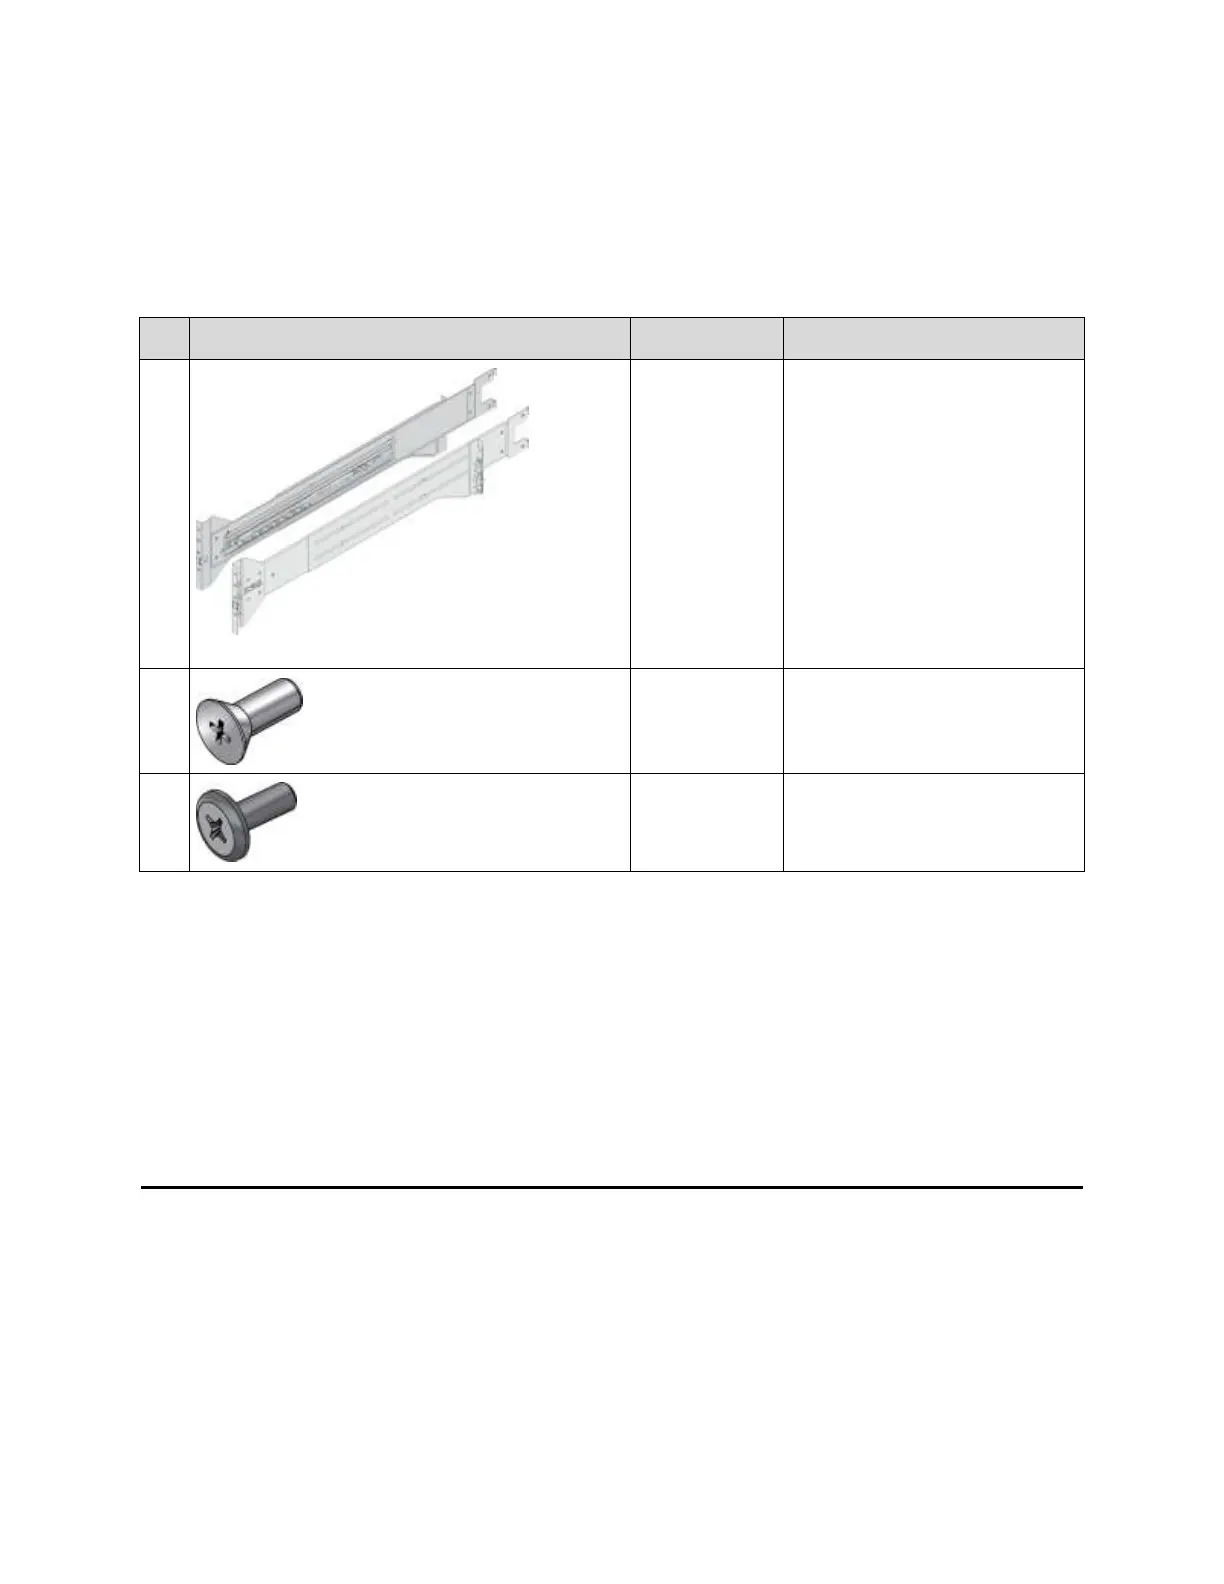
Rail Kit Parts
The rail kit includes the parts described in Table 2.
Table 2: Rail Kit Parts (Images Not to Scale)
Left and right side mounting rails.
Each mounting rail includes a
telescopic rail assembly.
#10-32 countersunk screws
Used to attach the chassis cover to
the front rail flanges.
#10-32 pan head screw
Used to attach the rails to tapped-
hole rack posts.
Tool Requirements
You need the following tools to mount an array in a rack. These tools are not provided in the array
shipping box.
#2 Phillips® screwdriver to secure the top cover to the front rail flanges
Torx® T15 driver to configure the rails tor threaded hole rack installation (if applicable)
Flathead screwdriver to open and close the cam locks
Steps for Mounting an Array in a Rack
Follow these steps to mount a PS6500 array in a rack:
1. Determine where to place the mounting rails in the rack.
2. Remove the bezel.
3. Remove the power supply and cooling modules.
4. Attach the mounting rails to the rack. For tapped hole racks, additional steps apply.