26868-01A
20
are and Maintenance
Cleaning After Use
Clean and disinfect your tanning bed’s
bench and canopy after each use. Use a
non-abrasive disinfectant cleaner that does
not contain ammonia or ammonia deriva-
tives. Ammonia may damage the acrylic
shield. Spray the acrylic lightly with disin-
fectant and wipe dry with a clean soft cloth.
We recommend SunQuest® disinfectant
and SunQuest® acrylic cleaner.
Thorough Periodic Cleaning
Introduction
The cooling fans draw air through the bed
and over time will cause a dust buildup on
the lamps and reflectors. This will reduce
the tanning effectiveness of the bed. When
a dust buildup is observed, it is necessary to
thoroughly clean the inside of the bench
and canopy.
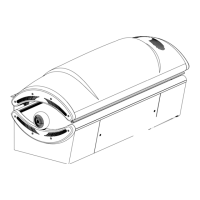
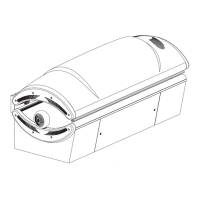
Cleaning the Canopy and Bench
Step 1 Open the acrylic shields and
remove lamps as described in
Lamp and Acrylic Replacement.
Step 2 With a soft cloth, wipe the entire
length of each lamp to remove
any film buildup.
Step 3 Clean both sides of the acrylic
shields with a non-ammonia dis-
infectant cleaner.
Step 4 Wipe the reflectors with a clean
damp cloth.
Step 5 Reinstall the lamps and acrylic
shields.
Step 6 Clean or replace air filter on top
of ballast tray. Replace with a 10”
x 24” x 1” furnace filter.
Mechanical Inspection
Your tanning bed has been built for years of
service. To ensure trouble-free operation
throughout its life, inspect the unit’s
mechanical integrity every 400-500 hours
of use.
• Inspect the unit’s fasteners verifying
that all are firmly in place.
• Inspect gas springs for signs of wear.
Gas springs that will not hold the
canopy in the full open position when
raised should be immediately replaced.
See Troubleshooting.
• Inspect the AC power cord and its
connections.
• Inspect the acrylic. Broken, cracked
or
badly scratched acrylics should be
immediately replaced.
WARNING
Shock hazard.
Disconnect power before removing
any protective covers.