26
27
Installation Checklist – WITHOUT the Convenience Base
1. Place the child in the carrier.
a The child’s back and bottom are flat against
the back and bottom surfaces of the carrier.
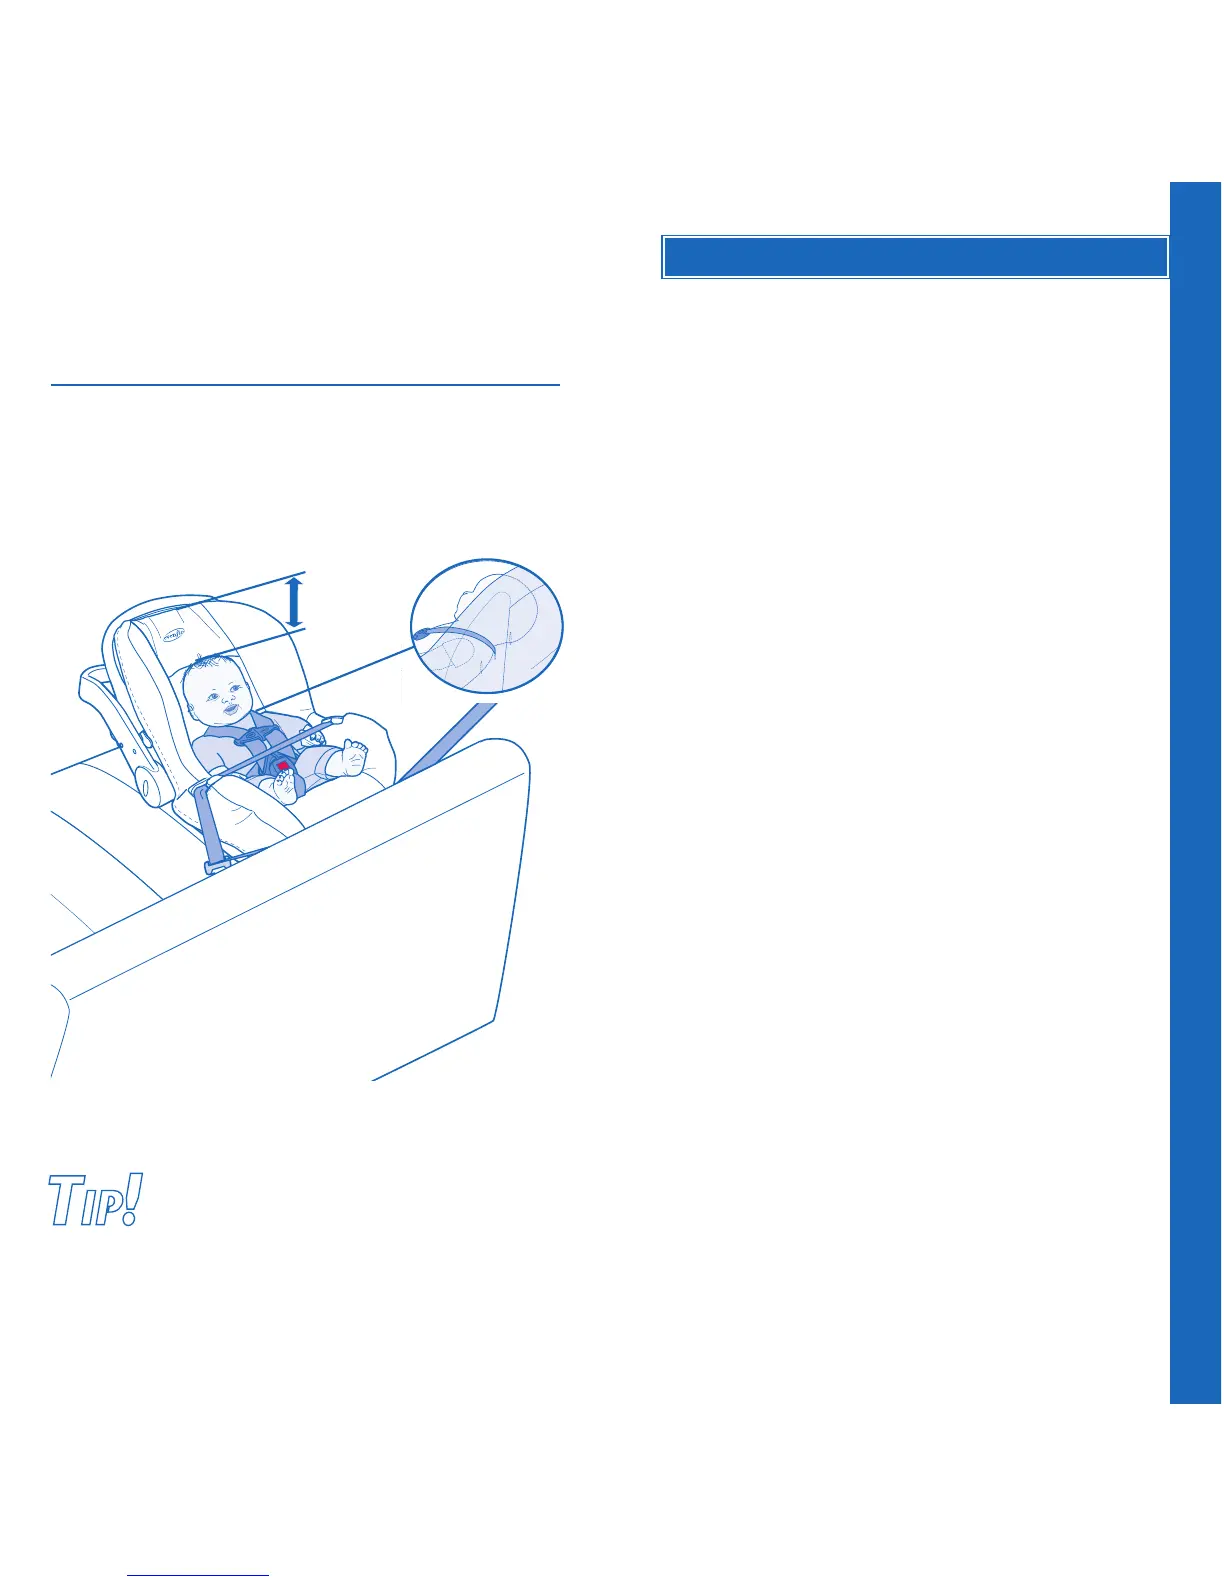
a Top of child’s head is at least 25 mm (1 inch)
below the top of the child restraint seat back.
2. Secure child to the carrier. Refer to p. 31.
a Harness straps are at, or below, shoulder
level (p. 31).
a Both buckle tongues are fastened (p. 31).
a Chest clip is connected and positioned at
armpit level (p. 31).
a Harness straps are snug against the child with
no more than two finger-widths between
your child and straps (p. 31).
a Crotch strap is snug against the child, but
NOT under the child’s bottom (p. 38).
3. Secure child restraint to the vehicle
seat.
a Carrier is securely installed with vehicle seat
belt (p. 28).
a The shoulder strap portion of the seat belt is
lying across the vehicle seat back, (p. 29).
a Locking clip is installed, if necessary (p. 40).
a The level line is level with ground (p. 30).
a If necessary, a towel/small blanket is rolled
up and placed beneath the front edge of
the carrier so the child’s head lies back
comfortably (p. 30).
4. Check your work.
aTo properly protect your child, the carrier
MUST NOT move more than 25 mm (1 inch)
from side-to-side or from front-to-back at
the vehicle belt path.
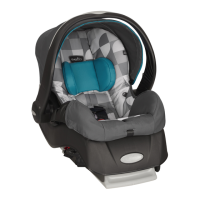
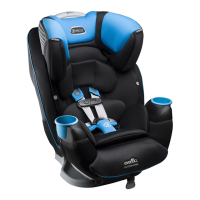
Proper Installation
WITHOUT
the Convenience Base
Child Requirements
Weight: 2.3 – 10 kg (5 – 22 lbs)
Height: Top of head must be at least 25 mm (1 inch)
below the top of the child restraint seat back.
To make installation easier, watch the installation
video of this child restraint
at www.evenflo.com.
TIP!
TIP!
Installation Checklist
Harness straps at, or
below, the shoulder.
At least 25 mm
(1 inch)