INSTALLING A BLADE:
• Ensure that all components are free from dirt and debris.
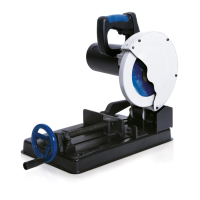
• Install the blade onto the inner blade flange and arbor,
ensuring that the direction and rotation arrow on the
blade matches the direction of arrow rotation found on the
machine’s upper blade guard. (Fig. 5)
• Reinstall the outer blade flange, washer and arbor screw.
• Lock the arbor by pressing the arbor lock button.
• Tighten the arbor screw using the 6mm Hex Key.
• Return the upper blade guard to its service position and
replace and tighten the four (4) socket head screws.
• Check that the arbor lock has been released by rotating
the blade by hand.
• Ensure that the Hex Key is removed from the arbor screw
and is safely stored for future use.
• Check the installation and particularly the operation of the
retractable lower blade guards by lowering and raising the
Cutting Head a few times.
WARNING: After installing a new blade, always run the
machine, without load, for a couple of minutes. Stand away
from the blade. If the blade were to contain an undetected flaw,
it could shatter during this trial run.
CUTTING ANGLE ADJUSTMENT
Note: The rear vise jaw can be adjusted to an angle of up to
45°. The rear vise jaw is factory set at 0° (at 90° to the blade) so
that the blade cuts squarely across material positioned in the
vise throughout.
For angled cuts, the rear vise jaw can be adjusted (up to) 45°,
with a protractor scale being included on the vise jaw for ease
and accuracy of setting.
Two (2) protractor index marks are punched into the machine’s
base to accommodate the two (2) positions that the rear vise
jaw may occupy.
TO ANGLE THE REAR VISE JAW:
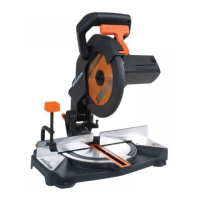
• Loosen the Lever Handled Locking Screw. (Fig 6a)
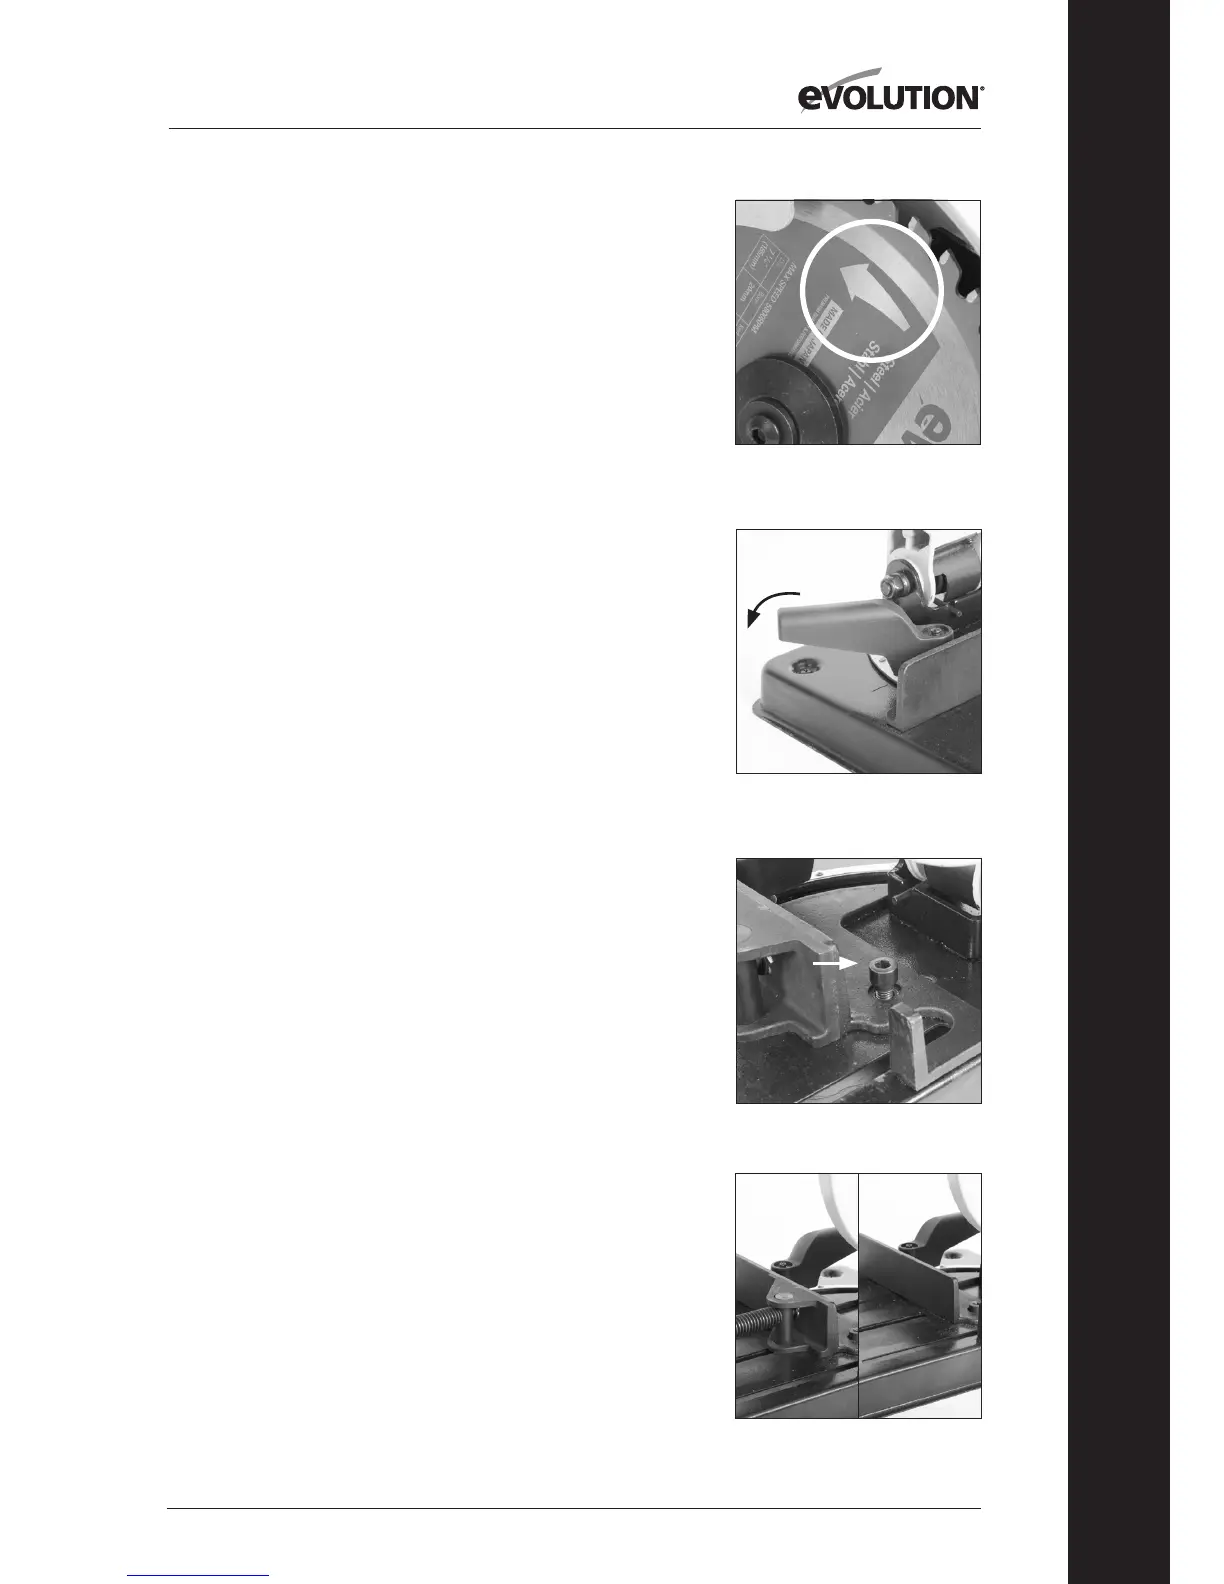
• Loosen RH socket headed screw. (Using the supplied
hex key). (Fig. 6b)
• Turn the rear vise jaw to the required angle.
• Tighten the RH socket headed screw securely
(using the supplied hex key).
• Tighten the Lever Handled Locking Screw.
Note: The swiveling front vise jaw will automatically align with,
and/or compensate for, any angle to which the rear vise jaw is set.
Fig. 6b
Fig. 6a
Fig. 7
Fig. 5