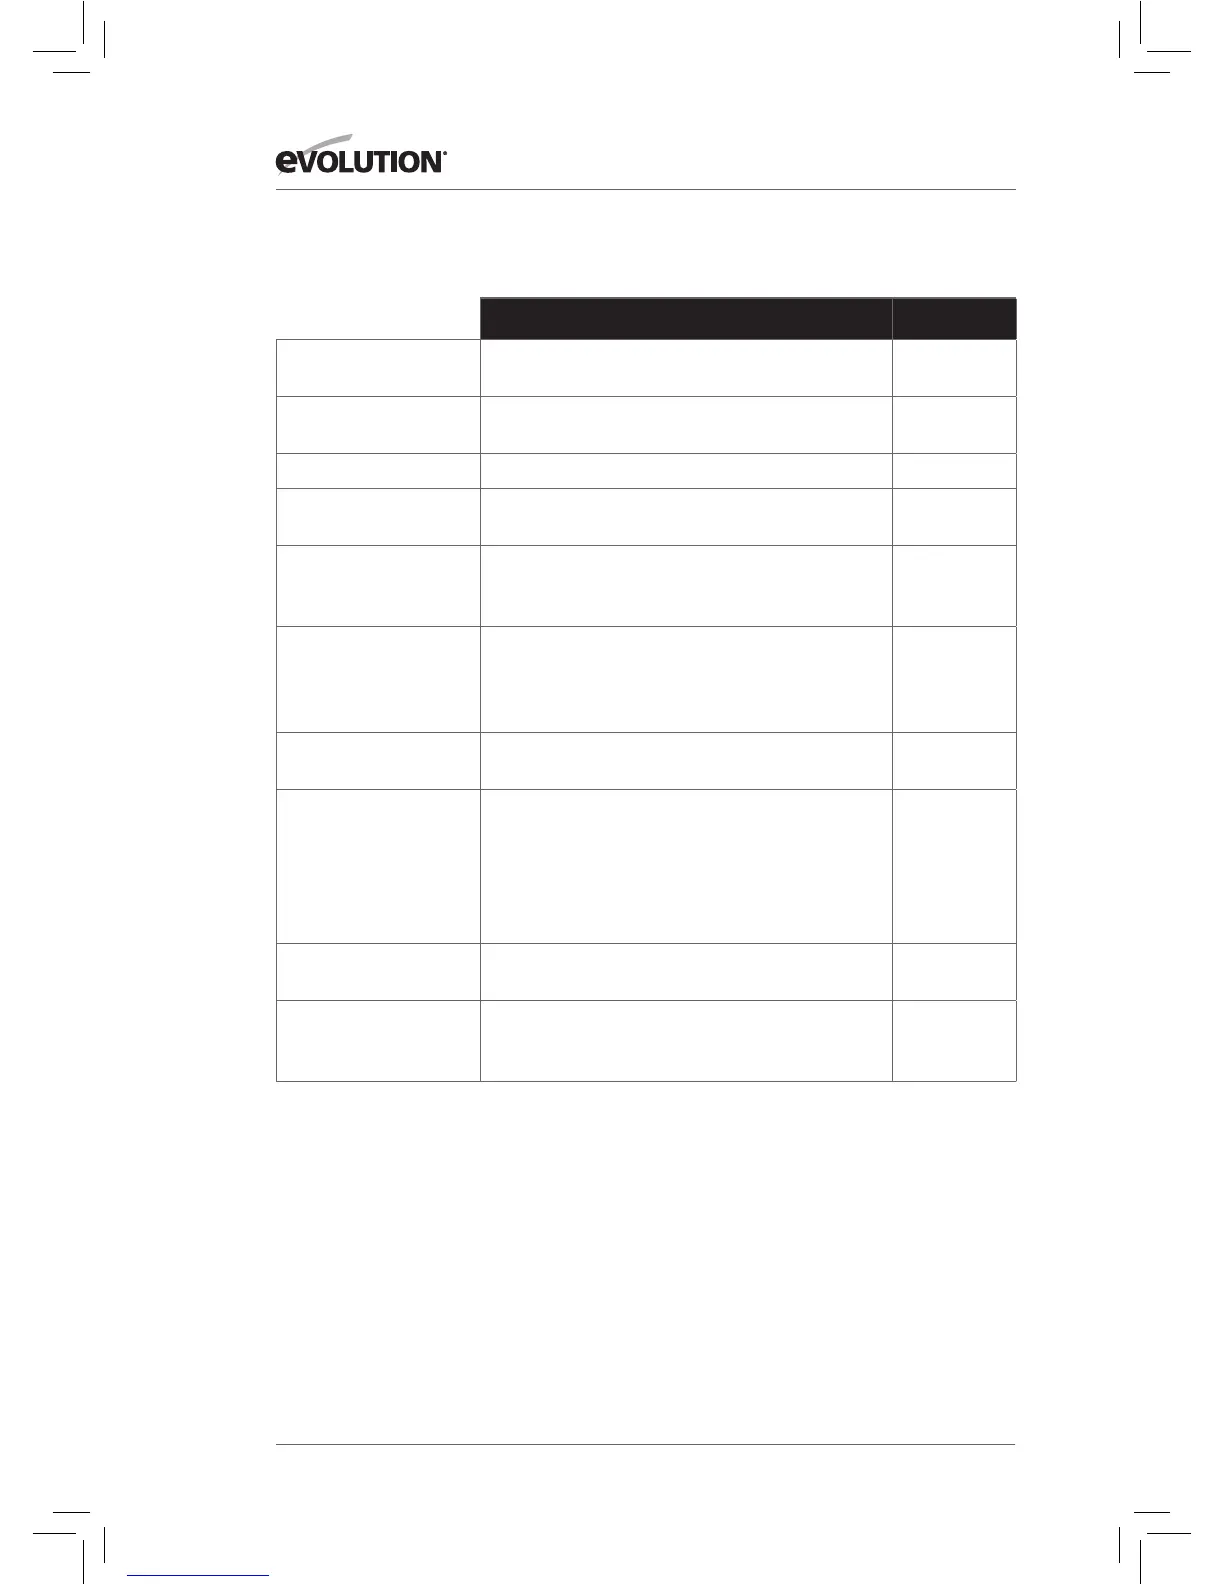
FINAL SAFETY CHECKS
Condition Yes
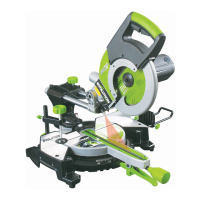
Slides Inserted through the Bevel Neck and connected to the
Cutting Head. Locating lugs successfully deployed
Positive Stop
Locking Lever
Installed onto Locking Mechanism
Mitre Locking Handle Installed onto Locking Screw
Power Cable Routed correctly and fastened to back slide bracket.
50 – 60mm max deflection at the midpoint
Blade Blade installed with rotation arrows matching.
Outer blade flange and arbor bolt and washer
correctly fitted
Safety Guards Lower Safety Guard fully operational. Cutting Head
locks in the upper position with blade covered.
Cutting Head can only be lowered when Blade
Guard Locking trigger is operated
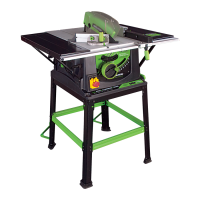
Supply Supply matches specification found on machine
Rating Plate. Plug matches power source outlet
Mounting Either:
a) Machine permanently sited and bolted
to workbench
b) Machine mounted on board which is clamped to
workbench (for portable use)
c) Machine bolted to a dedicated Mitre Saw Stand
Sited Adequate provision made for the handling of long
or irregular shaped workpieces
Environment Dry, clean and tidy. Temperature conducive
to material handling. Lighting adequate
(double banked if fluorescent lights are used).
All the Yes Boxes must be ticked before the machine can be used.
No tick = No use.
36
www.evolutionpowertools.com